In Depth Review of the 4iiii Sport-iiiis ANT+ Heads Up Display System
It’s been almost a year to the day since we first heard about a small company called 4iiii, which aims to bring a heads up display system to a pair of sunglasses near you. Over the past year they’ve been working to make last years alpha-level hardware a reality. And this evening I got a chance to go hands on with the final production setup for the first time, during an actual run on the Vegas Strip.
The goal of the 4iiii system is to provide you with much of the same information that’s displayed on your Garmin Forerunner (running) or Edge (cycling) device – but do it in a way that’s simply safer for you as a rider. Their aim really isn’t to replace your Garmin, but rather compliment it with the core information you need. The 4iiii system works by connecting to ANT+ sensors (heart rate, speed, cadence, power) while either cycling or running.
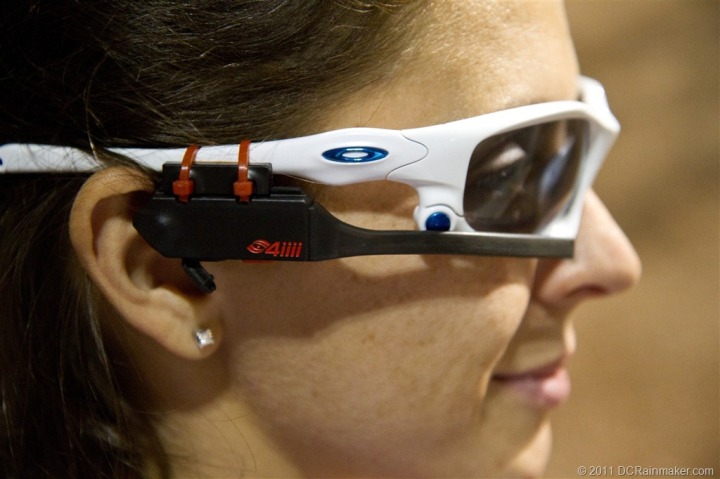
Once connected to those sensors it will provide feedback to you in the form of a color coded LED system that’s ideally set to be visible in your peripheral vision. You can then customize these LED’s for your difference zones (or ranges), for each type of sensor. Some might ask why not simply display actual digits or numbers. While that was their initial plan as well, they found that was actually just as distracting as one looking down at their Garmin unit. By using color coded LED lights, you wouldn’t have to shift focus from the road. After all, it’s the road that’s important (especially when cycling). Below is what it looks like if you’re looking through the glasses. I set the camera to focus on the area about 15 feet ahead, which meant that just like the human eye – the LED light bar is effectively within the cameras peripheral vision. Note that you can change the position of the LED bar as you see fit (up/down, etc…)
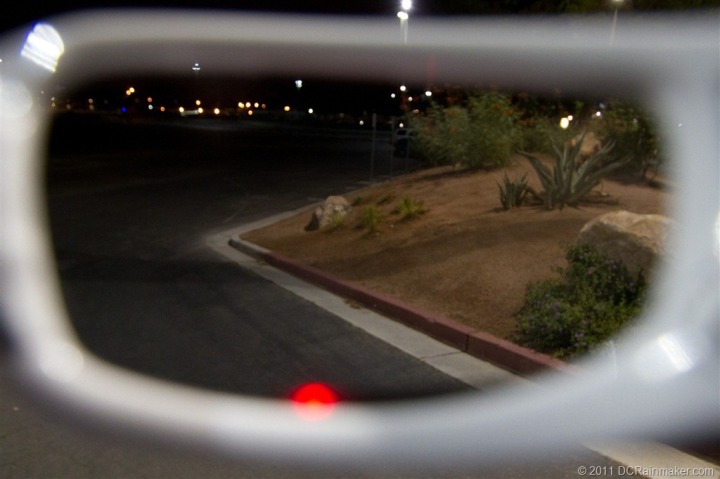
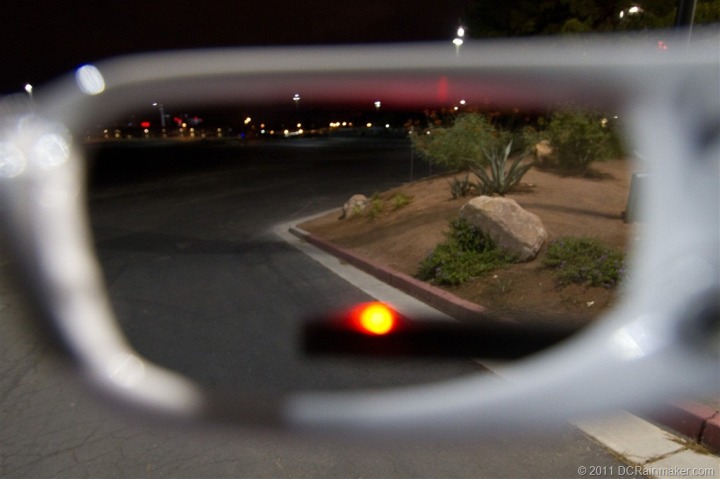
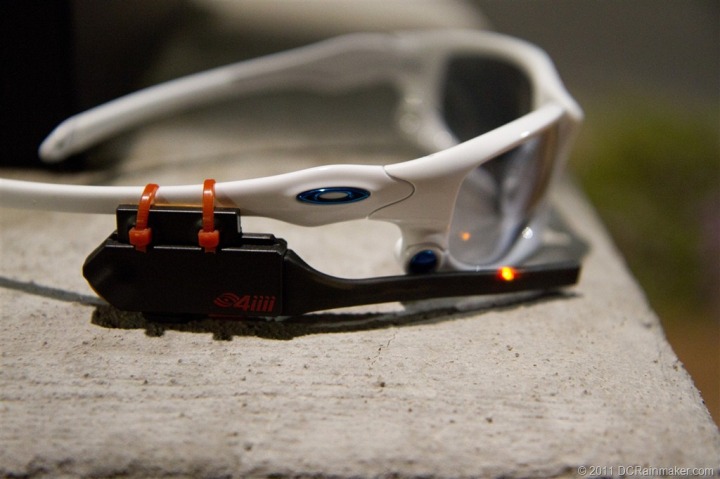
The 4iiii system is designed to connect to your existing glasses. Having been talking with them pretty regularly for about a year now – this was probably the biggest engineering challenge that took a lot of revisions to finally get right so that it stays locked in place. And based on my testing and running tonight – I’m pretty confident they nailed it. It doesn’t budge.
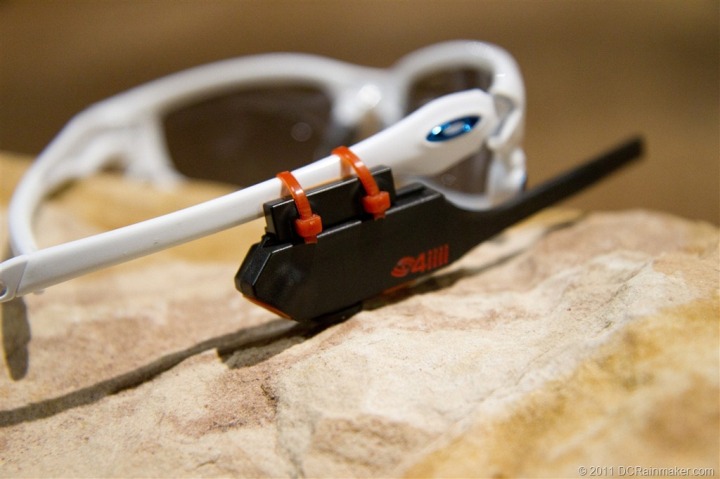
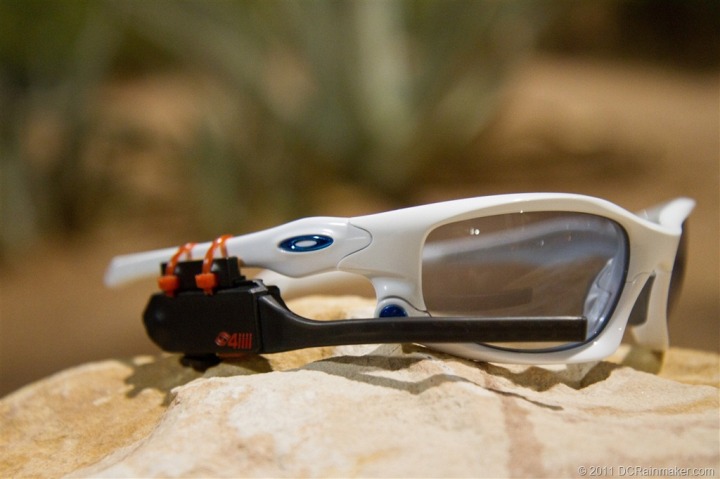
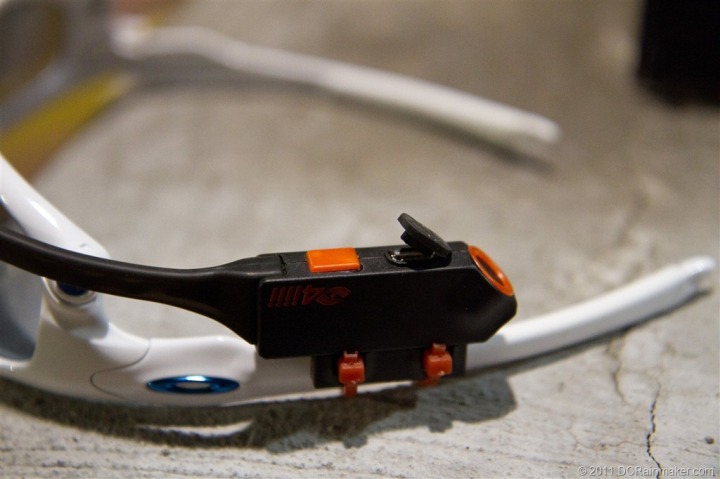
While the system doesn’t budge, it does allow you to disconnect the main unit from the mount part – which is connected to your glasses using mini-zip ties. This enables you to quickly slide the 4iiii unit off your glasses, should you want to change glasses (i.e. to a clear pair, for running/cycling at night). You can see the little rail on the upper edge of the 4iiii unit, just to the left of the blue Oakley symbol – this is where you slide it forward to disconnect:
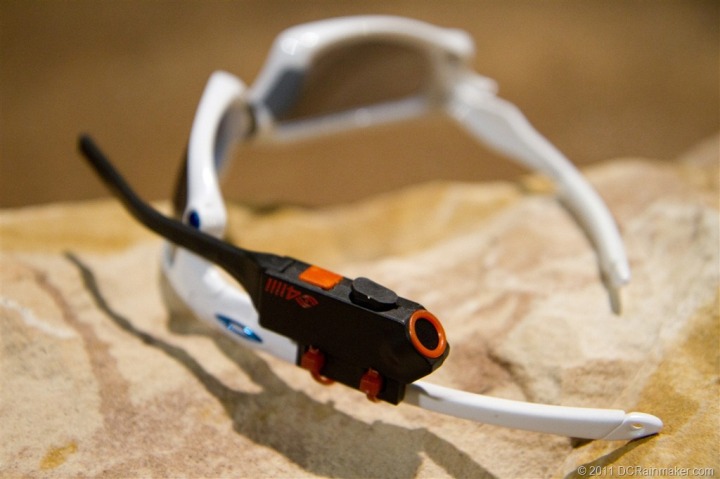
While you’re running or riding, the system has a small speaker that communicates to you if you’re below/at/above your target (for speed/cadence/HR/power). The speaker is located on the bottom of the unit, where the small red circle is (the red square is a button, and the black rubber piece covers the MicroUSB port):
This voice can be customized to speak at different intervals, or simply not speak at all…it’s well understood that sometimes silence is golden. It’s also in the cards to allow it to be set to remind you a customizable number of times before it stops reminding you. For example, if you’re below zone for 3-5 consecutive reminders on a given portion of a workout/race, you probably have a good reason for that and don’t really want to hear someone yelling at you. The good news is that of course even if you disable the audio, the display will still be visible – so you can always see that. The speaker is close enough to the ear that the sound is easily heard – despite everything going on around you. We ran down the Strip with quite a of racket and no issues hearing the audio cues:
In order to show you what that looks and sounds like I put together this short video running with the glasses. Understand that by time we could meet up it was late at night…and dark…and this was the brightest (non-Strip) place I could find. So focus on the functionality and not my video skills while running. I’ll retake the video in the daylight in the next few days.
4iiii Heads Up Display System While Running
You can clearly hear the audible warnings, as well as see the change in LED status. Again, it’s a bit difficult running holding a video camera while holding a pair of glasses at the same distance at eye level…and doing so at night. But you probably get the idea.
The little LED light arm is fully movable and customizable. For example, on my wife’s sunglasses she found that she prefers it inside the lens of the glasses (between her eye and the lens).
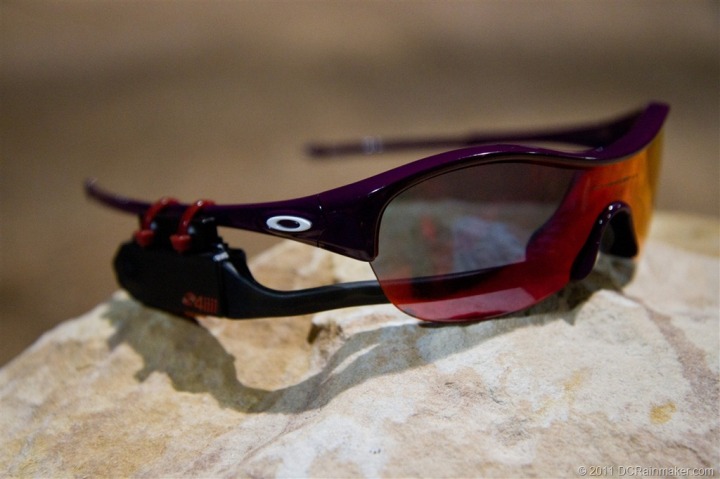
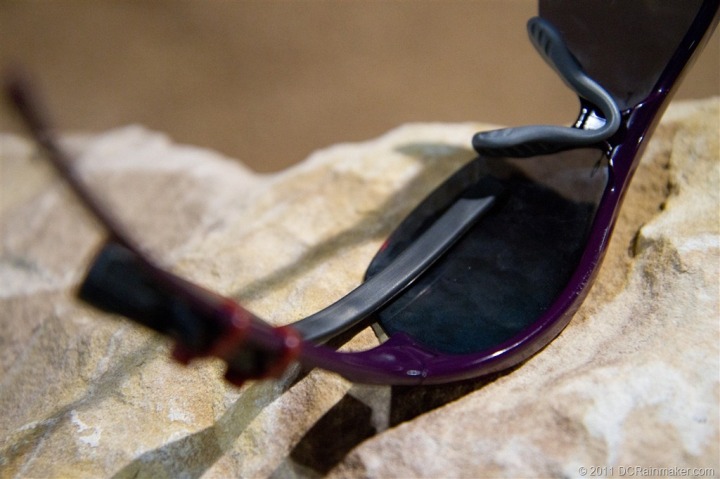
Whereas on a different pair of sunglasses they gave me to try out, I preferred it on the outside. No worries though, you can switch and swap all day long:
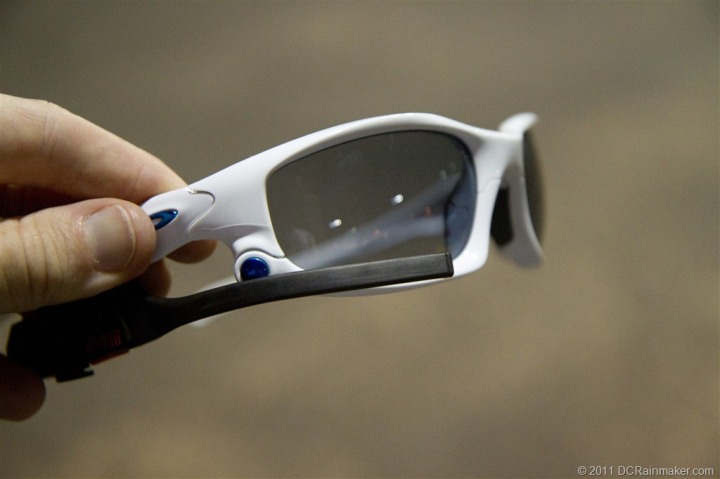
Speaking of which, let me show you how flexible the little arm is. I shot this super simple video demonstrating moving it around and it staying put – as well as a bit of a 360* tour of the unit. You can hear the audible warning selection change each time I tap/brush up against the touch sensor. It’s designed to be easy to tap, hence why it’s somewhat sensitive (but you can change that, as we’ll talk about later). I found that once you’re running though – it doesn’t falsely trigger.
4iiii LED Bar Flexibility, and general 360* view of the unit
About this point you may be wondering how it’s all configured. The unit itself can pair directly with the supported ANT+ sensor types – no additional computer/software required. But they’ve also got an application (both for PC and Mac) that allows configuration of the device and virtually all of the settings. Let me briefly walk you through it. Do keep in mind that this is pre-release software so some additional options will likely appear and probably move around. They’re expecting to finalize it in the coming weeks after feedback from Interbike.
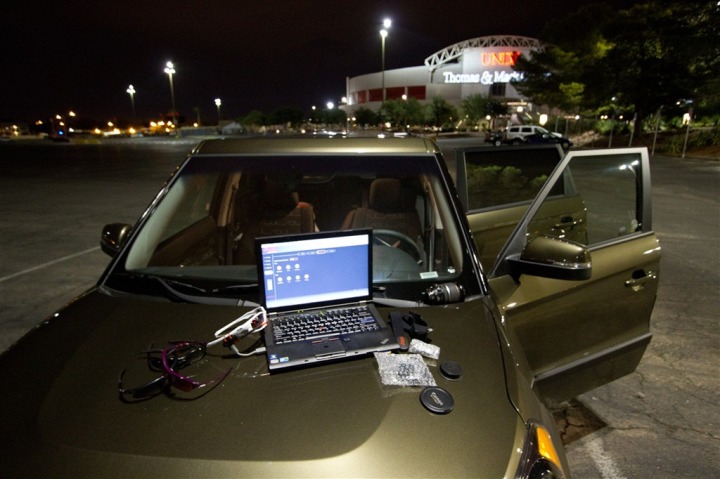
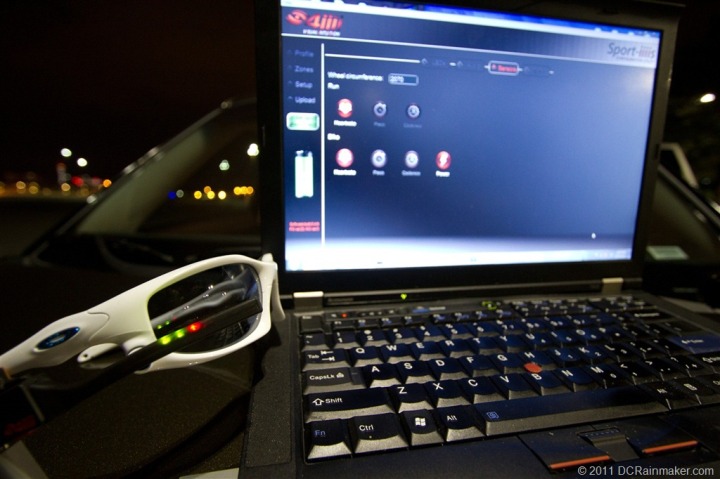
Interestingly, The Girl and I actually had the laptop opened up on the hood of our rental car testing all of this in a vacant parking lot at UNLV – just off the Strip in Vegas. We had hoped the UNLV track would still be illuminated, but unfortunately it wasn’t. So this had to suffice:
The unit connects to your computer using a MicroUSB plug, which is right under the bottom of the unit itself:
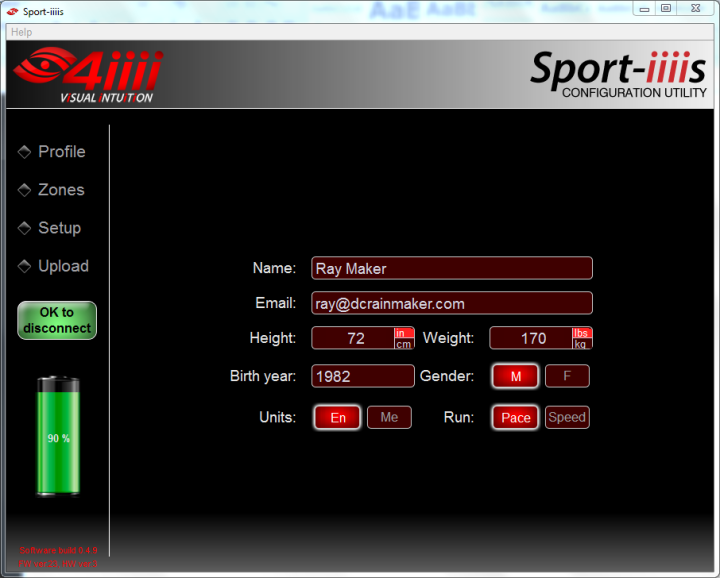
Let’s start with the basic profile screen. This page is used to help determine simple HR zones for those that want to use the defaults. It also helps to write the user information to the 4iiii unit as well:
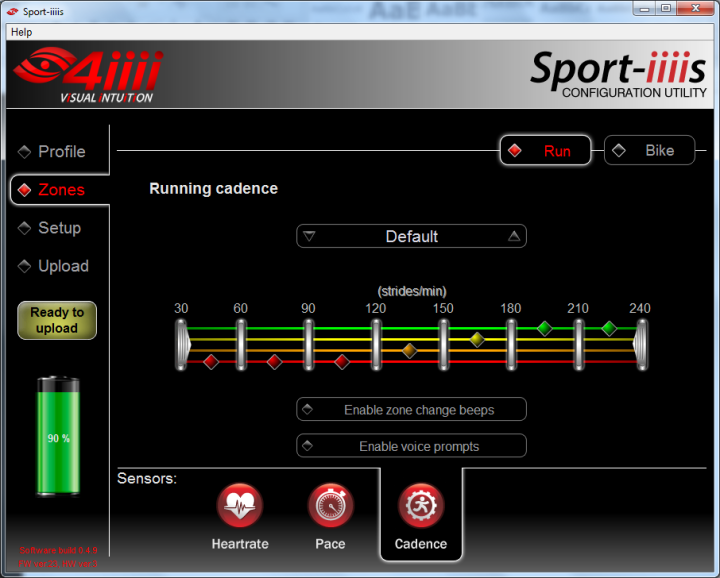
Next we have the LED zone setup pages and tabs. These pages help you define the LED light configuration for each of the different zones and sensor types. The best way to think of this is a mapping between a given color and a given HR/Speed/Cadence/Power zone (range). Don’t necessarily think of them in the sense of ‘good or bad’ – but rather simply color allocation.
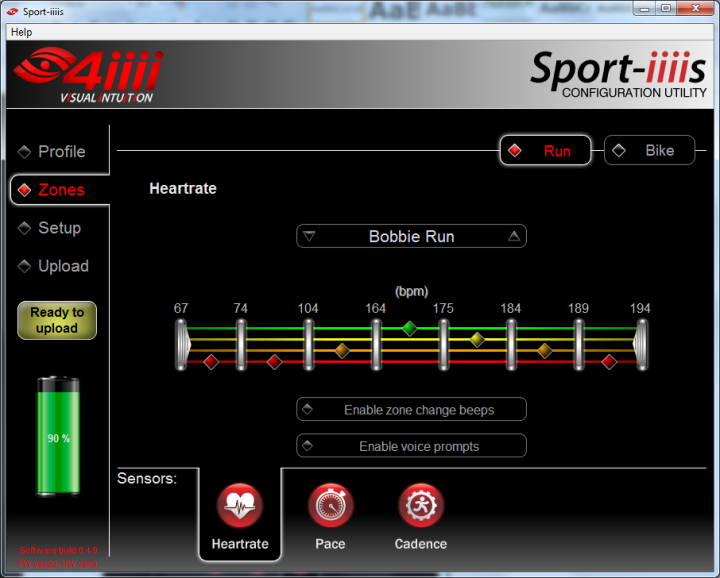
In the case of cadence for example, you can see how I’ve skewed the range to better align to my goals for a higher cadence:
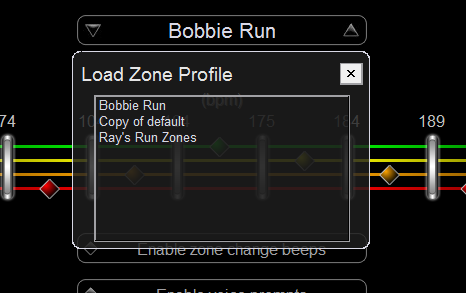
You can of course save the different zones and map them to profiles – somewhat like saving a settings file:
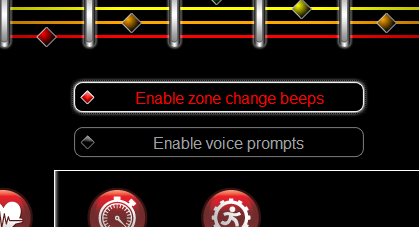
You can also see here that you can set whether or not you want the unit to alert you when you change zones, or whether or not you want to hear a voice prompt telling you about your zone state:
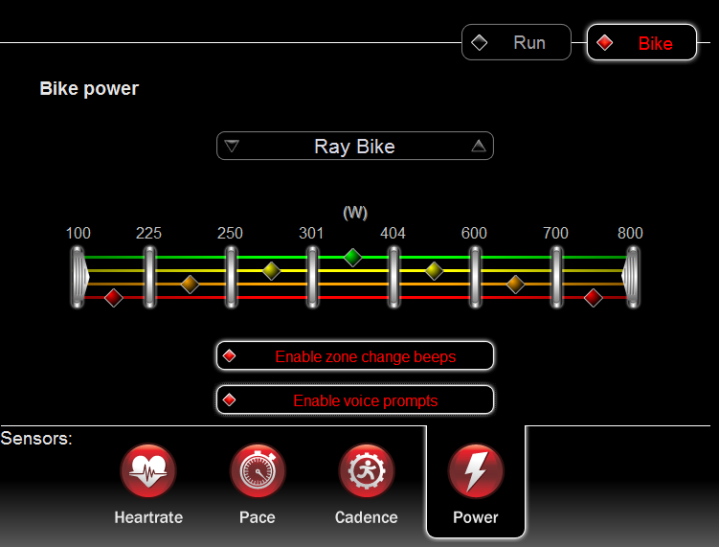
On the bike power front, you can see basically the same setup – just customized for cycling. You can drag each of those bar lines to any number you like, as you can see that I’ve done below to odd numbers like 301 and 404:
Next we have the overall device setup and configuration page. This page is divided into a number of sections. The first controls the LED light’s themselves. The unit has an ambient light sensor so that it will automatically adjust to different light conditions. This means that its brightness is adjusted based on whether your out in the bright sun, or running at night like tonight.
But you can override these settings should you wish to. This also includes blink rate and overall max brightness.
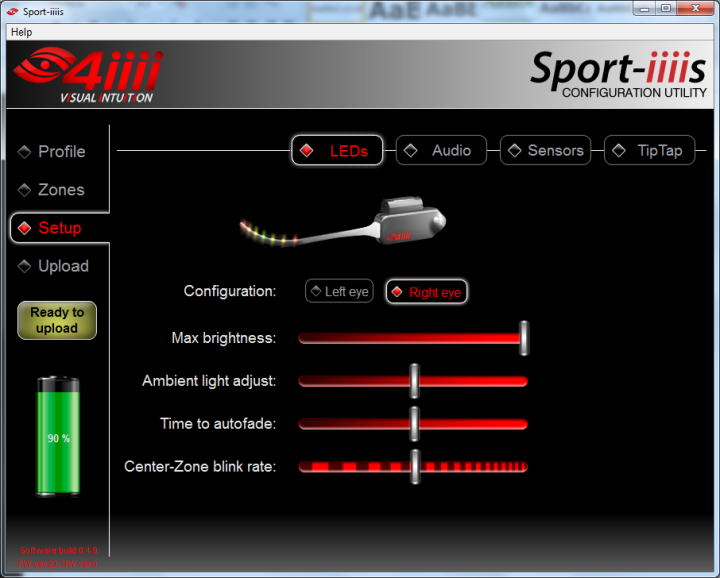
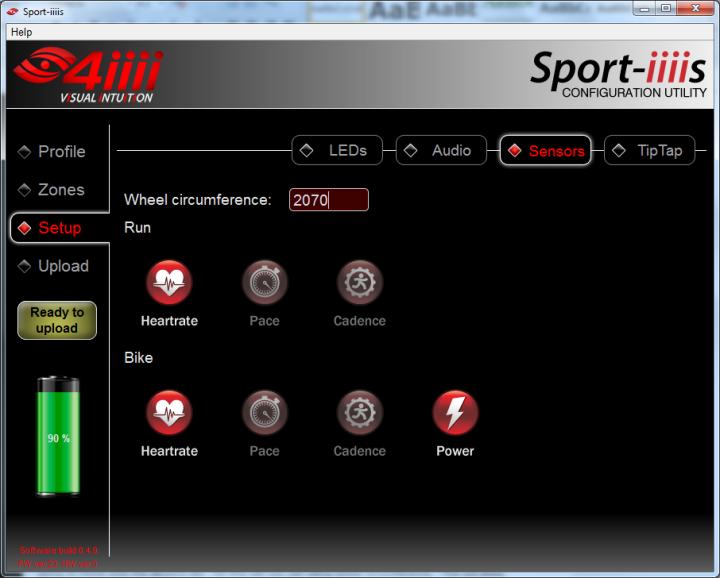
The audio tab (next) at the moment only has one adjustment slider, to control max audio sounds – so I’m going to move onto the sensors tab. On this tab you can setup wheel circumference. This will allow the unit to know how far you’ve gone while on a bike. Like I noted before, there’s still some areas to fill out here with respect to settings. For example, expect to probably see the ability to control footpod calibration and other settings.
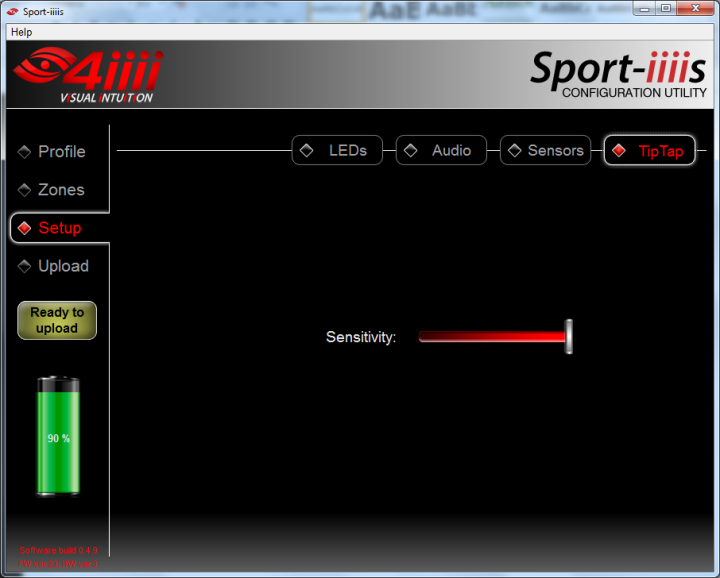
Last but not least, is the TipTap page. This controls the sensitivity of the touch sensor in the glasses. You saw in the earlier video just how sensitive it can be when set on the most sensitive setting. You can tune this down to make it a bit more lax:
Once you’re ready to confirm the settings you simply hit the ‘Ready to upload’ portion, which will set the configuration onto the unit. That process takes about half a second to complete – so it’s super quick.
It should be noted that there are some areas which aren’t yet in this firmware/software build that I have – which includes the recording of workouts. The unit will “absolutely ship” with the ability to record workouts to standard file formats that you can upload to sites like Training Peaks or Sport Tracks. It’s just not in the current software build that I have on my unit. They’re moving at such a fast pace that both The Girl and I actually had slightly different features with new software versions over the past few days. Great to see the speed of a startup.
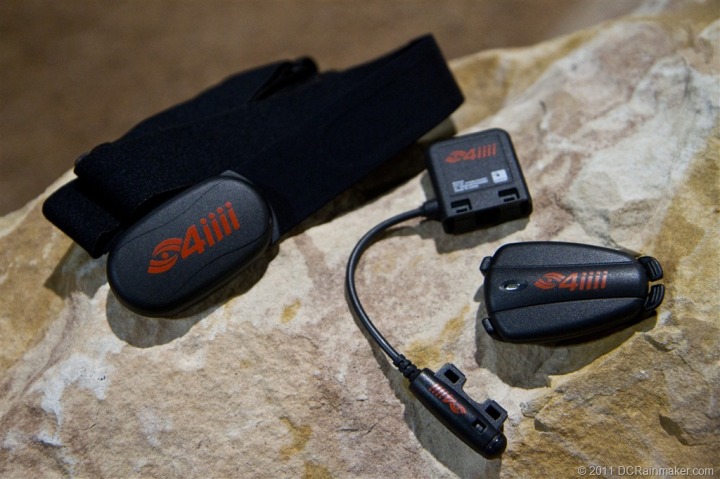
Finally, 4iiii’s will be making available the usual array of ANT+ sensors (footpod, heart rate strap, speed/cadence). They had some branded ones available this evening to play with. Though they noted that the final branded versions will actually include the newer premium HR strap (like the latest 2010/2011 Garmin premium HR strap – the one that’s vastly improved), as well as the 4th generation footpod (like the most recent Garmin footpods, tiny and smaller than pictured below).
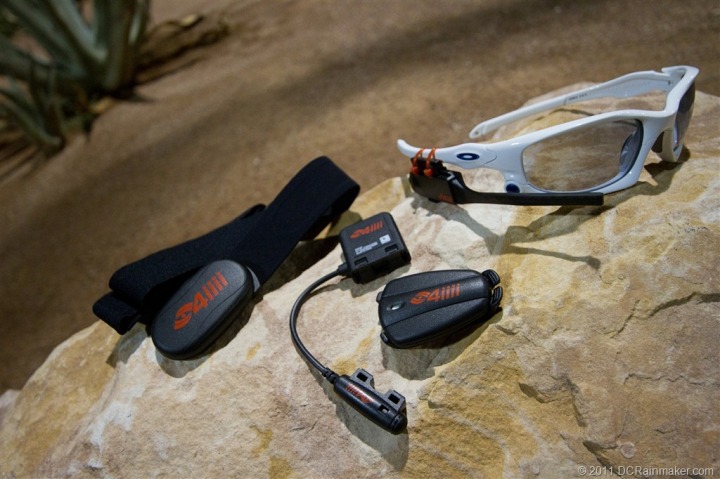
Overall I’m pretty excited about where this is going – and I’m looking forward to getting more time with it both on the bike and while running. The Girl noted that for her as one who only recently started cycling, that one of the scariest parts of first learning to get into the less stable positions like aero (triathlon/TT) was having to then add in the layer of looking down at her Garmin to check on her different zones (power, heart rate, etc…). This would in effect remove that requirement – at least as far as zone management is concerned.
4iiii will retail for $199 (not including the glasses themselves, it’s BYOG), and should be in retail channels within about 4-6 weeks. The units are indeed waterproofed, so there’s no concern about rain water. Given my luck with running in the rain lately, I’m sure I’ll be trying that out shortly.
As always, if you have any questions – feel free to leave them in the comments below. As I get more time with the 4iiii unit, I’ll update this post with additional thoughts/photos/videos/antidotes. Thanks for reading!
—
For the latest Interbike coverage, remember I’ll be tweeting nonstop, so you can catch all the latest action there. And here on the blog you can use this tag to see all the Interbike 2011 posts. Thanks for reading!

