FitBit Zip In-Depth Review
Here’s a fun fact to start out with: The FitBit Zip is actually probably the only product where I’ve written the review after over a year of use with the device. Well, two devices actually. But, more on what happened to the first one later. Still, given the market for activity trackers continues to heat up, and I continue to try and track the activity trackers – I wanted to circle back to this little one first before I publish a number of other activity tracker reviews over the next few weeks (Withings Pulse, Polar Loop, and some others). Think of this as a bit of a ‘baseline’ from which to start from.
Just to be clear, in the case of the FitBit Zip, I went out and purchased it myself. Well, both of them myself. I’ve used FitBit devices for over 3 years now (as my account shows in some screenshots), so by now I have a reasonably good understanding of the platform. Thus, with that, a review.
Lastly, at the end of the day keep in mind I’m just like any other regular athlete out there. I write these reviews because I’m inherently a curious person with a technology background, and thus I try and be as complete as I can. But, if I’ve missed something or if you spot something that doesn’t quite jive – just let me know and I’ll be happy to get it all sorted out. Also, because the technology world constantly changes, I try and go back and update these reviews as new features and functionality are added – or if bugs are fixed.
So – with that intro, let’s get into things.
Unboxing:
To start with, you’ll find the FitBit zip sealed inside a plastic shell with paper innards.
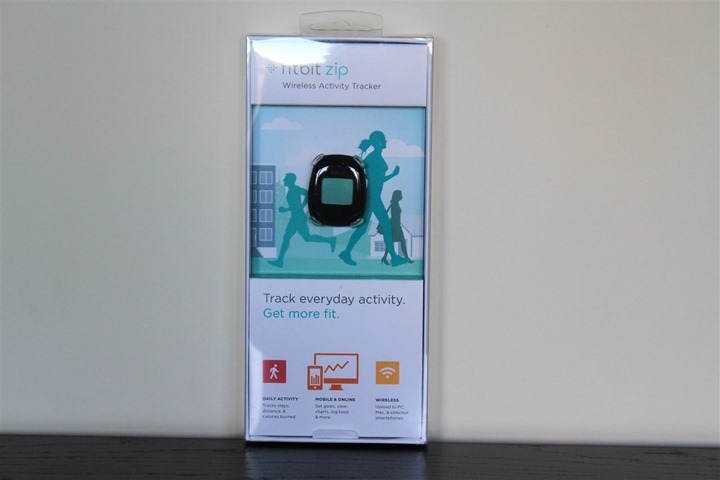
Flipping it over the back shows you how the device can be worn, as well as what type of data it collects. Don’t worry, by time you’re done with this review you’ll be rather familiar with all that.
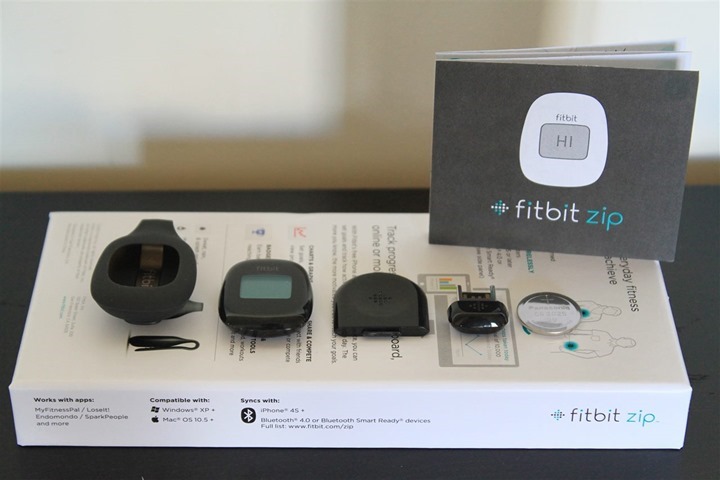
Taking the insides and placing them out of the plastic casing, you’ll find a little hatch that includes the battery, battery cover opener, FitBit clip-on holder, and a Bluetooth Smart USB stick for your computer.
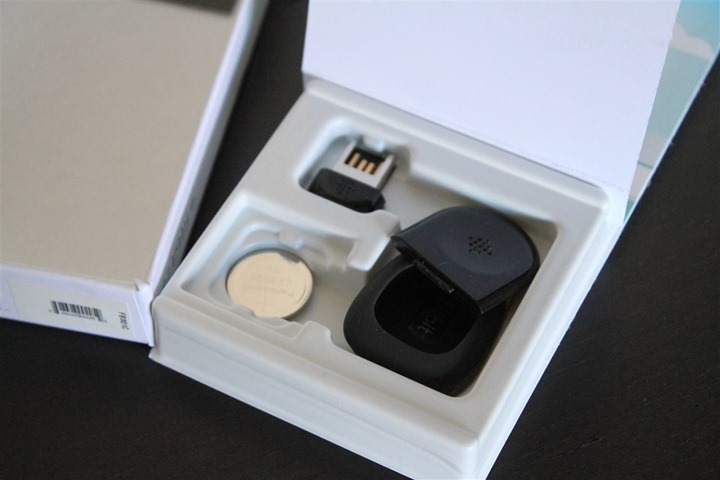
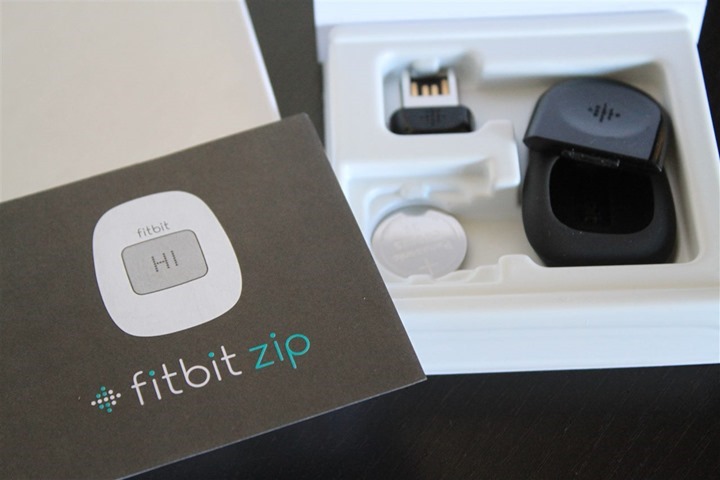
Here’s all the pieces laid out accordingly:
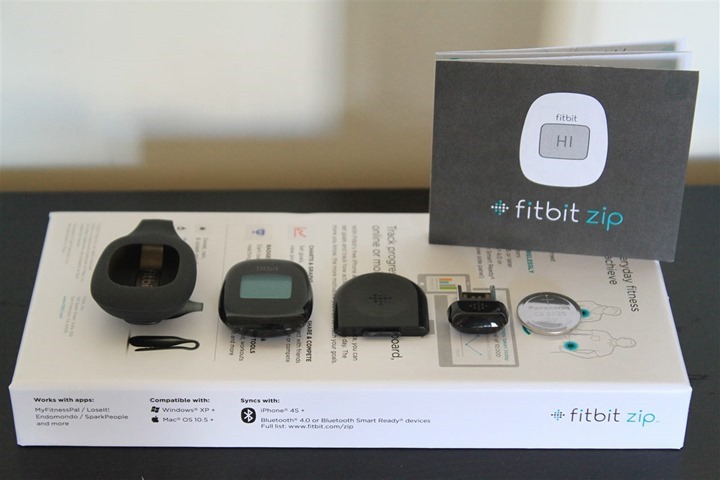
The little rubber Zip holder allows you to slide the Zip itself into it, and then it keeps it well protected. In the past year wearing it almost every day I never had an issue with it falling out of the secure rubber casing.
here’s the Zip itself. It’s roughly the size of a few quarters stacked on top of each other.
Next we have the CR2025 battery that goes into the Zip. This battery will last you about 6 months in my experience. At which point you simply replace it with another $2-3 battery.
Speaking of replacing the battery, you’ve got the little battery replacement key. It’s funny, most companies just make you use a house key or credit card or the like – it’s fairly nice that FitBit actually included a tiny tool for it.
Next we’ve got the Bluetooth Smart USB stick. This is if you have a Windows PC (or an older Mac) and don’t use the phone to connect to the device for downloads. For most people, you’ll never use this.
Here’s the instructions:
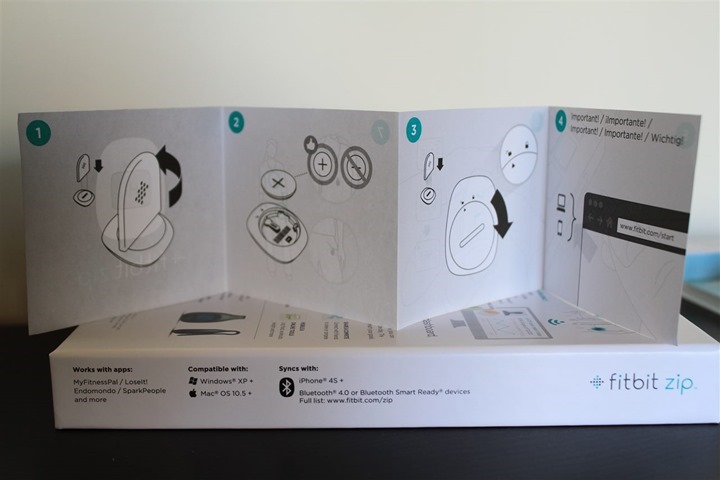
With that, let’s get onto how it sizes up against other units on the market.
Size & Location Placement Comparisons:
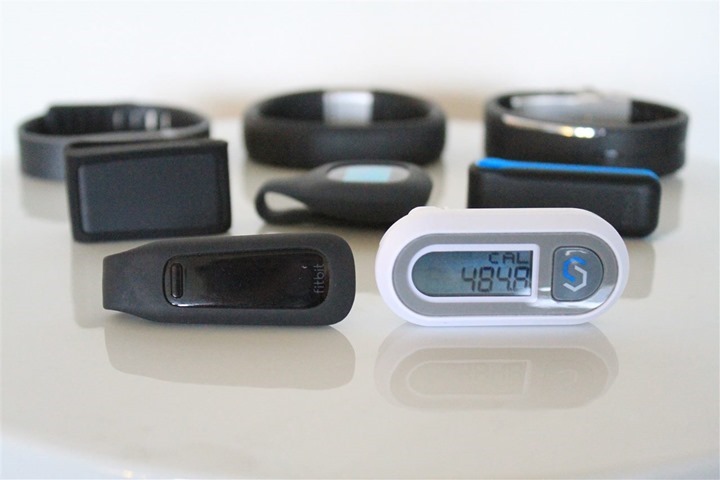
With so many devices on the market these days, I figured it’s probably worthwhile showing a bit of a comparison of where things stand. Ultimately, virtually all on-market devices today fall into one of two camps: Wrist based or belt/clip based. First up, the belt/clip based units.
Today, the most common units in this category would be the variety of FitBit units (Ultra, One, Zip), as well as the Withings Pulse, and then a small collection of units from Sportline as well:
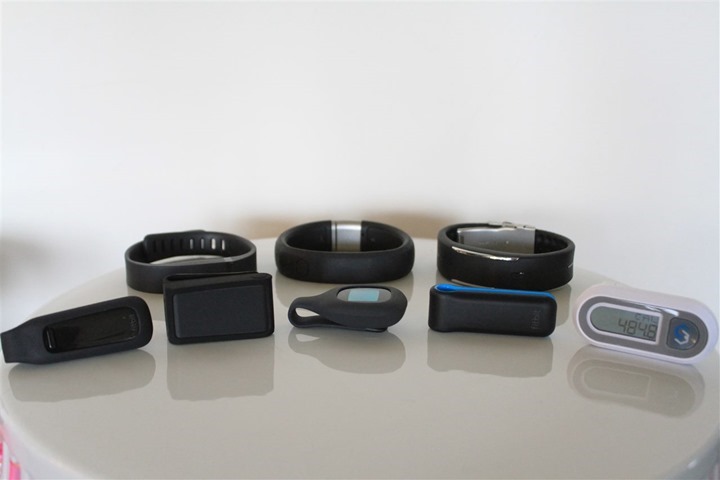
As you can clearly see, the FitBit Zip is amongst the smallest footprints out there. Though a tiny bit wider than the Ultra, it’s much shorter. You’ll note that the newer FitBit units and the Pulse all use a rubberized case. This is important as it keeps the unit from slipping out and falling into the toilet (trust me, been there, done that). It provides that tiny bit of traction that’s required.
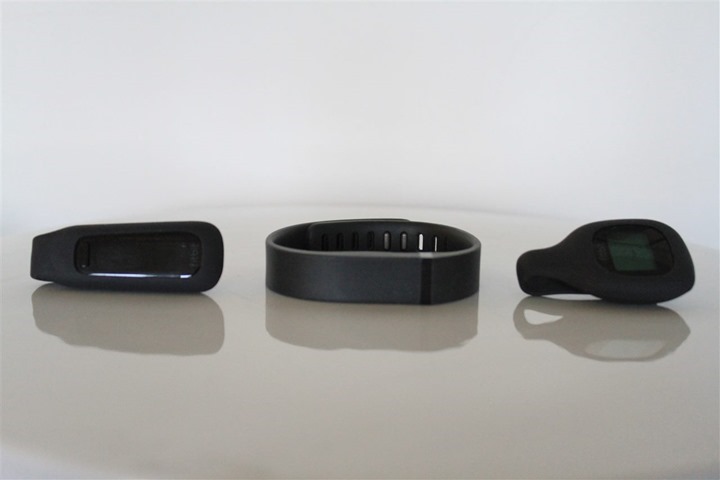
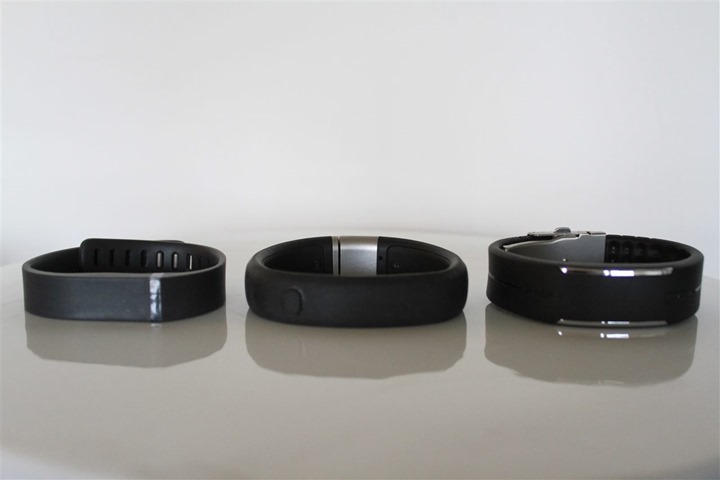
Next, while not covered in this review are some of the wrist based units. Below you can se the FitBit Flex (bottom), Nike Fuelband (middle), and newly released Polar Loop (top):
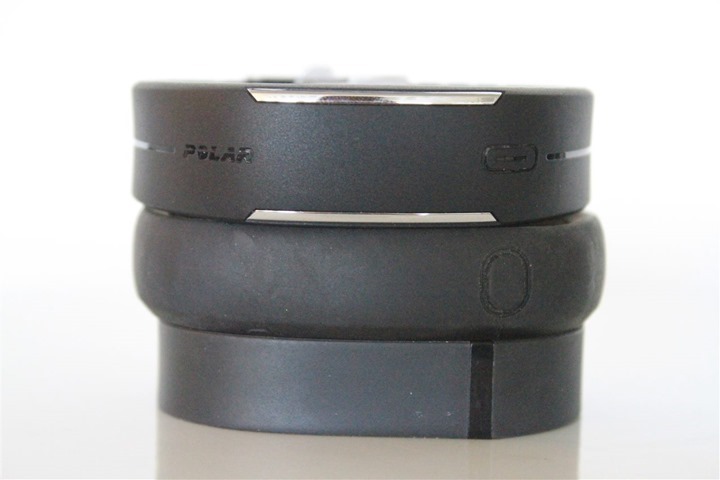
Size-wise these are all reasonably similar, with the Flex being the thinnest/smallest, and the Fuelband and Loop being pretty darn similar:
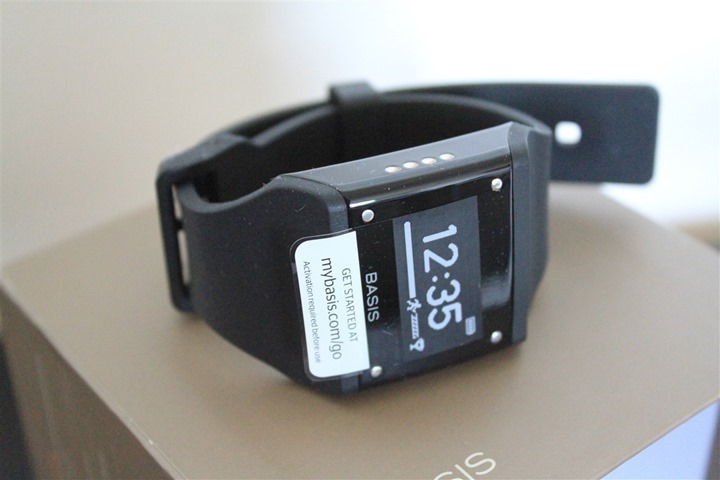
I didn’t include the below Basis B1 in this show, merely because it’s a full-on watch as well, and has far more metrics it’s recording (such as sweat and heart rate). So it’s sorta like comparing an aircraft carrier to a fishing boat.
Note, there are some units out there (such as BodyMedia) that attach to your upper arm. I’m not including them here for two reasons. First is that I find most of these cumbersome to wear. But second is that they aren’t actually in the exact same market as the units above. Most of the units above are more concerned with measuring simple day to day activity such as walking. Whereas some of the more advanced (which, may be a stretch of that term) upper-arm based units measure sweat and/or heart rate in the drive to get more detailed information about calorie burn.
Initial Setup and Configuration:
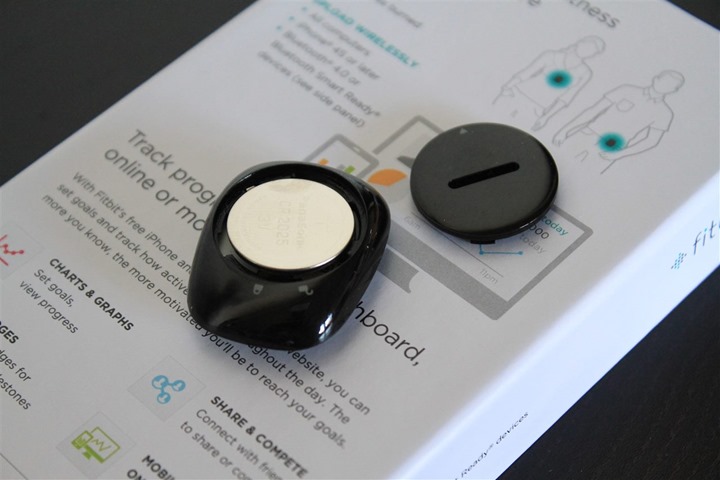
Before we get to using the device, we’ll need to add the included battery. Don’t worry, it only takes a second. Grab that little tool that came with it. In the event you managed to somehow inexplicably lose said tool in the last 4 minutes since unpacking, just use a coin, credit card, or key.
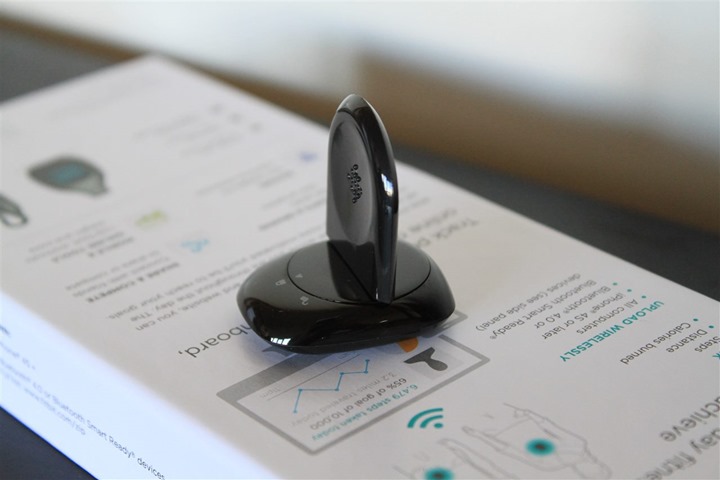
Once opened, go ahead and plop the coin cell battery into the device, then put the cover back on again:
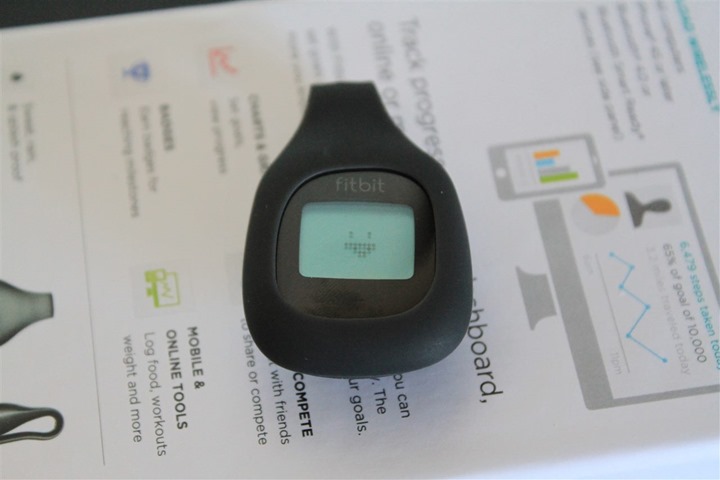
Give it a tap, and the little smiley face should pop-up. That’s it – it’s ready to roll!
Next, we’ll need to pair to to our phone. I’m running through the iPhone version here (which requires an iPhone 4s or higher due to Bluetooth Smart requirements), but you can also do the same on the Android version of the app.
To start, you’ll go ahead and search for a new device:
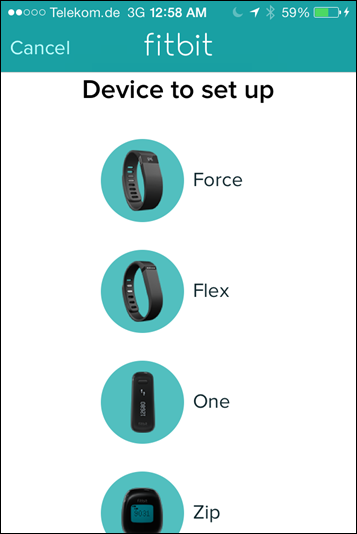
Once you tell it which type of device to look for, go ahead and tap the screen to wake it up. Shortly therafter, it’ll find the Zip:
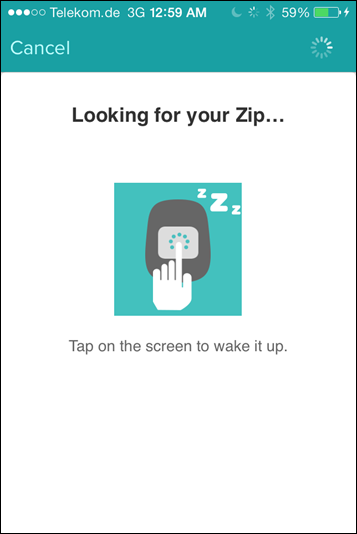
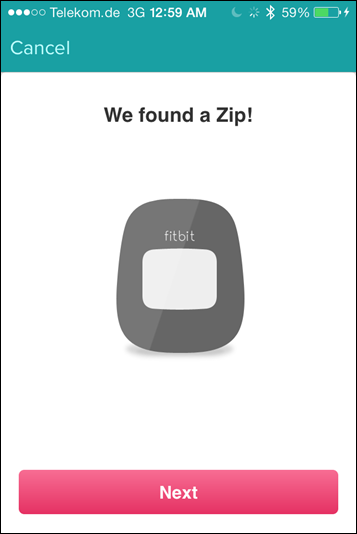
Next, you’ll go ahead and get a four-digit code sent to the Zip. Simply type what you see on the screen into the phone:
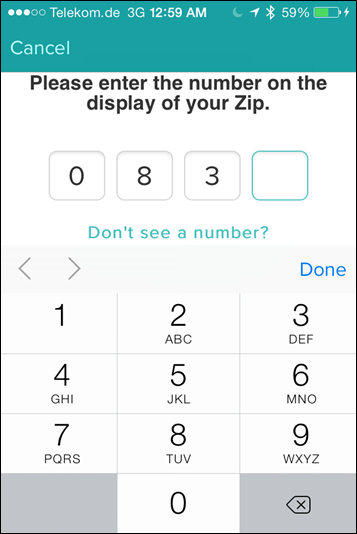
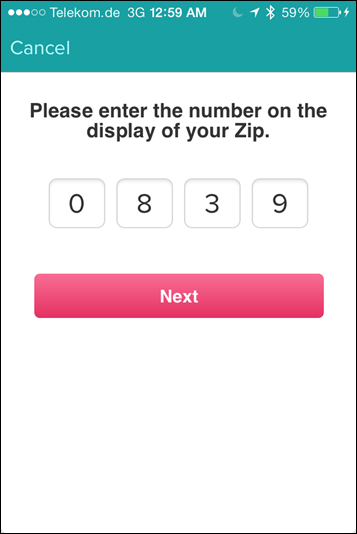
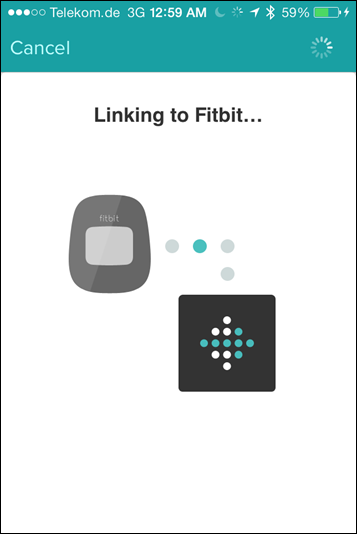
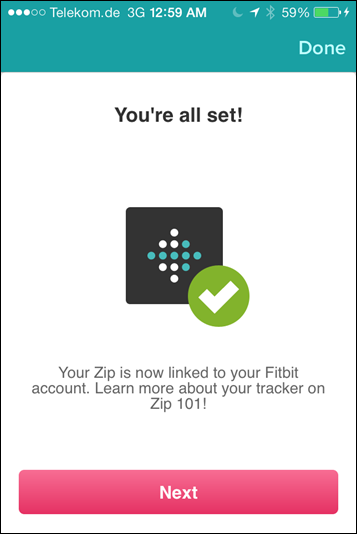
Following that it’ll link up the FitBit and you’ll soon be on your way:
Day to Day Use & Recording of Activity:
When it comes to usage, the FitBit Zip is probably the silly-easiest unit on the market to use. Really, there’s only a single ‘button’, which isn’t really a button at all. It’s just a screen you tap. First up though, is wearing it. For me, I wear it on my pants waistband, just under the belt. It’s virtually invisible in this location. So much so that I’ve completely forgotten it’s there numerous times.
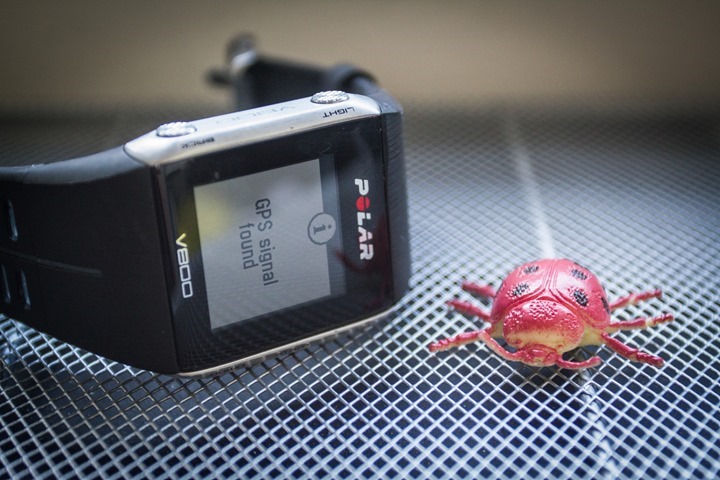
This aspect of completely forgetting about it is further emphasized by the fact that the battery lasts about 5-6 months (it was roughly 5.5 moths for me). At which point you just pop off the back and swap it out with a CR2025 replaceable battery for $2-3.
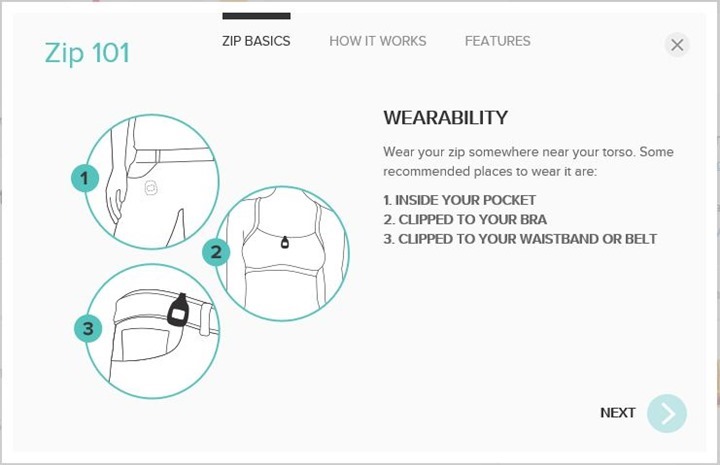
When it comes to other locations that you can wear the device, here’s what FitBit recommends:
By default once touched the Zip will display a smiley face indicating your progress on the day’s goals, such as below:
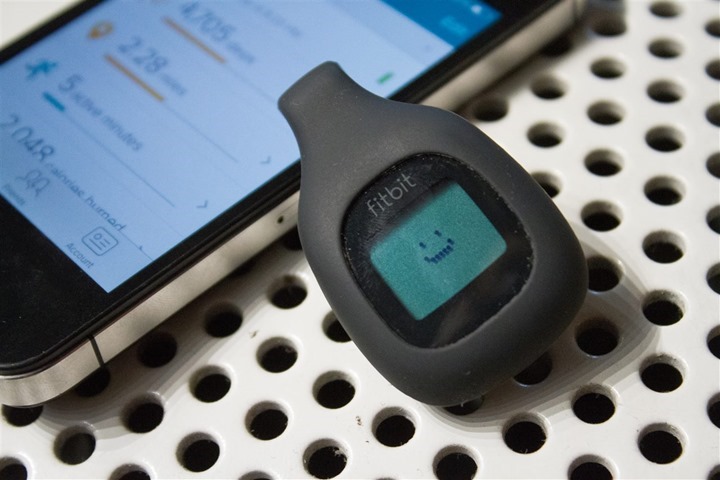
Then, if you tap it again, it’ll show the time. The time is automatically synchronized with your phone’s time zone. This is especially handy for me in that I’m constantly crossing time zones for work travel.
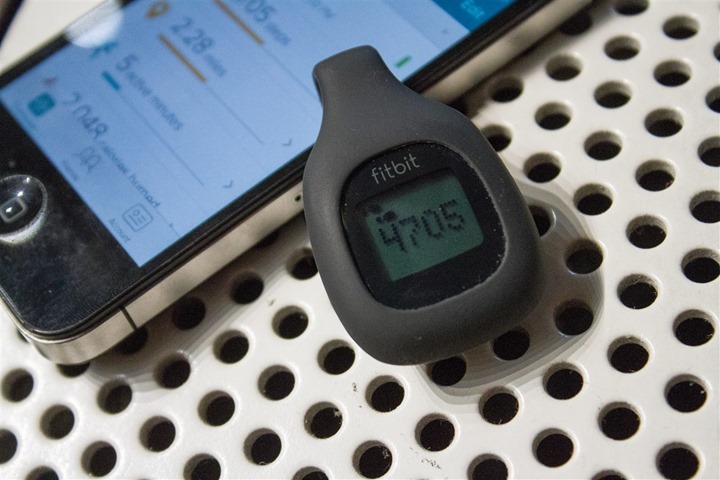
You can then tap the screen to iterate through the display fields showing metrics it records, starting with Steps:
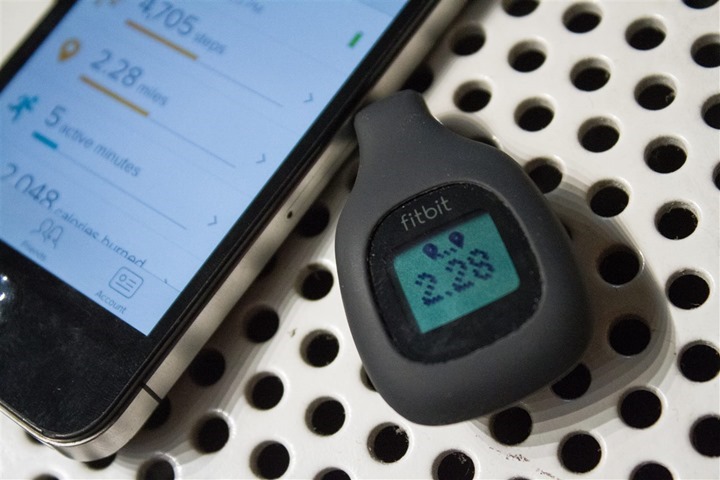
Then distance. I’ve set it to display in miles, but you can switch it to kilometers (metric):
Next are calories burned over the course of the day. This takes into account your baseline calorie burn just for being alive.
Finally, it gives you a little smiley face too:
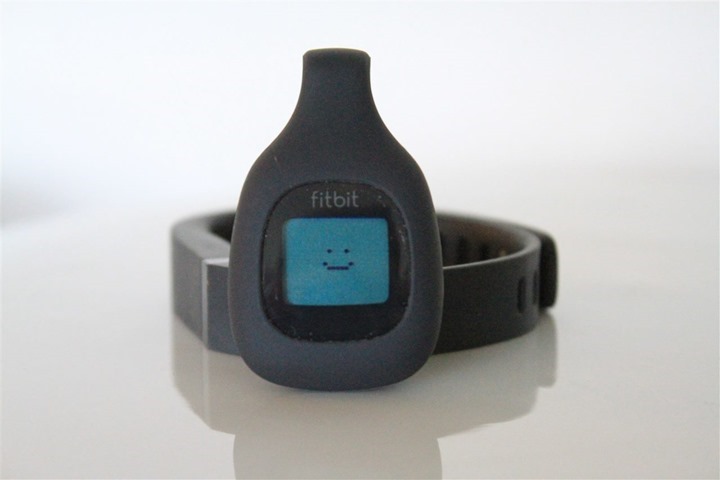
The unit will automatically shut off the display after a few minutes. To wake it up you just tap it upside the smiley-face head.
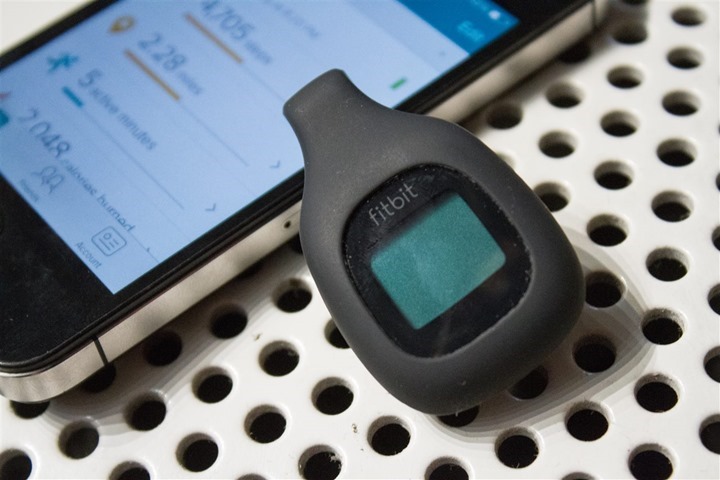
Now, it’s probably worth noting that it doesn’t record and/or display certain other metrics, which are as follows:
– Stairs/Floors: Only the FitBit One, Force and now retired Ultra records this. Mr. Zip does not (nor Flex).
– Sleep: Only the Fitbit One, Force, Flex, and Ultra do this as well. Again, zip for Mr. Zip.
– Pulse: No FitBit units on the market record this, but I wanted to point it out.
– Alarms: The Zip doesn’t have any vibration/beeping or other noise-making capabilities. It’s all about being a quiet partner, not a noise-maker.
Finally, it doesn’t record/display any sort of mythical pony currency like Fuel points or the like. It just gives you straight calories as your unit of work measurement.
Uploading data to/via your phone:
Uploading all of this treasured data to your phone is just as silly easy as using the unit. In fact, there’s really only one action you’ll ever do with the Fitbit. Which is simply hitting it. So in this case, we again give it a love-tap and after opening up the phone app and then clicking the little ‘refresh’ icon:
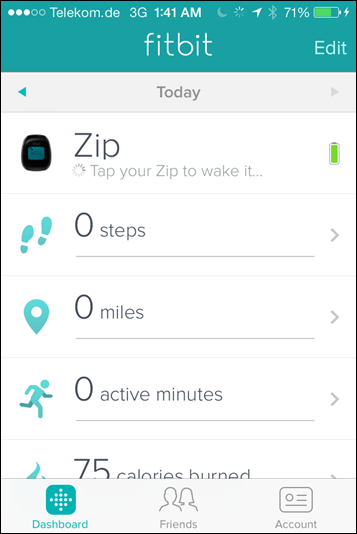
Now, the upload process doesn’t tend to be the fastest cat in the house. If you’re just syncing a day’s worth of data it’ll upload pretty quickly (perhaps 30 seconds). But, if you’re syncing a week or two’s worth of data I find it takes a heck of a long time (many minutes).
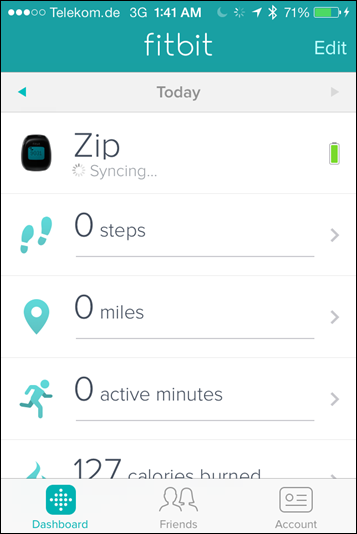
Further, when it does take that long time the data doesn’t seem to appear directly on the app itself immediately. Rather it seems to be processed by some backend web service, and then enumerated onto your app. This idea is further supported by the fact that you can’t actually sync to the device without internet connectivity. For example, on a plane:
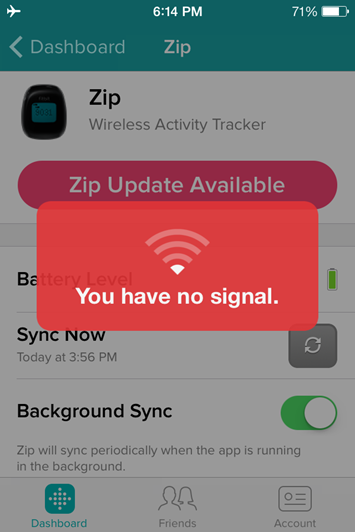
Nonetheless, I’d agree that the scenario where you’d want to sync to your phone to upload but lack uploading interwebs…is probably somewhat rare.
Finally, you can also enable what’s known as ‘Background Sync’, which will automatically occasionally connect to your FitBit while the FitBit app is running and try and grab data. There’s a small hit on battery here (mostly on your phone), though with all the other junk I’ve got running on my phone it’s a bit difficult to figure out how bad that hit is exactly.
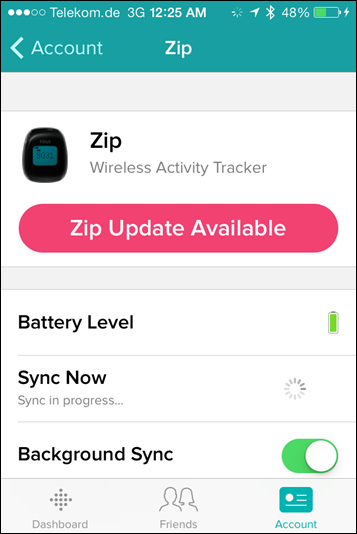
There exists FitBit apps for both Android and iOS, though it requires a phone that supports Bluetooth Smart (Bluetooth 4.0). On the iOS side that’s any iPhone from the 4s and newer. On the Android side, that’s a bit of a complex question to answer, and it’s better to look right at FitBit’s site. (Update: They’ve also introduced now a Windows Phone app too!).
Uploading the data onto your computer:
In addition to using your phone (for supported phones), you can also upload via your computer. FitBit provides a small USB adapter in every box that you can plug into your computer and then connect to the FitBit device. This in turn connects to the web service to upload your data. Nothing more, nothing less.

Once you’ve got the software installed you’ll simply configure your FitBit account:

Then you’ll do much the same procedure as before with your phone by giving your FitBit a quick tap to wake it up. The unit will then sync with the PC/Mac software and upload the data to your account:

You aren’t able to use the app to display your data, rather, it’s just a conduit. To display the data you’ll need to go onto the website…which, I conveniently talk about next.
The FitBit Dashboard:
The FitBit Dashboard is your primary go-to point for viewing data about your existence within the FitBit ecosystem. I’m going to walk through the newer/beta dashboard UI (user interface) layout, rather than go through the older one – since that’ll like disappear over time anyway.
Below, is the default view in the dashboard, showing a bunch of different metrics that the Zip tracks (or, that you can log manually).

At the top, you can change the day of the week by scrolling left to right:

For each one of these dashboard ‘widgets’, you can hover over it to get a % of goal number displayed:

You’ll see towards the bottom the ability to earn ‘badges’. These badges are awarded based on hitting certain milestones – such as accomplishing a number of stairs or steps in a given day.

The FitBit dashboard is designed show you input versus output in certain widgets. In this case, that input being food you consume. Today all of the activity trackers out there require you to manually enter that food using a massive food database with calorie metrics built in. This tends to work great if you go to Subway and get a 6” turkey sub. But it falls apart entirely when I go to a friend or family’s house and have their special dish du jour – or most non-chain restaurants.
Nonetheless, the capability is there. And I’ve found with similar databases that it can be valuable as a bit of a gut-check (no pun intended) on rough calorie consumption. And, if you do have absolute knowledge of your caloric intake, then you can likely get quite close.

Because the FitBit Zip doesn’t track sleep metrics within the device, you can instead manually enter that information which will then show up in the online dashboard as well as phone apps.

Next we have the ability to tweak the display settings on the Zip itself. For example, you can enable or disable certain pages. Given how few pages there are on the Zip, I suspect most folks won’t/aren’t using this. This page also allows you to see the current firmware version, as well as battery status.

In addition to the web dashboard, you’ll also have access to most of the same data via your phone app. Below you can see the dashboard view for a few days:
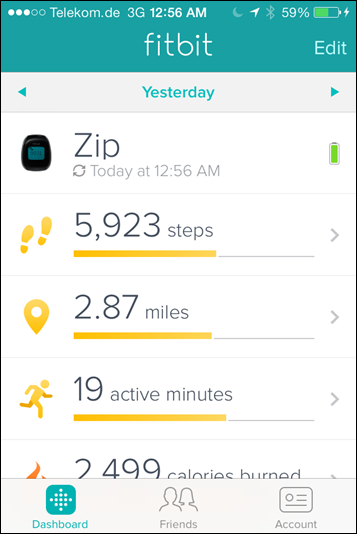
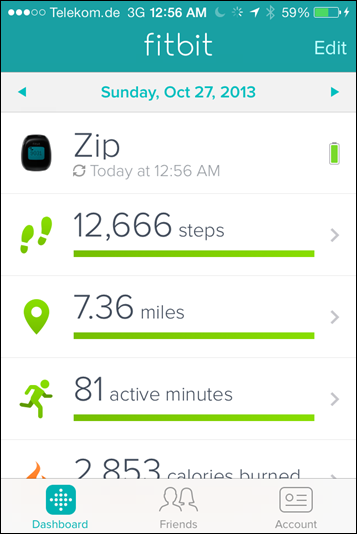
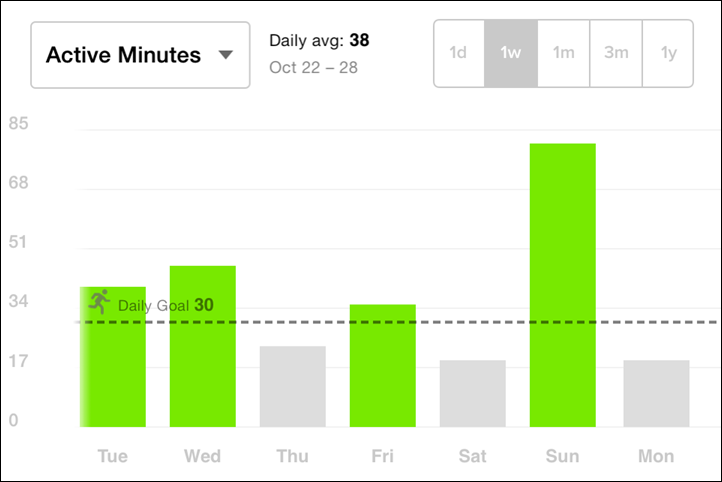
I can then dive into some of these via charts on the phone app, changing the timeline as well as the displayed metric (steps/calories/etc…).
Finally, in addition to all of the above, the service will e-mail you (optional) weekly with your updated stats. For example, here’s the most recent –email I’ve received:

You’ll see total distance as well as calories and badges. The badges are earned as noted above based on various milestones you hit along the way.
Data Accuracy:
Accuracy of data is a bit of a wild-wild-west when it comes to most of these activity trackers. In fact, getting them to agree on steps is nearly impossible. Let alone getting them to agree on distance or calorie burn. Thus, there’s a few ways I attempt to ferret out who might be correct.
First up is a simple test that’s easy to complete: The 200 Step Test.
In this case I simply count off 100 steps and see what the number displays at the end. I do this twice, just for fun:
Test 1: 100 steps exactly
Test 2: 107 steps
Next, I take that same test and add in a bit of a twist, a flight of stairs in the middle. I accomplish this by simply walking 75 steps to the stairs, then up the stairs, back down two flights of stairs (60 steps in total), and back out 75 steps (total 210 steps):
Test result: 217 steps
I go up/down stairs because I’m interested to see how well it counts the steps.
As you can see, it was mixed. The first test it was spot on. Then the second and third test it varied by 7 steps. Now, I do these short tests merely to make a point. Sometimes you luck out and are spot on, and other times the twists and turns of daily life changes the result.
Lastly, we’ve got a bit of a test I completed this summer between a number of units that I thought might be interesting here. Understanding which unit is ‘correct’ is ultimately rather difficult.

If you take an individual data point, it can either base fairly close or fairly far away. Deciding which is correct is really darn difficult. For example – why was the FitBit Zip so much higher on that Tuesday than the rest? I suspect it’s because that Tuesday I was actually riding around a bit on bikes around the city (not road-riding, just bike-share riding). It’s interesting to see that the FitBit appears to be more sensitive to vibrations there than the Withings Pulse. Now, in this case that may not be a bad thing to be honest. It may get me a bit closer to actual work-effort than the Pulse, even if the medium (steps vs pedaling) is wrong.
The point here being don’t overthink the accuracy. Focus on hitting that number (whatever that number is) day by day. It gives you an approximation, not an exact number. Don’t decide that you’re going to cut 50 calories from your diet because the unit said you were 50 calories low. It is not (and most of these devices simply aren’t) within that level of accuracy.
Notes on sport tracking accuracy:
I often point out to folks that devices like the FitBit aren’t terribly great for tracking sports activities – such as running. Either from a caloric or distance standpoint. First off, these devices can’t actually determine how much effort you’re putting into the activity, which is one key metric for determining calorie burn. Traditional running watches simplify this by just doing standard distance*weight type equations, using basics such as 1 Mile = 100 Calories.
And that would somewhat work in this case if the unit could actually track while running. But ultimately, it can’t. It’s not very good at that at all. To illustrate this, take the following run I did. It was a 9.25 mile run, tracked using GPS (on actually two devices, both similar distances).
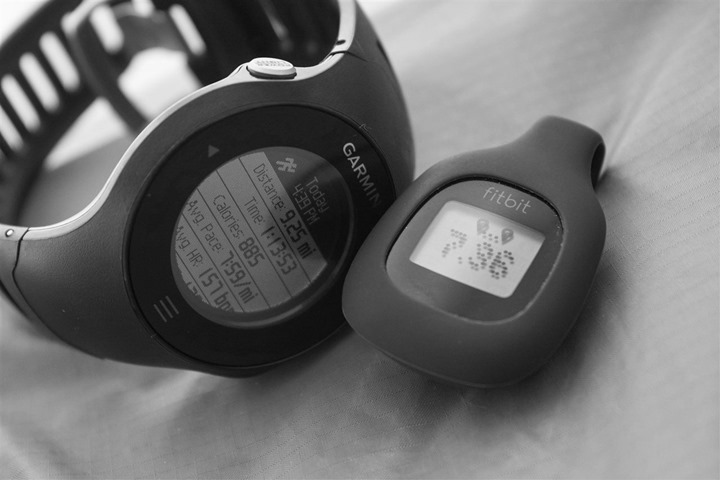
In the case of the FitBit, it listed as 7.36 miles (I put it on for the first time that day at the start of the run). And, the kicker is, that’s actually including .38 miles after the run ended before I remembered to look at it (I had measured the distance I walked post-run as the cool-down on a separate file). Thus making the distance difference even worse.
My point being, with the FitBit you’re really measuring the ‘other 23 hours of the day’, not the 1hr that you’re participating in some sort of aerobic activity. For me, I actually remove my FitBit when I’m working out. I’ve got plenty of other devices to track that, and really want to just better understand the other side of things.
A brief look at the FitBit One and FitBit Flex (and the new FitBit Force):
While this review is focused on the FitBit Zip, I do have, and have used as well, the One, Ultra and the Flex. I have not used the new FitBit Force (the successor to the Flex). I think that in general FitBit has done a really good job of bridging the marketplace across the different price ranges and wearable locations that most people fit into. Further, they’ve done a solid job of providing a web site and service behind that to access that data. So this section is really just a short drill-down into the options you have within that lineup.
FitBit One:
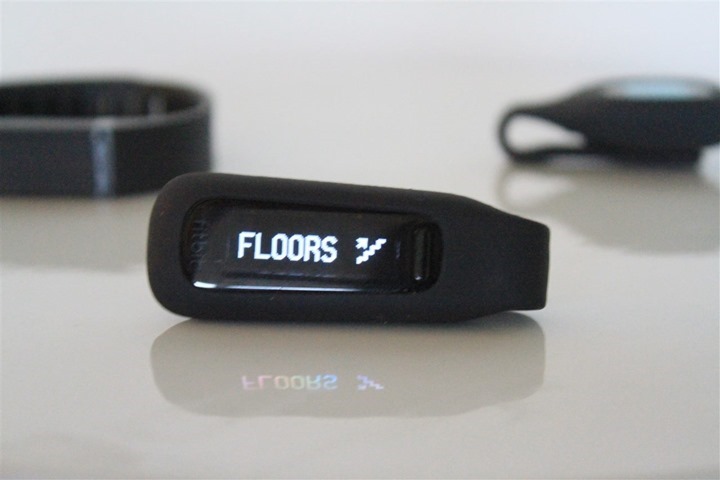
The FitBit One is the successor to the older FitBit Ultra. Me and the Ultra were best buds for quite some time, a couple years in fact. We had a few disagreements (he left me for a toilet bowl), but largely we were happy. The One came along and improved the situation slightly, mostly in the connectivity and form departments. The One added wireless synchronization to your phone (the Ultra required a little charging dock), as well as added a vibration alarm. More importantly however (in my eyes), it added a rubberized case to the outside to minimize toilet-bowl incidents. The older Ultra was sleek as a bullet and easily slid off.
The One also has functionality where the Zip doesn’t, namely in the floor/stairs climbed arena as well as the sleep side of things. Sleep can be interesting if you regularly wear the device to bed. I personally find stairs less interesting because in general most people aren’t going out of their way to actually measure the number of stairs climbed per day (even in office buildings). At least any appreciable number of stairs worth measuring. Meaning do you really need to know that you climbed 16 stairs that day versus 32 stairs? Neither are really numbers that make a dent compared to walking an extra 1,000 steps. Just my ‘reality check’ opinion.
If you do plan to walk a lot of stairs, then by all means consider a unit that counts that. But if not, I wouldn’t spend extra for that feature.
FitBit Flex:
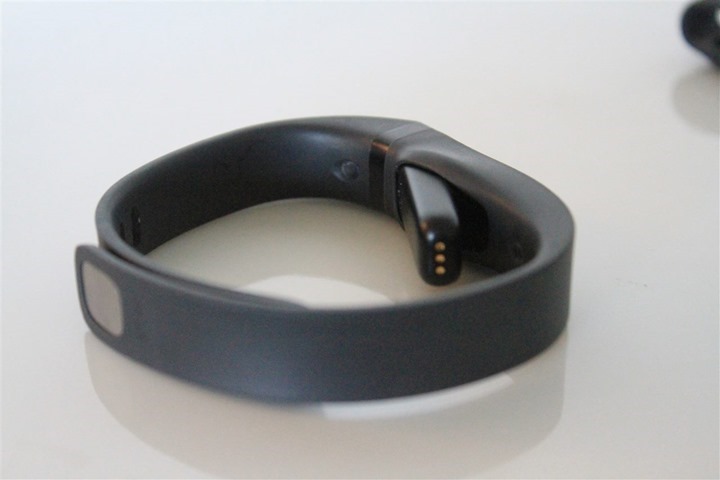
From the moment I saw the Flex last year at CES I immediately didn’t “get it”. And in fact, the vast majority of the other media outlets echoed the same opinions as well. The problem with the Flex was that it failed to allow you to see your progress. One of the major reasons one wears a wrist based unit over a clip/belt unit is for slightly easier access to the display. The problem? The Flex lacks a display. Sure, the company would argue it’s got this little five-dot LED system. But aside from some stoplights, what other devices do you know that can usefully convey information about your movements in five dots? I’ll help: None.
Thus ultimately I had to wear something on my wrist that only served the purpose of gathering data, rather than also encouraging me to keep aiming towards my goal that day. In case it’s not obvious by now: I’d definitely skip the Flex.
FitBit Force:

Finally, the Force, which is the successor to the Flex. This unit ‘fixes’ my major issues with the Flex by adding a display to it. In my opinion this takes it from the non-buy category (Flex) to the purchasable category (Ultra). However, because I haven’t had hands-on time with it yet, it’s a bit early to make that call. There are plenty of other devices that work fine in PR/marketing materials, but suck in real life. The thing that the Force has going for it however in this equation is that it should be largely using the same underlying code as the Ultra and Flex, and thus likely won’t be an all new venture. Now, with wrist-based units it’s not all about code. The Jawbone UP of the past proved that point quite nicely when it ultimately required a distribution-wide recall due to defective hardware issues.
Brief thoughts on the FitBit Aria Weight Scale:
In the scheme of reviews, I’m not entirely sure how the FitBit products ended up on the wrong-end of the review cycle timeline. Perhaps oddly enough just because I use them daily I sorta forget about them. Like the FitBit Zip, I bought the FitBit Aria some time ago (almost 18 months ago in fact). And it’s been in our bathroom ever since. I generally weigh-in on it almost every day – sometimes twice a day after runs and other longer training activities.
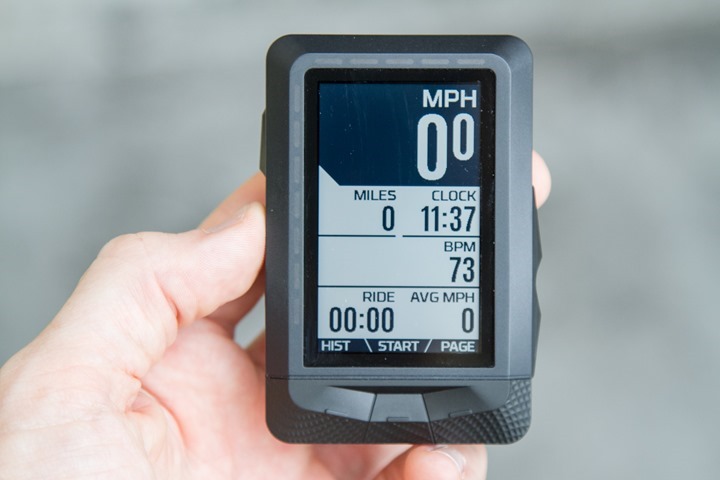
The scale connects via WiFi to my FitBit account, and the data is automatically uploaded to the FitBit service as soon as I step off the scale:

Because this data is in the larger FitBit empire, it’s then available not only online, but also within the FitBit app:
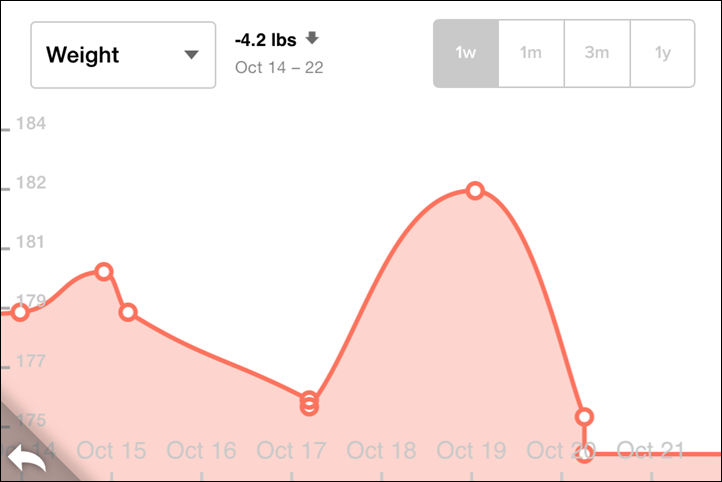
When it comes to body fat, I haven’t independently tested it against higher-accuracy methods out there. In general, as you’ve seen in my past body fat scale tests – most of these devices sorta suck at body fat. They tend to be consistent for day to day, but aren’t necessarily truly accurate. For most folks, it will provide a general ballpark, but I also wouldn’t become obsessed with that number (body fat) either. I don’t however see any issues with accuracy of the weight side though.
Many people ask about the differences between the FitBit and Withings Scales (given I’ve got all of them on hand). But honestly, here’s the thing…there are really so few differences between the two. Both are solid devices (something I can’t say about all scales these days), and both do exactly what you’d expect them to do in a consistent manner.
Further, both have open API’s and allow you to send your scale data to multiple services, and both have apps across two or more different phone platforms. There’s no absolute and clear winner.
In general, I’d suggest that if you buy FitBit activity tracker it probably makes sense to buy a FitBit scale. Whereas if you buy a Withings Pulse activity tracker it probably makes sense to buy a Withings Scale. Simply because it means your data will appear in a single dashboard and a single app, and, in both cases it’ll be a bit of pinnacle of ‘working together’.
3rd Party Connectivity:

FitBit has always been great about allowing 3rd party apps to connect to their platform. They’ve had an API as long as I can remember, and have had partners just as long. This means that your data isn’t islanded away, nor is it only limited to FitBit devices.
This means that through partner apps you can feed in data from other devices, or apps. Mostly apps actually. In this case you can use apps such as MapMyRun or Endomondo to integrate your runs into your FitBit account.
Further, they’ve also partnered with insurance providers as well – providing a mechanism for both insurance companies and corporate wellness programs (and similar things like the Walgreens rewards program) to give you rewards for usage. Other companies (such as Garmin) are doing similar things, but FitBit is way ahead in the game here.
Next, if you look at privacy settings, it’s incredible how much control FitBit gives you over what information is released (if any):

Now, my only beef is that while FitBit does offer export of data via a CSV utility, it requires the $50/year premium option to access it. This is quite honestly pretty lame.

Further, this is one area where the API falls short – it doesn’t allow what’s known as ‘intraday’ data (basically the minute by minute data) to be accessed. Rather, only the daily summaries. Thus ensuring that nobody can circumvent FitBit. While there are some 3rd party options that try and hack away at it, most of them are well beyond complex for the average user.
Updating the firmware on your Fitbit Zip:
It should be noted that the unit does support firmware updates, and FitBit has delivered a number of those over the past year. These updates tend to add minor items – mostly on the app side (such as sync of time zones). The updates only take a few minutes to complete, and are done via the app. You’ll see a notification like the below that the FitBit has a new firmware download available for it:
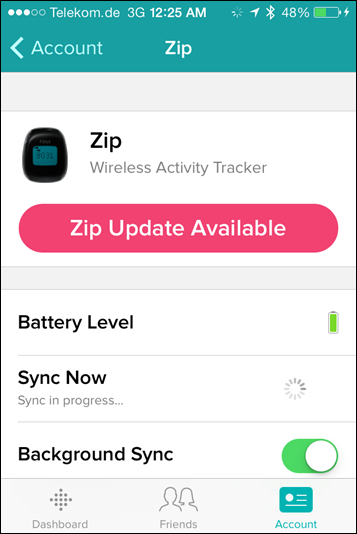
Then, you’ll go ahead and want to place the two devices (phone + Zip) nearby each other. At which point you can go and and start the process.
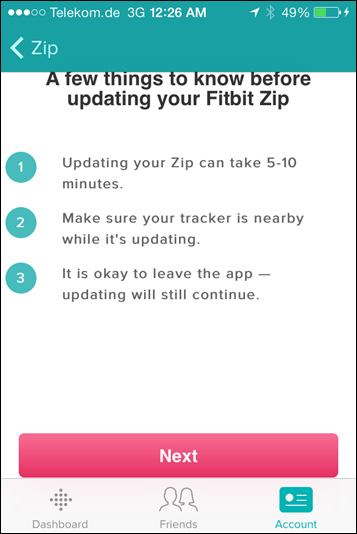
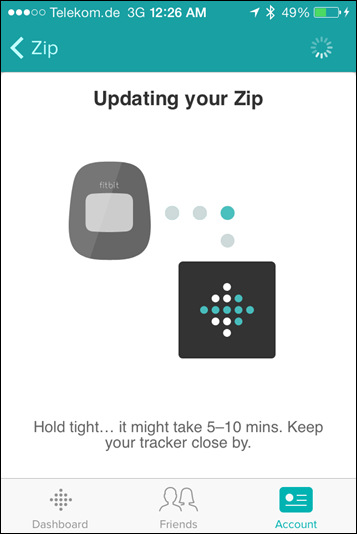
Once it’s done (in a couple of minutes), the unit is back to normal tracking distance and steps.
Bugs and Miscellaneous:
I generally don’t see any bugs these days with the FitBit Zip. When it first came out I saw all sorts of weirdness, especially around uploading. But after a year since release things are much smoother now. About my only complaint is that it’s definitely not washing-machine proof (as I learned recently). But, neither was another unit that went through a similar washing-machine experience (Withings Pulse).
Pros/Cons:
When it comes to activity trackers there’s a bit of an inherent pro/con around where to place it (wrist vs belt/clip). I’m going to skip that obvious complimentary set of pros/cons and focus on the others:
Pros:
– Silly simple usage – only one action: Tap
– Connects wirelessly to phones via Bluetooth Smart
– Battery lasts 5-6 months, only costs $2-3 to replace
– Dashboard and app work well, easy to consume data
– Good 3rd party support/partnership ecosystem
Cons:
– Selection of Bluetooth Smart compatible phones is limited outside of iOS and absolutely latest Android phone units
– Doesn’t track metrics such as sleep or stairs/steps
– Step-counter accuracy seemingly varies a bit
– The export functionality is paid-only, and for $50/year
Comparison Tables:
There’s a lot of activity trackers on the market these days. The most popular brands being FitBit, Nike, Basis, BodyMedia, and more recently, Withings and Polar. In an effort to help you navigate that landscape a bit I’ve put together this comparison chart which talks specifically to units that I’ve tried and tested (and felt worthwhile to actually mention). It doesn’t talk to units I haven’t tried and tested. That’s the way all my comparison charts work: I require real-world access to the product to make the database. I simply find that PR/marketing blurbs twist the truth a bit, so this gives you an independent place to get that data.
With that out of the way, here’s how things stand up (note you can mix and match other units beyond this pre-selected list here):
Copyright DC Rainmaker – Updated May 29th, 2017 @ 9:08 amNew Window
Price$59$139$129$79$149
Body PlacementWaist/Clip-onWristWristWristWrist
Data Transfer TypeBluetooth SmartBluetooth Smart, USBBluetooth Smart/USBBluetooth Smart/ANT+Bluetooth Smart
Bluetooth to PhoneYesYesYesYesYes
Has GPS built-inNoNoNoNoNo (can use phone’s GPS though)
WaterproofingNot really50mIPX7 (1 meter for 30 minutes)50 MetersSplash only
Battery Life6 monthsUp to 5 daysUp to 5 days1 YearUp to 5 days
Battery TypeCR2025 coin cellUSB RechargeableUSB RechargeableCR1632USB Rechargeable
Changeable Bands/StrapsNoNoYesYes
Phone Music ControlYesYesNoNo
Displays timeYesYesYesYEsYes
Has time alarmsNoYEsYEsYesYes
Has smart sleep alarmsNoNoNoNo
Smartphone NotificationsNoYesYesChoresYes (Text/Phone/Calendar only)
Workout guidance/coachingNoNoNoNoInterval workouts
Step CounterYesYesYesYesYes
Stairs ClimbedNoYEsNoNoYEs
Distance WalkedYesYesYesYesYEs
Calories BurnedYesYesYesYEsYEs
Sleep MetricsNoYesYesYesYes
24×7 HR MetricsYesYesNoYes
Skin TemperatureNoNoNoNoNo
Heart RateNoyesYesNoYes
Optical Heart RateYesYesNoYes
Can re-broadcast Heart Rate dataNoYesNoNoNo
Skin PerspirationNoNoNoNoNo
Cycling SensorsNoNoNoNoNo
Action Camera ControlNoYesNoNoNo
Web ApplicationYesYesYesYesYes
PC ApplicationYesYEsYesYesYes
Mac ApplicationYesYEsYesYesYes
Phone AppsAndroid/iOS/Windows PhoneiOS/Android/Windows PhoneiOS/AndroidiOS/Android/Windows PhoneiOS/Android/Windows Phone
Ability to export/sync settings from computer/phoneYesYesN/AN/AYes
3rd parties can access data via APIYesYesNoYesYEs
Ability to export your data out of platformYes (paid option)YesYesYesYEs
Amazon LinkLinkLinkLinkLinkLink
Clever Training – Save a bunch with Clever Training VIP programLinkLinkLinkLinkLink
Review LinkLinkLinkLinkLink
You can mix and match a few other units using the product comparison database here.
Final Thoughts:
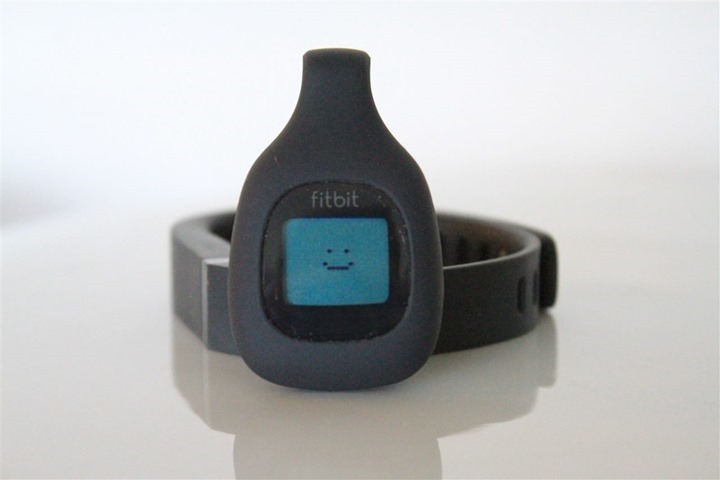
In general, if I had to recommend just a single activity tracker out there today – it would be the FitBit Zip. It fulfills all the basics and is easy to use. I could give it to my 96 year old grandpa and he’d be able to use it just fine for tracking his walks (he walks far more than you’d think). From a software cleanliness standpoint the suite works well and isn’t buggy.
There are no doubt things it could do that other units do, but I’m realistic that at $59, it does just about everything I really want from a core usage standpoint. Sure, units 2-3 times the price can measure stairs and heart rate (and even perspiration). But for most people that just need to increase basic activity and movement, this is really the ideal unit.
By the same token, there are units half the price as well. And those do a good job as well (more on them in another review), but just without the wireless connectivity or tiny size footprint. I find the FitBit Zip is really the perfect balance of everything.
Now, is this for the endurance iron-distance athlete? Yes and no. There’s interesting data to be had in monitoring the other 20-23 hours of your day. Especially around recovery and how much activity you’re actually doing on your recovery days (versus perceived). However, the reality is that most of these activity trackers are really aimed more at non-endurance athletes looking to get active. Simply looking for a bit of motivation to get up, walk the 1/3rd of a mile instead of taking some other mode of transport, and just focus on moving rather than sitting. For that crowd, this works perfectly.
Found this review useful? Or just wanna save 10%? Read on!
Hopefully you found this review useful. At the end of the day, I’m an athlete just like you looking for the most detail possible on a new purchase – so my review is written from the standpoint of how I used the device. The reviews generally take a lot of hours to put together (especially this one, probably the longest and most detailed I’ve ever done), so it’s a fair bit of work (and labor of love). As you probably noticed by looking below, I also take time to answer all the questions posted in the comments – and there’s quite a bit of detail in there as well.

I’ve partnered with Clever Training to offer all DC Rainmaker readers an exclusive 10% discount across the board on all products (except clearance items). You can pickup the FitBit Zip (or any other FitBit) from Clever Training. Then receive 10% off of everything in your cart by adding code DCR10BTF at checkout. By doing so, you not only support the site (and all the work I do here) – but you also get a sweet discount. While this item is less than $75, if you did add something to your cart to bring it over $75, you’d get free shipping as well.
FitBit Zip (Blue, Lime Green, Gray)
FitBit Flex
FitBit One
FitBit Aria Scale
Additionally, you can also use Amazon to purchase the unit (all colors shown after clicking through to the left) or accessories (though, no discount on Amazon). Or, anything else you pickup on Amazon helps support the site as well (socks, laundry detergent, cowbells). If you’re outside the US, I’ve got links to all of the major individual country Amazon stores on the sidebar towards the top. Though, Clever Training also ships there too and you get the 10% discount.
Thanks for reading! And as always, feel free to post comments or questions in the comments section below, I’ll be happy to try and answer them as quickly as possible. And lastly, if you felt this review was useful – I always appreciate feedback in the comments below. Thanks!
Finally, I’ve written up a ton of helpful guides around using most of the major fitness devices, which you may find useful in getting started with the devices. These guides are all listed on this page here.

