The Power2Max Type S Power Meter In-Depth Review
It’s been a touch over two years since my last Power2Max product review, for their now-named Classic edition. About a year or so ago they came out with their Type-S editions, which would make for their 3rd generation unit. I’ve had a Type-S unit since last summer, but started actively putting miles on it this past fall – providing me plenty of variation of weather conditions to test things out.
The Type-S is effectively an incremental upgrade over the previous generation, with mostly minor hardware tweaks – but much greater crank compatibility. At the same time, Power2Max has become extremely popular due to its lower price point than most other crank based power meters.
Before we get into the full review, note that Power2Max did send me over the unit to try out, but upon wrapping up the review I’ll send it back to them – just like always.
Lastly, at the end of the day keep in mind I’m just like any other regular athlete out there. I write these reviews because I’m inherently a curious person with a technology background, and thus I try and be as complete as I can. But, if I’ve missed something or if you spot something that doesn’t quite jive – just let me know and I’ll be happy to get it all sorted out. Also, because the technology world constantly changes, I try and go back and update these reviews as new features and functionality are added – or if bugs are fixed.
So – with that intro, let’s get into things.
Unboxing:
The unboxing ‘experience’ you’ll have will vary a fair bit depending on which version of the Power2Max you ordered. If you buy a full crankset, you’ll have more parts. Inversely, if you buy just the Power2Max pod you’ll have just that piece.
In my case they sent over basically the full package: Power2Max pod/spider, Praxis chainrings, and ROTOR 3D+ crank arms. There are of course a gazillion different combinations though, so things will vary slightly.

Inside the main black box though is where the main Power2Max magic is. That’s the piece that contains their components, versus components they’ve bundled from other companies.
You’ll find four basic things:
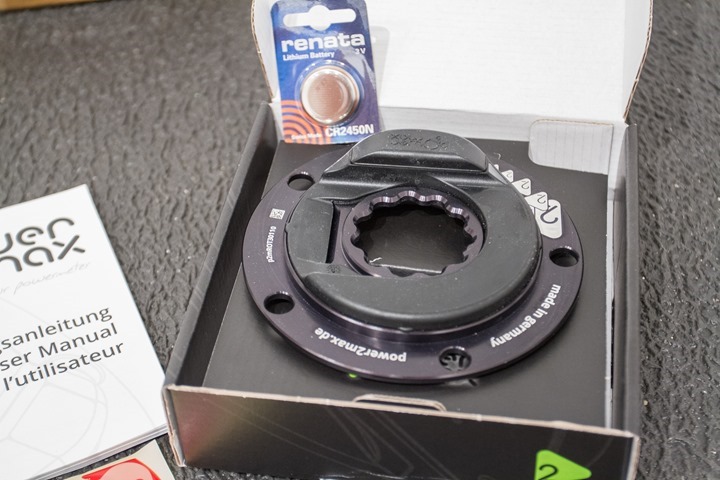
A) The Power2Max spider
B) A manual and paper stuffs
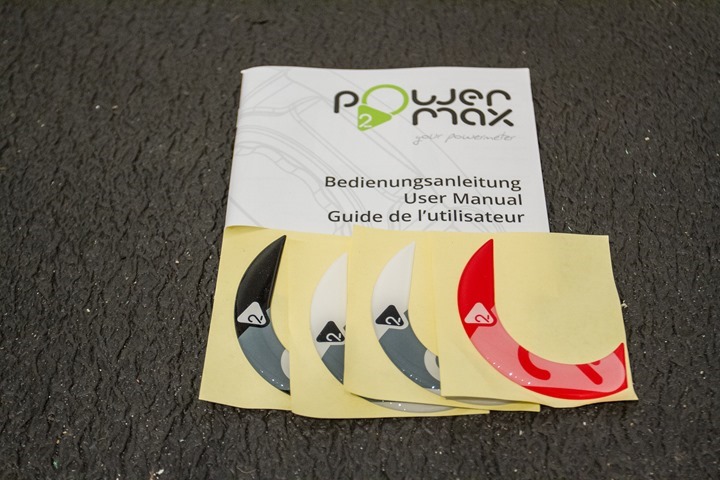
C) Some nifty color stickers
D) CR2450N battery
Starting with the stickers and manual, you can use these to dress up the pod with a variety of colors. In my case I went more low-key just using the white/grey ones (you’ll see it applied later). Then of course there’s the manual too.
Then you’ve got the Power2Max spider and battery. It’s the spider which you’ll attach both crank arms as well as chainrings to. Additionally, you’ll insert that battery into it to breath life into it.
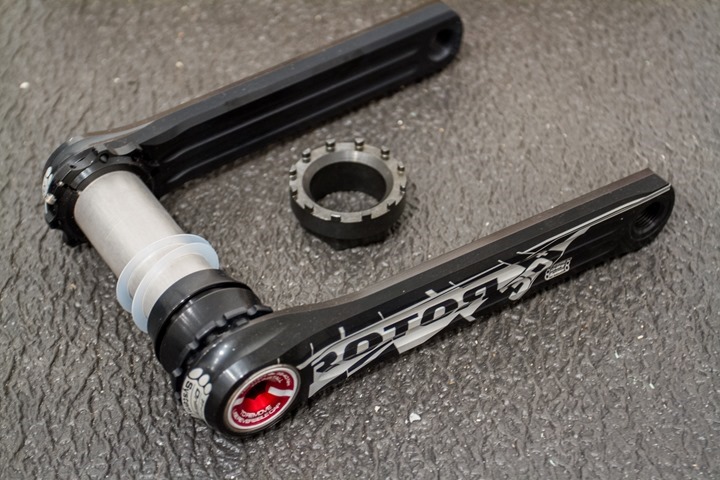
Lastly we’ve got the crank arms that came alongside, as well as the tool to lock the ROTOR crank arms in place.
We’ve also got the Praxis chainrings, but I’ll cover them briefly during installation.
Installation:
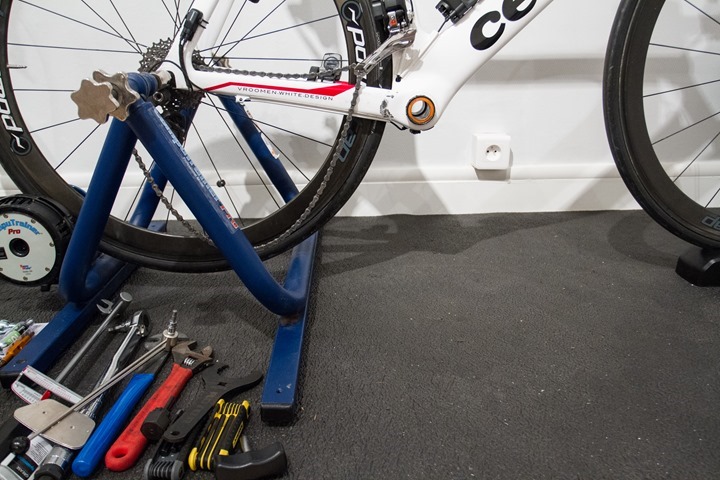
When it comes to installation, things will vary a bit depending on what you ordered and what you already have. Additionally, your installation will vary depending on what you have to remove to make way for everything. In my case, I’m going to give some of the highlights – but technology is more my forte, not bike componentry.
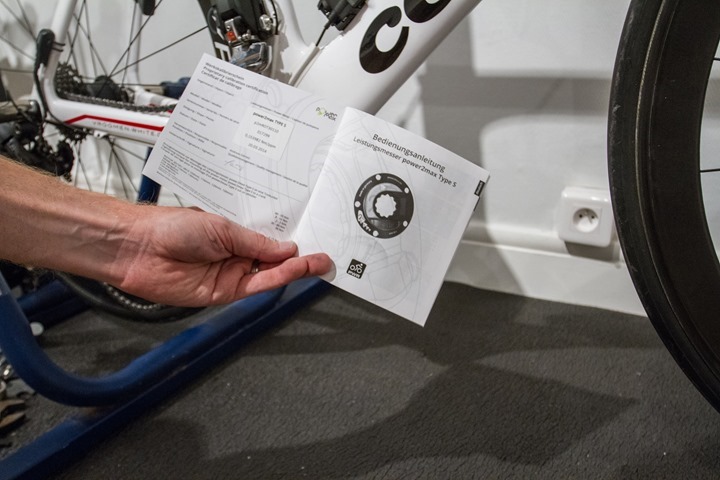
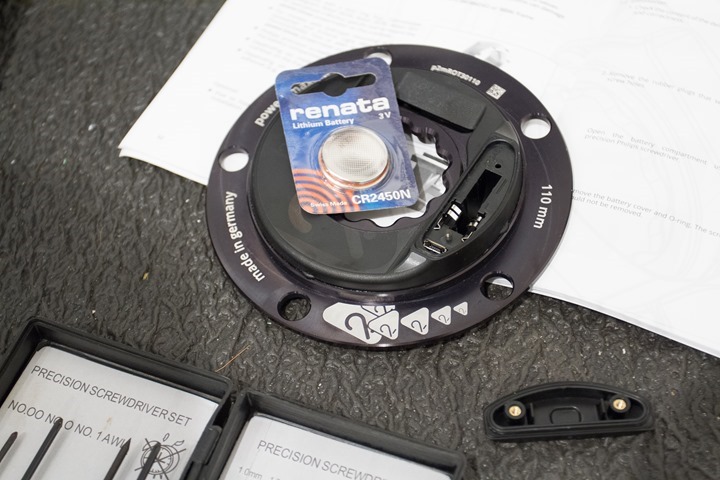
The first thing you’ll do though after studying the manual is to install the battery in the compartment. This is accomplished via the small screws covered by little stoppers on the back of the unit.
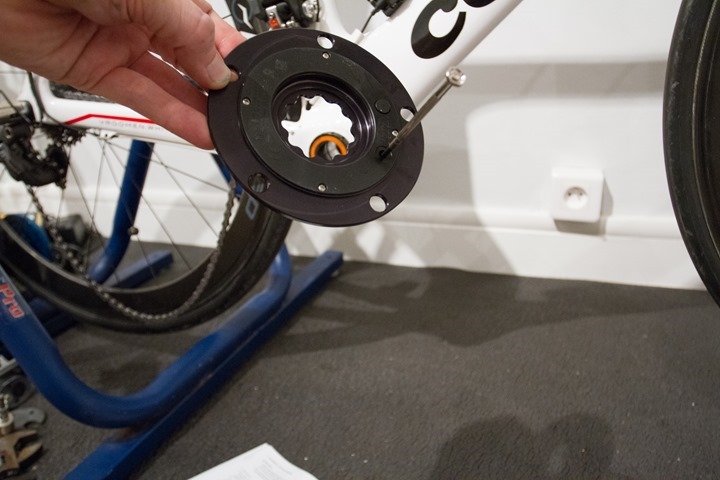
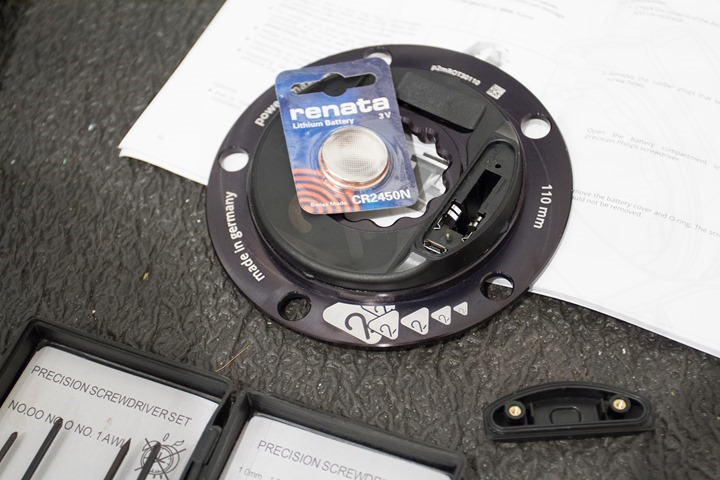
Within that you’ll see the slot to plop the battery in. There’s also a micro-USB port, but that’s not used for anything consumer facing at the moment. After that you’ll toss back on the cover that you see in the bottom of the picture.
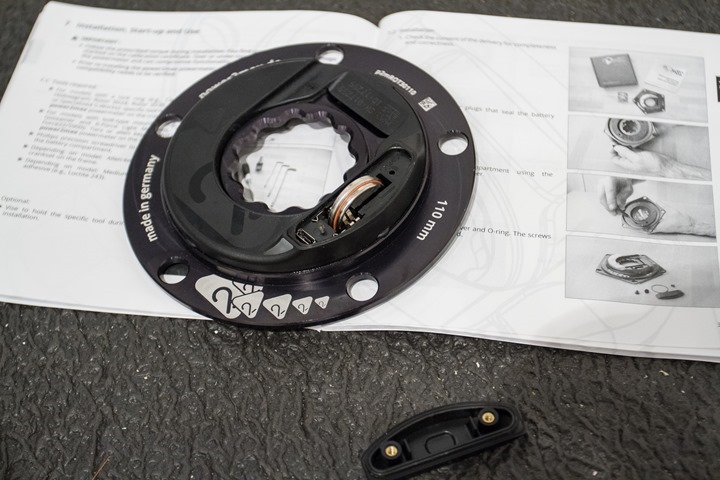
Next you’ll line up the chainrings that were included. I like to line them up first so I have a mental picture of where they all go and that everything looks correct before I bolt them on.
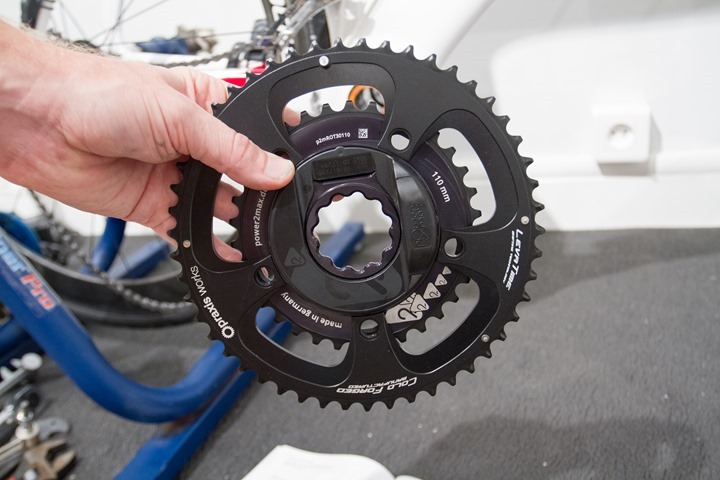
Then I take out my trusty hex wrench set and go to town with the included bolts. As a side note, I love this wrench set, as it comes in a set with virtually every imaginable size but since it’s one piece they aren’t easily lost like most other sets. Plus, it’s cheap. So I have them in just about every room in the house (really, you can never have too many hex wrenches).
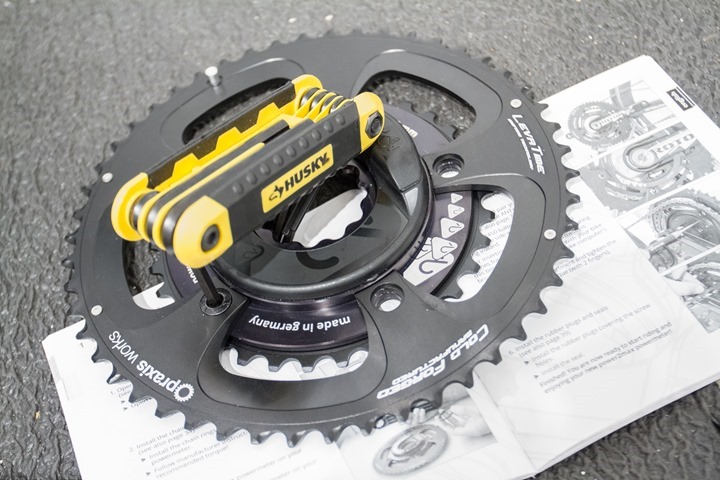
Once you’re done, you’ve got this:
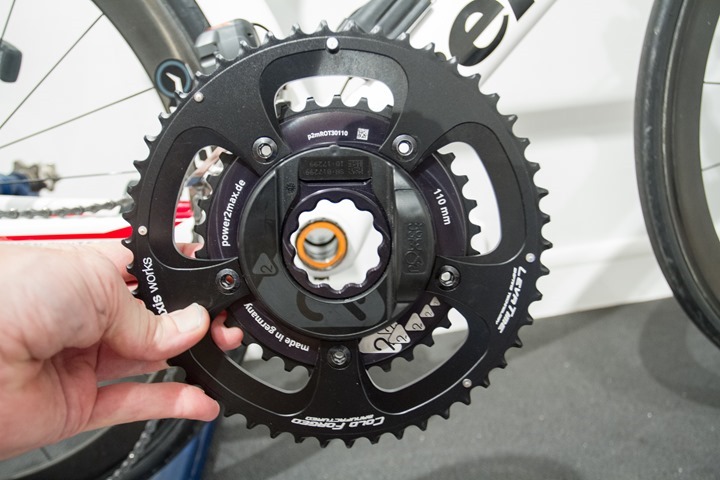
Next you’ll take the crank arm pieces and ponder them for a bit.
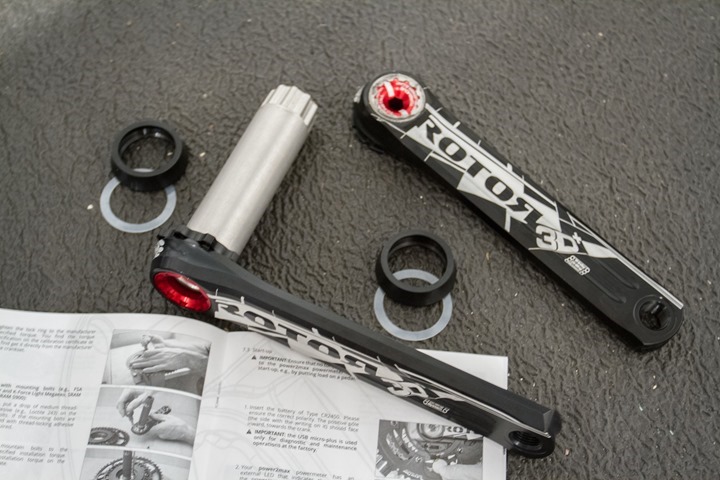
This would be a good time to find that small bolt tightening tool that’s required. Or at least, was required for these specific ROTOR cranks. Different cranks will require different methods to tighten.
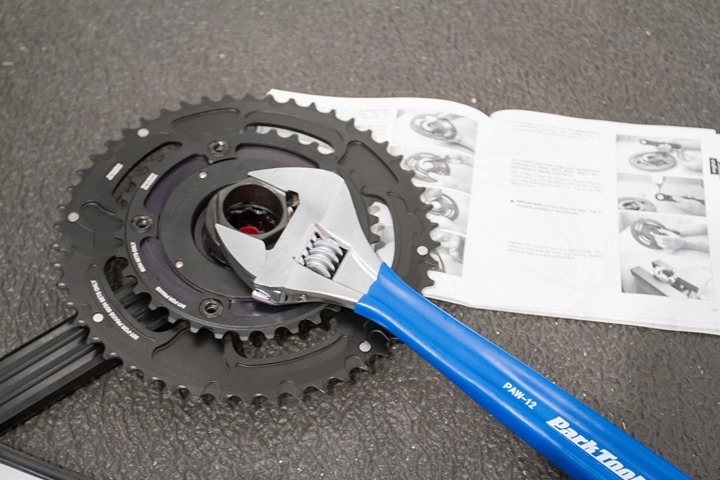
As a result of all these crank tightening differences, I’m going to assume you can follow the instructions within your crank set. Ultimately, the goal is that the crank arm is attached to your bike, though in a manner that it won’t fall off. Additionally, as one minor tip, don’t forget to put the chain on before you put the crank arms and spindle in the bike. Else, it sorta sucks.
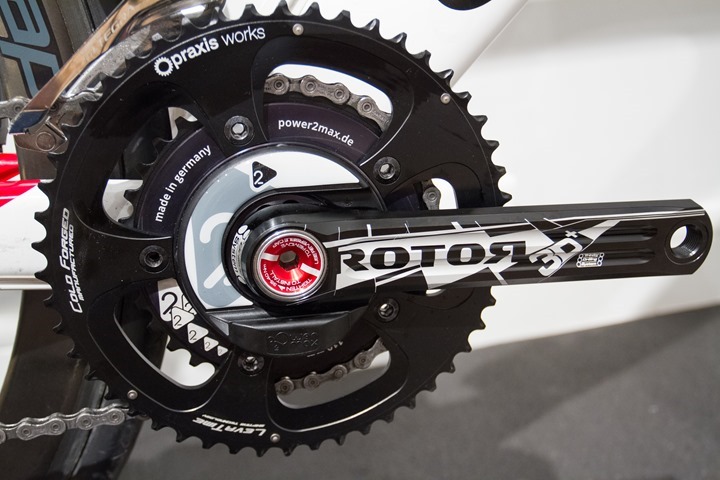
When all is said and done you’ve got the above, ready to start using. You’ll just need to attach your pedals. Note that there are no magnets to install with the Power2Max system, as it’s fully self-sustaining. The only thing you’ll want to do is a simple zero offset, but I’ll cover that in the next section.
General Use Overview:
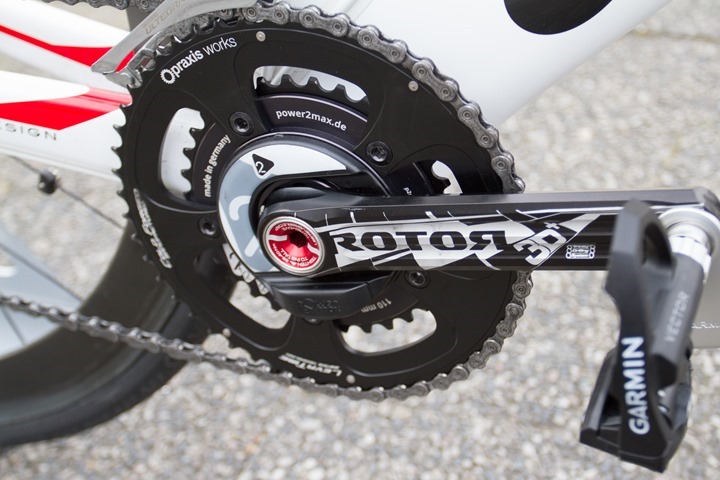
As with the previous generation Power2Max, the Type-S is about as easy as it gets with power meters for day to day use. There’s virtually nothing to set, nor anything to tweak. It follows in a similar vein as the PowerTap units with a ‘just pedal’ type concept.
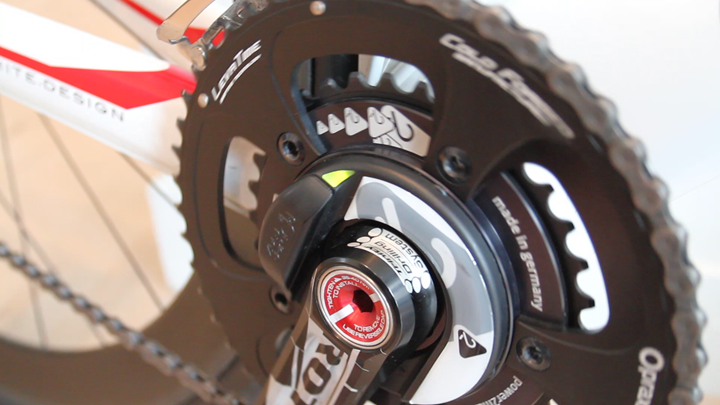
Once you do pedal, the unit will wake-up automatically. There’s a small green light at the top of the unit that will (very) briefly illuminate to let you know it woke up. It only shows up for a split second, so it’s easy to miss.
The unit saves battery by going to sleep after you stop pedaling and it detects no activity for a few minutes. This is pretty much the norm for power meters today. The battery is a bit different than many other units though, in that it doesn’t use a CR2032, but rather a CR2450N. In the past they’ve strongly recommended Renata batteries, but they noted that with the Type-S they’re good with any brand. That battery will get you about 400 hours of life before you need to pay a few bucks to get a new battery.
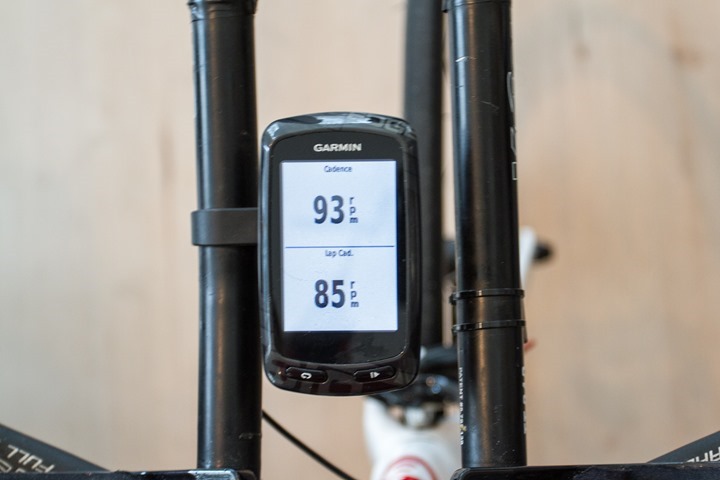
When you do start pedaling and going somewhere, the unit will transmit cadence along with power. The cadence is based on an accelerometer within the unit.
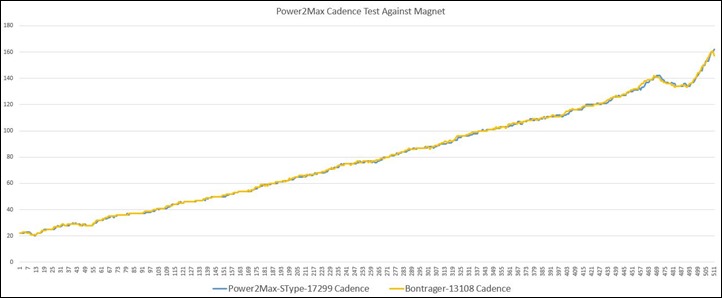
In my testing this is quite suitable for cadences across a wide range, you can see below this simple chart where I plot it against a magnet based system as I increased from 20RPM to ~160RPM. Absolutely spot-on.
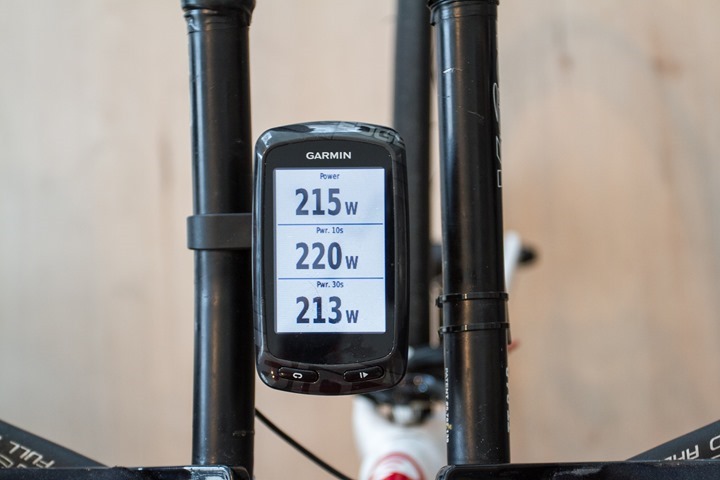
Next, the unit transmits both total power, as well as estimated left-right power. Total power accurately captures power from both legs, identical to that of an SRM or Quarq power meter:
Whereas estimated left/right power does the same ‘estimation’ aspect that Quarq and the upcoming PowerTap C1 units do, where they essentially ‘credit’ you one left or right power depending on which phase in the stroke you are in. This means that it’s not super-accurate, but does kinda-sorta get it in the ballpark:
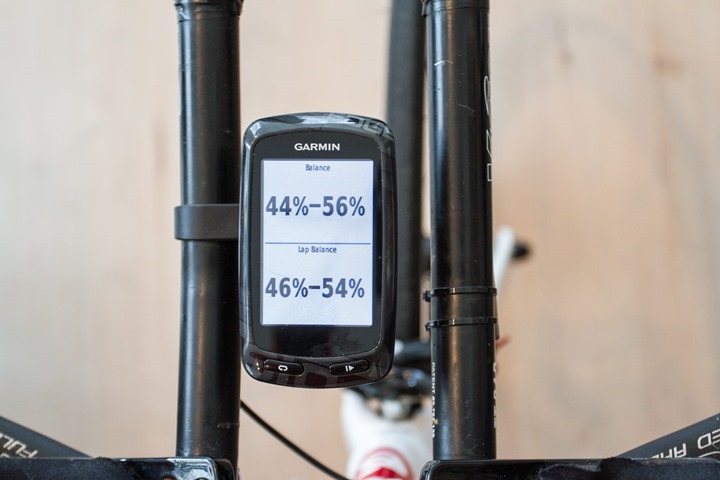
If I go to one-legged pedaling you’ll see the shift. Though, you won’t see a perfect 100%-0%, because of the way it estimates the power by looking at what is otherwise the upstroke portion of the pedal power output.
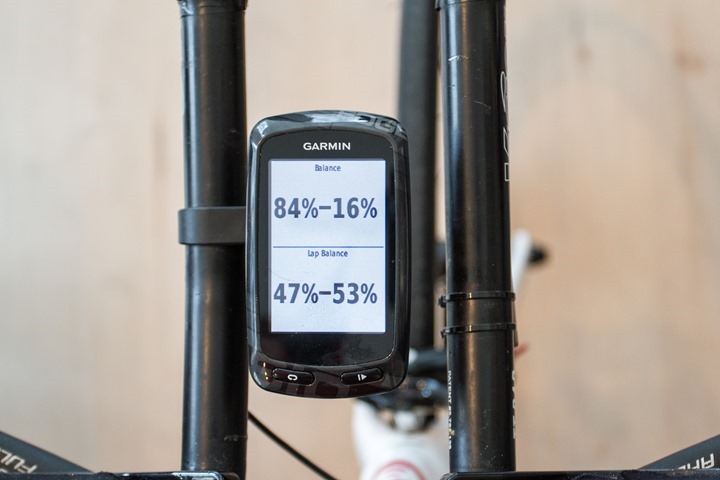
Personally, I wouldn’t use these left/right estimated values for anything other than the ‘Neato’ factor, since there’s just too much variance there with how the metrics are captured. This is more marketing than anything else.
Just for clarity, here’s how it works. It takes your down stroke on (for example) the right side and assumes that all power delivered during that phase is ‘Right only’. Once that occurs, you’re now pressing down on the left side, so it then assumes that all power exerted is coming from the left side. Where this logic falls apart is any up stroke power, which isn’t taken into account for left/right usage (it is in total power of course).

In any event, this left-right data will show up both on the head unit, as well as online afterwards depending on your training platform. Below is an example with Garmin Connect:

When it comes to calibration the unit supports the ability to zero offset it. This is sorta the simplest form of ‘calibration’. I put the term calibration in quotes because purists like to say that the only proper calibration is when you attach weights or some other static load. Whereas setting an offset isn’t a pure calibration. While that definition is great for lab settings, I’m just looking to advance the use of any form of calibration by consumers in ensuring their power meters are properly prepared for a ride. So I’m not as picky in the general sense, since the number of users globally doing such static load tests can likely be counted in the double-digits (in total).
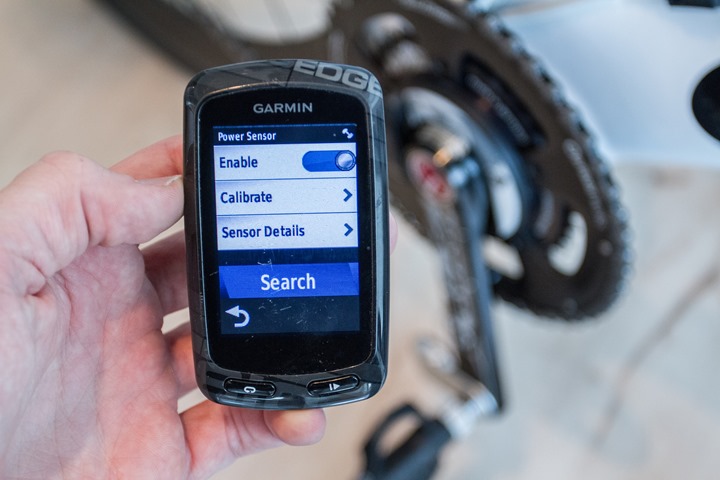
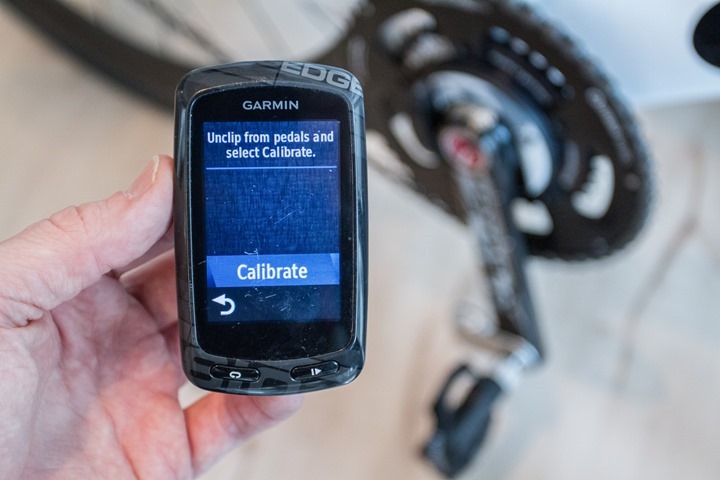
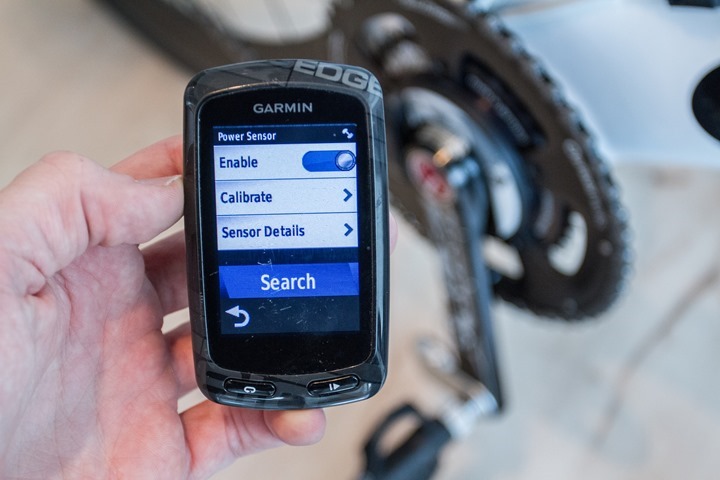
What the Power2Max does support as noted is the zero offset procedure. To trigger this you’ll utilize your head unit and just select ‘calibrate’. This should generally be done while you are off the bike with your bike shoes unclipped, as you don’t want to apply load to the pedals.
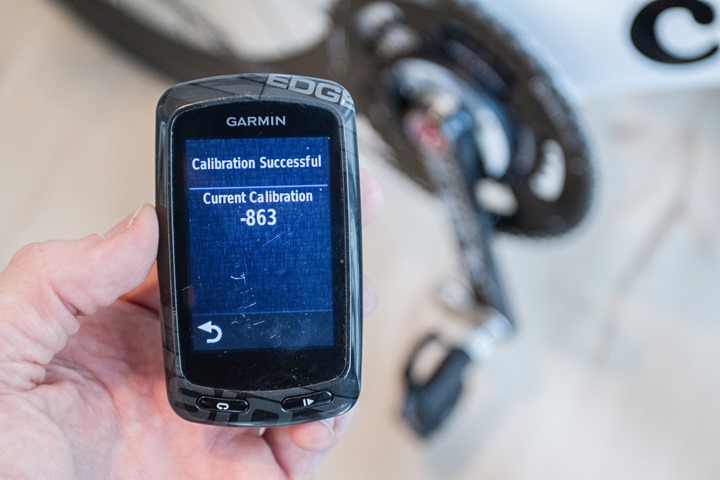
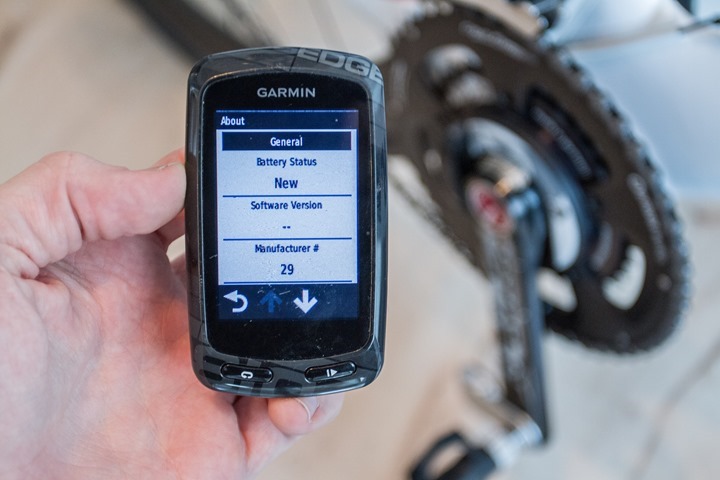
The unit will then report a calibration value to you:
The Power2Max also has auto zero enabled permanently, which means when you don’t apply force to the pedals for more than two seconds it’ll automatically zero the unit, such as when coasting. Note that their track editions have the auto zero option permanently disabled, requiring a manual zero.
In scenarios like long climbs, the unit will leverage temperature monitoring and compensation. This means that the Power2Max unit will compensate for temperature changes – which can otherwise cause drift in power value accuracy.
In general, I tend to set the offset (calibrate on the head unit) before each ride after I’ve taken the bike outside. Then I usually do it about 15 minutes into a ride. I tend to do this across all power meters I use, and as a result I tend to get highly accurate results across many brands. The reason for the 15-minutes has nothing to do with actively pedaling, but mostly just because it allows more time for temperature compensation to catch up. With the Power2Max it’s less of an issue since it’s continually compensating, however if you were pedaling for 15 minutes non-stop after bringing your bike from indoors to outdoors, it’s something to consider since most temperature sensors take a bit of time to warm-up.
Thus, for those triathletes in the crowd, simply do this in the morning before you leave the transition area for the water, that’s usually more than enough time between when you left your car, setup, and leave your bike.
While Power2Max says they support elliptical/osymetric chainrings (i.e. Q-rings), they’ve not offered a lot of proof that they do. Of course, most other products don’t support it either. Only the ROTOR Power System and PowerTap wheel hubs do (nope, not even SRM). So it’s not a huge surprise/gap – but something to be aware of. I’m happy to change this line-item once they can offer proof that they understand the issues there (which Tom Anhalt explains in detail here).
Regarding battery life, as mentioned earlier the unit uses a Renata CR2450N battery. This battery is advertised as getting 400 hours. As usual, I recommend buying a small pile of them to keep around your house/car, so you always have one handy when the battery finally dies. In my case with 400 hours of usage I haven’t hit the end of it yet.
The unit broadcasts on ANT+, which means you’ll need an ANT+ power meter capable head unit in order receive the data. There are many options, which, is a good starting point for the next section.
Compatibility with head units:
The Power2Max Type-S (as well as all Power2Max units) transmits via the ANT+ power meter device profile. This means that it connects to virtually any ANT+ head unit that supports power meters. The most common being units from Garmin, CycleOps, O-Synce, older Timex units, and even the new SRM PC8. All of which support ANT+ power meters natively.
These ANT+ power meters will also collect cadence data, as noted above, from the Power2Max. This data will display on the head unit as well as record to the activity file for later upload. This means that you do not need to have a separate cadence sensor on your bike.
Next, as noted earlier you get left/right power for supported head units. Most head units in the last 2 years include this capability, but some older ANT+ power meter capable units (like the Timex Cycle Trainer or Global Trainer) that would support ANT+ power meters don’t necessarily support left/right power. However, the vast majority do. Here’s a quick listing of those that support ANT+ left/right power data:
Copyright DC Rainmaker – Updated April 1st, 2015 @ 3:00 am
Garmin Fenix3$499LinkLinkLink
Garmin Epix$549LinkLinkLink
Garmin Forerunner 920XT$449LinkLinkLink
Garmin Edge 1000$599LinkLinkLink
Garmin Fenix2/Fenix2 SE$399LinkLinkLink
O-Synce Navi2Coach$249LinkLinkLink
Garmin Edge 810$399LinkLinkLink
Garmin Edge 510$329LinkLinkLink
Garmin Forerunner 910XT$399LinkLinkLink
CycleOps Joule GPS$220LinkLinkLink
Garmin Edge 800$320LinkLinkLink
Garmin Edge 500$199LinkLinkLink
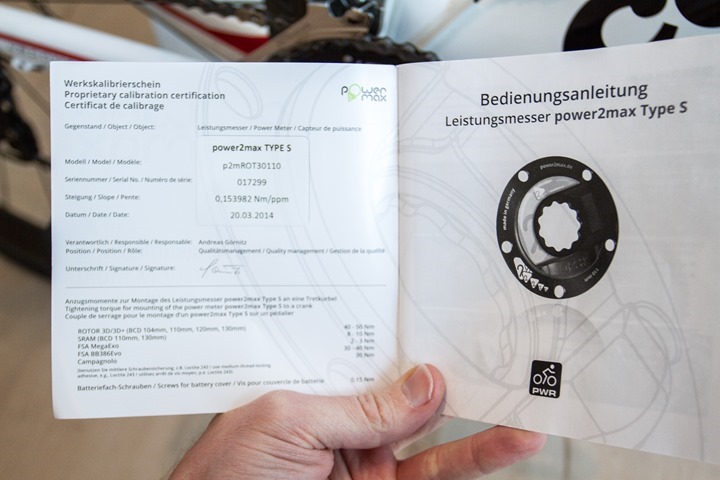
When it comes to pairing, you’ll go into the pairing menu on your particular head unit and search for the Power2Max. It’ll find it and display an ANT+ ID. This ID is also located on the sticker that came with the unit, and can be seen on the manual page listed as the serial number, as well as on the box outside.
From there, you can calibrate (zero offset) as noted in the previous section. You cannot however turn off auto zero. Auto zero will automatically engage after 2 seconds of unloaded activity, such as coasting.
Finally, note that while some newer power meters are dual ANT+/Bluetooth Smart, the Power2Max is not currently one of those units. To date, the only shipping units with dual support is Stages Power, and 4iiii Precision – which just started shipping last week. All other power meters on the market are purely ANT+, with the exception of the Polar/Look solution, and Bluetooth Smart caps for the PowerTap G3.
However, I’d expect that by the end of the year it’ll be commonplace for the vast majority of shipping power meters to offer dual connectivity. This certainly appears to be the case with almost all recently announced products supporting both ANT+ and Bluetooth Smart.
Power Meter Accuracy Test Results:
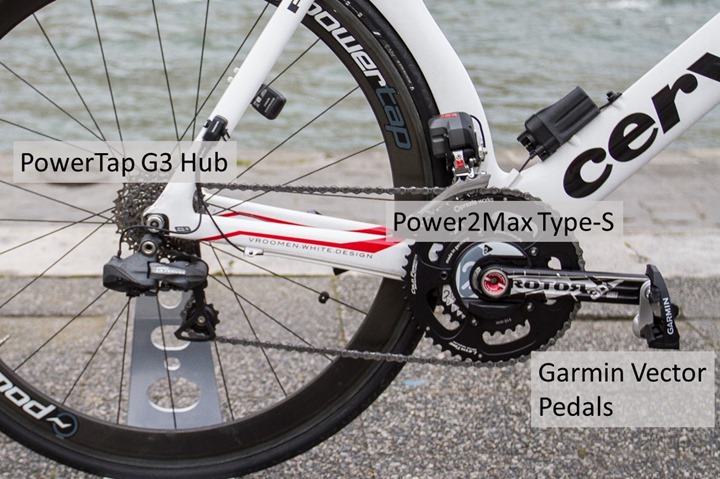
Now we’ll dive into some of the power meter accuracy data. These are from a number of rides across a variety of conditions. I’ve tried to choose fairly different rides to compare against below.
Before we get into that, I’ll briefly explain how I capture and compare data. In my case I usually have between 3-4 power meters running concurrently. In outdoor cases, such as seen above, I’ve got a PowerTap G3, along with Garmin Vector pedals – as well as the Power2Max. Indoors, I typically utilize the CompuTrainer for power meter tests as it adds ‘another’ unit to the test set. Sometimes though, it’ll be another trainer I have handy – such as the Wahoo KICKR. Just depends on what’s setup that day and the purpose of the test.
For each test I record the data in two places. The first is with a flotilla of Garmin Edge units, one paired to each unit. The second is with an ANT+ data logging application connected to the North Pole Engineering WASP ANT+ to WiFI bridge. This device consolidates the power meter data and gives me a single cohesive picture of everything. Within this review I use data from both sources.
Test #1 Data: Sunset Ride
First we’ll look at a sunset ride I did this past fall. In fact, it was the very first ride with the Power2Max. And, in the case of Vector it was the first ride on this specific bike. Now normally I don’t like including first ride data, because most power meters you want to let settle a ride or two, but I decided to include it to show that things worked out quite well actually.
First the 1-second data. I won’t show the 1-second data again in other test samples, but I want to illustrate that comparing 1-second data on a graph is kinda useless. It’s just too hard to make out anything:

Ok, so let’s do a rolling 30-second trend line. Now things become much more clear. Here you can see that by and large things track very nicely. There’s a few points where they disagree very briefly (sometimes Vector, sometimes PowerTap). Those appear to be aligned to areas where power is completely removed. I’ve every once in a while seen cases where the WASP will repeat a non-zero value for those sections for certain power meters when a zero-value should be applied, so I cross-referenced those against the backup files and zero’d out/cleaned up the majority of those sections.

Overall though, this looks pretty solid, they all track quite closely, despite a variety of riding conditions including some solid stretches of cobblestones.
Test #2 Data: Late Night Ride
Next up we’ve got a midnight ride I did around the city. Same group of power meters as previous, just on a slightly difference course. This set includes some very difficult cobbles sections (difficult for power meters, not me), as well as some climbing and of course general city streets.
We’re just going to get right into the 30-second data, because quite frankly it’s beautiful. It’s about as good as you’ll ever get for power meter alignment:

And as for the cadence? Yup, almost equally pretty.

There’s just one tiny little section where they disagree, which is just after the half-way point. This here:

So I was curious here – why the differences? And how big? Well, to answer the second question they are only different by between 2-4RPM (at 20RPM). That RPM value is actually at the absolute base of all these units (19-20RPM is the minimum limit). In this case, it was basically fluctuating just under/over that, so it’d go between zero and 20RPM.
This particular section was while I was coasting downhill over some short cobbles speed-bumps, just barely pedaling (obviously, at 20RPM). So, at worst in an almost-non-pedaling situation you’re looking at a few RPM differences. But realistically nobody would ever notice the difference between 20 and 24RPM. But again, there’s no telling which of these three units was technically correct for those few seconds – not that I think anyone would actually care anyway.
Test #3 Data: Trainer Ride
Finally, a look at a trainer ride. Now, I had a bunch of trainer rides, and on most of them the Power2Max agreed with one or more power meters. But this one was an oddity from last month that I can’t quite figure out. In this case, you can see that towards the end of the session it diverges from the other two units:

So I first started looking at temperature – was there drift perhaps? Well, doesn’t look like it. Here’s a Garmin Tempe sensor temperature data that happened to be on the bike at the time and picked up by the WASP:

The temperature is in Celsius and measured every minute (hence why it looks really blocky). But, we’re barely talking a single degree. So, I don’t think that’s it.
So next, I looked at cadence. This workout was a fairly easy trainer ride, and for whatever reason I was doing some moderately high cadence stuff. Sometimes you might see oddities if cadence was out of alignment. But looking at the chart, it matches the Vector perfectly. However you do see that as I start going above 110RPM this is where it matches on the earlier graph with some separation.

So next I figured, let me look at the power data for some high cadence work I did as part of accuracy testing there. Maybe that’s off. So, here’s that data:

That looks flawless. Seriously, almost perfect. You see some very minor differences at the absolute peak and bottom from the Tacx unit – but that’s just doing estimated cadence anyway (and thus estimating power). Heck, for this ride I didn’t even calibrate the Vortex since I wasn’t planning on using this data (actually, for this I didn’t calibrate anybody ahead of time).
And this is maybe a little bit of the point I want to make: It’s really hard getting every power meter on the market to give you the exact right data. I could have picked all the other rides out there that I did on this unit and it would have been flawless, except for one indoor trainer ride out of 6 months worth of on/off usage it wasn’t for 20 minutes. I have the same type of one-off weird ride data for Vector, and for the KICKR, and the same for Quarq, SRM (yes, really), Brim Brothers, and even a nugget or two on the PowerTap. No matter the manufacture, sometimes it’s just for a few minutes (as was the case here), and sometimes it’s simply an entire ride that’s wonky.
Which, is a bit of the state of the industry. Unfortunately for most riders, they’d never even know. And, even if you had two power meters you might not know. Anyone who’s looked at power numbers long enough will eventually have one of those days where the numbers just don’t line up. Ultimately though, I don’t fret about random one-off days once every 6 months of riding, what I fret about is when every ride is like that, or when it happens so often that you can’t trust it. In this case, neither of those fretfull scenarios is occurring with the Power2Max.
Power Meter Recommendations:
Choosing a power meter is a tough decision matrix. Anyone who answers the question “Which power meter should I choose?” and instantly names a specific brand name/model upfront, is full of crap. The correct answer is “Tell me more about your usage plans?”
There are so many variables that go into that decision beyond just price. For example: How many bikes? What type of bike? What type of pedals? Do you want to move it around a lot? Race wheels or not? What do you want to measure? And on and on.
The good news is that I cover these in-depth in my Power Meter Buyer’s Guide from this fall. While there have been a few new entrants – nothing has actually come to market yet. Meaning 4iiii’s just started shipping this past Friday, and PowerTap’s two new offerings (C1 & P1) aren’t due for a few months. Same goes for Watteam’s PowerBeat, and Brim Brothers also likely in contention for shipping soon status too. But at the end of the day, none are shipping today (or in the case of 4iiii, shipping in large quantities).
So, to that end everything actually remains static since what was available last fall. Now I might do a revamped version in late May or pending the results of my 4iiii Precision testing that begins tomorrow. But for those wanting to take advantage of power meter choices actually shipping and known today, refer to last fall’s guide.
Summary:
When looking at the Power2max, there’s little question it’s a reliable unit that does the job well. As of today, the pricing is among the best out there for units actually shipping in quantity. Though I expect in the coming months as more of the recently announced new competitive offerings begin to start shipping that Power2Max will likely have to lower prices to compete (just as other power meter companies will as well).
Over the last year Power2Max has done an impressive job of increasing the array of cranks and chainrings that they support, making it one of the most widely compatible power meters in that component region of the bike. Of course, at the same time, it is a component that’s less easily swapped between bikes than a rear wheel (for most people). So if bike portability is concerned, you may want to look at all the options on the market. On the flipside, the price point of the Power2Max makes it so that you could realistically almost buy two of them for the price of something like Garmin Vector. To each their own though.
As may be obvious, I’d have no problems using the Power2Max as the primary power meter on my bike, it’s just as reliable as any of the other leading power meters in the market today.
As always, thanks for reading – and feel free to drop any questions below!
(Preemptive ‘When will I review X power meter’ section: This review kicks off what will likely be bi-weekly direct force power meter reviews for the foreseeable future. Much of the data has actually been gathered over the last 4-6 months, just a case of analyzing data and writing up reviews. Next you’ll see the Verve Infocrank review, followed by the Pioneer unit. Then, some variant of a 4iiii Precision review (left only initially with follow-up dual-sided piece when it releases), then we’ve got PowerTap’s P1 pedals followed by the C1 unit. Somewhere in there I’ll re-visit the Polar pedals once the Polar V650 supports them. But as usual, anything else that pops out will be slotted based on a combination of when it got into the queue and reader interest/demand.)


