Cycliq Fly12 Bike Light/Camera In-Depth Review
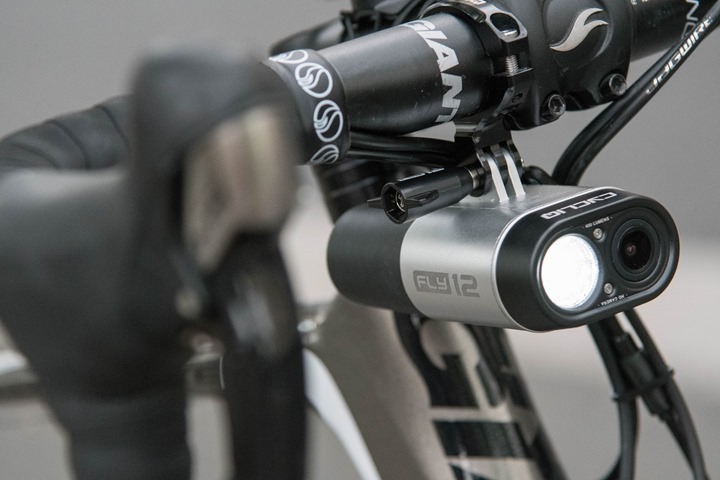
It’s been over a year since Cycliq first introduced their Fly12 combo bike light and HD camera. While the road to shipping was certainly longer and bumpier than the company wanted, they started shipping units to customers last month. You’ll remember that Cycliq is the company behind the Fly6 tail-light and camera combo unit that’s been out a couple of years now. The Fly12 extends that concept to the front of the bike, thus completing both sides of the equation.
However, it’s more than just making the light white and calling it a day. The unit now has Bluetooth Smart and WiFi integration, as well as an app. Those allow you to quickly grab videos on the fly. Plus, it integrates with Strava and can overlay 3ft (and similar) tramlines directly onto your video. Allowing you to demonstrate just how close those cars are passing you.
But, enough of the overview, let’s get into the details.
Note that Cycliq sent me a few units to try out as a loaner. By few, I think I’m up to about 8-10 Fly12 units since the start of beta last year. So I’ve got a ton of experience with the device over the past year, in various forms. But for this review, I’m focused on footage and thoughts from just the final production devices (of which I also have two). All of which will go back to them as normal as I wrap things up here. If you found this review useful, you can support the site via the links at the bottom.
With that, let’s dive into it.
Unboxing:
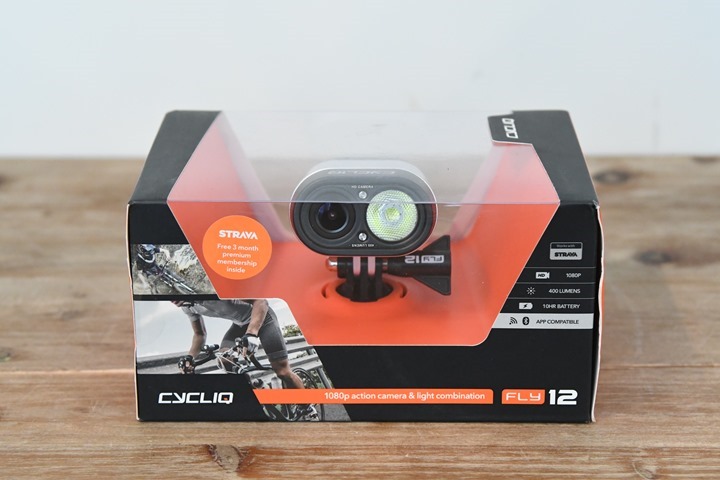
The Fly12 is perfectly viewable from within its little skylight-styled shipping home. You’ll see both the unit itself, as well as a secondary mount and thumbscrew for locking it in place.
Once you remove it from the outer shell, you’ll find a hidden tray below the orange plastic shell.
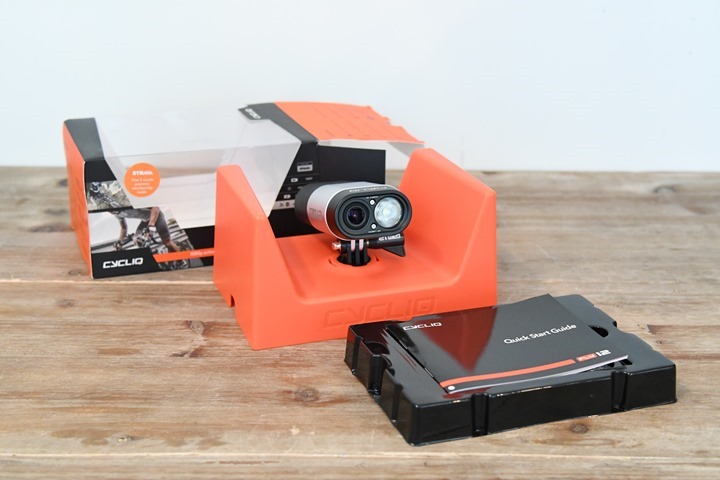
That tray holds the manual, a hex tool, the handlebar mount, a micro-USB cable, and a small safety lanyard.
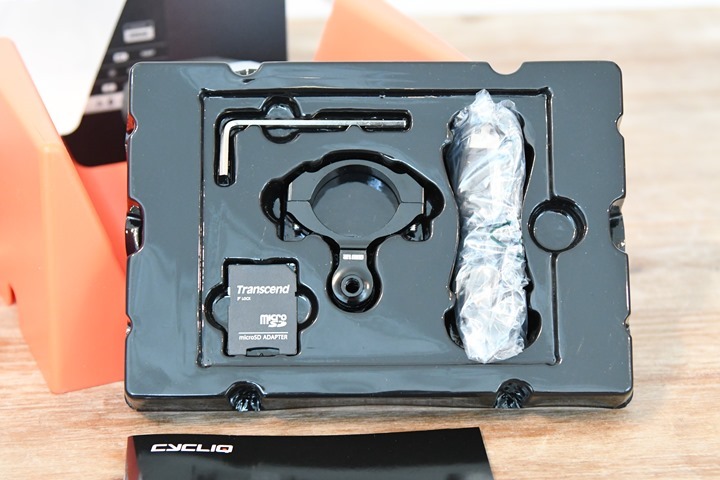
Here’s what that all looks like unraveled on the table:
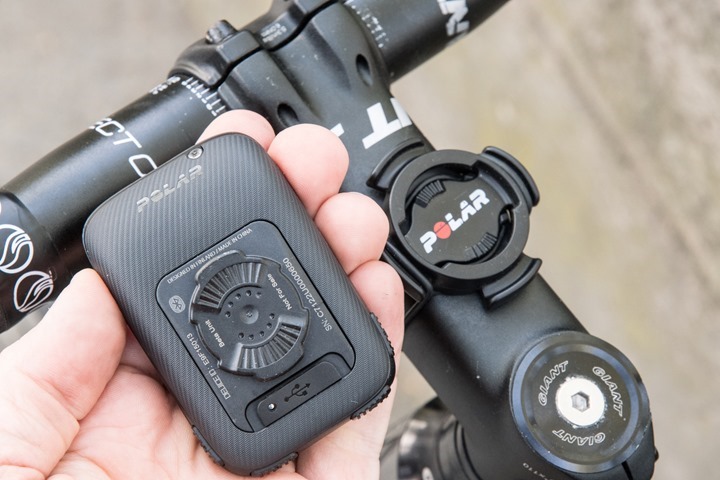
Meanwhile, the Fly12 itself is locked in place in the orange shack by…well, shackles. So unlock that.
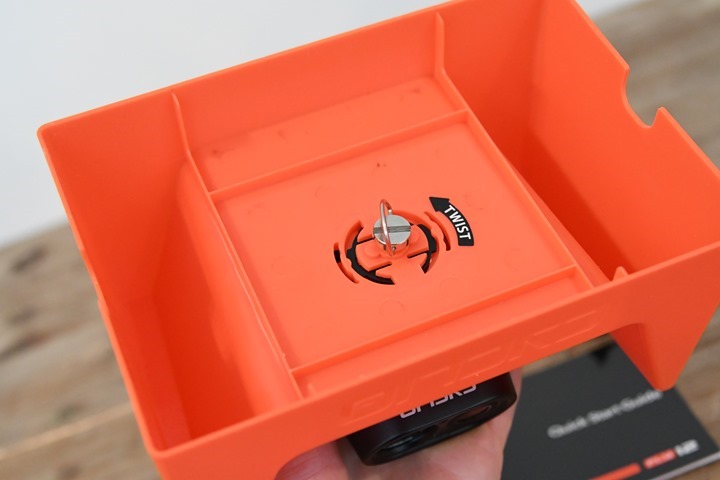
It’s sitting inside a tripod style mount. While the uses for such a mount are somewhat limited, there are a handful of 3rd party mounts (i.e. some K-Edge mounts) that have a tripod connector for other action cams. So in this case, if you have one – you’re good to go.
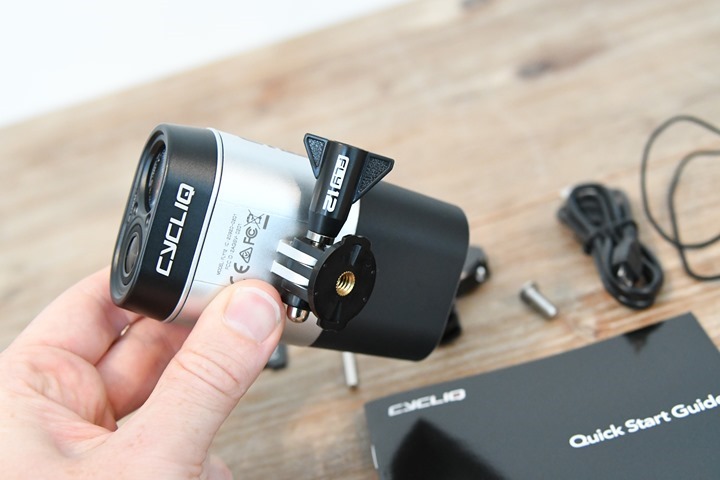
Otherwise everyone else will just use the GoPro style mount that’s included in the box.
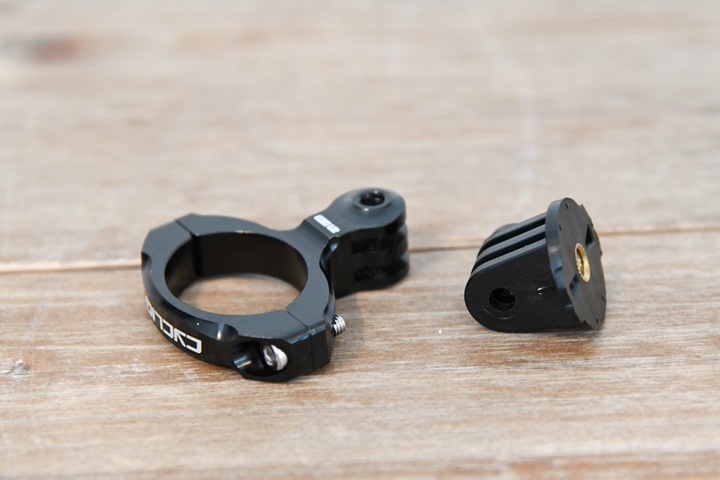
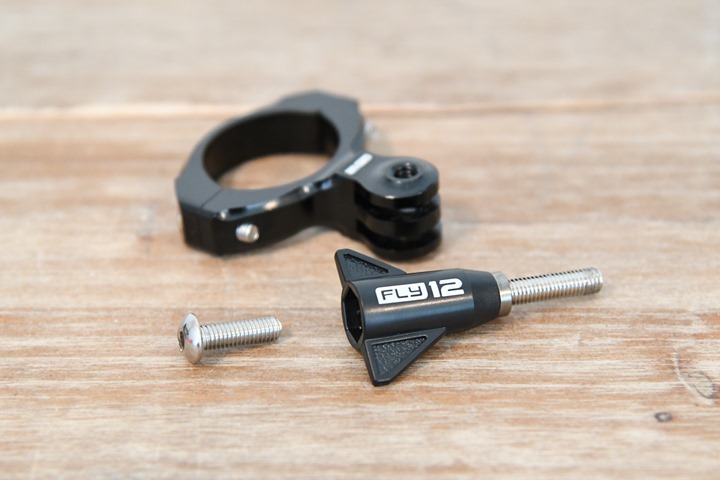
You’ve got two different screw choices: Thumb screw or regular screw. The regular screw is for when you don’t want someone dorking with it. The thumbscrew is for when you want relatively easy access to remove it.
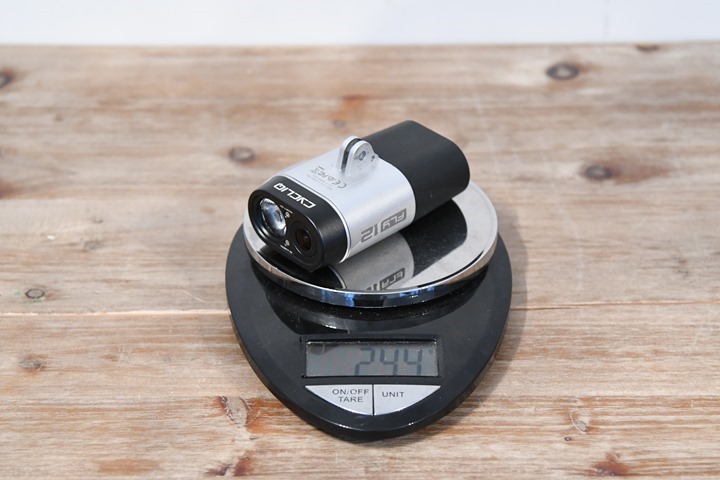
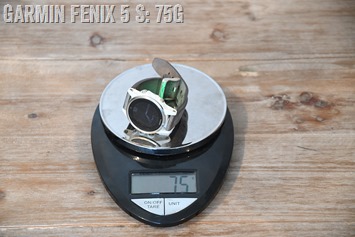
Last but not least, a quick glance at the weight. It comes in at 244g heavy. This is obviously fairly heavy for an action camera, but it’s not too heavy for a front light this bright. Nor for something that’s built to take a whacking.
Ok, let’s dive into how to use the thing.
General Usage:
Before we mount it to the bike, let’s cover the five things you can dork with on the back of the unit. Two buttons, one card slot, one USB charging port, and one master reset button.
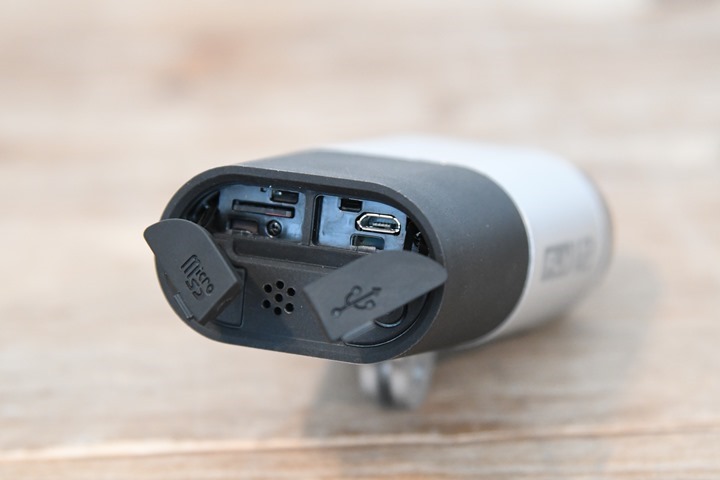
The two buttons allow you to control turning the unit on and off, as well as whether individual components are on/off. For example, if you press the WiFi button while the unit is powered off, it’ll simply turn on WiFi without starting recording.
Meanwhile, if you press the power button first, the unit will turn on (and always start recording). Once on, the power button becomes the light pattern/brightness changing button. This allows you to iterate through the different light options you’ve pre-configured.
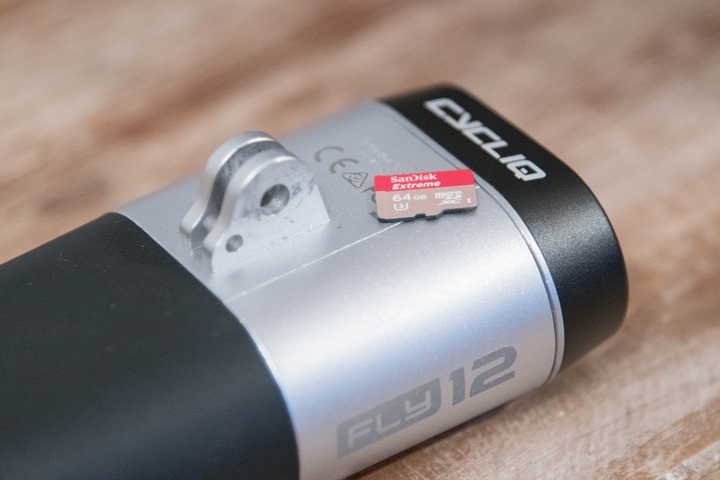
Next, there’s a micro-SD card slot. The unit comes with a 16GB micro-SD card, which is kinda small if you’re recording 1080p video. It means that you’ll get just a couple of hours before it starts overwriting older footage.
So I recommend you swap that out. A 64GB card (the size I use) costs a mere $18 on Amazon, or $28 for the exact version that I use (overkill). That gets you a crapton of footage.
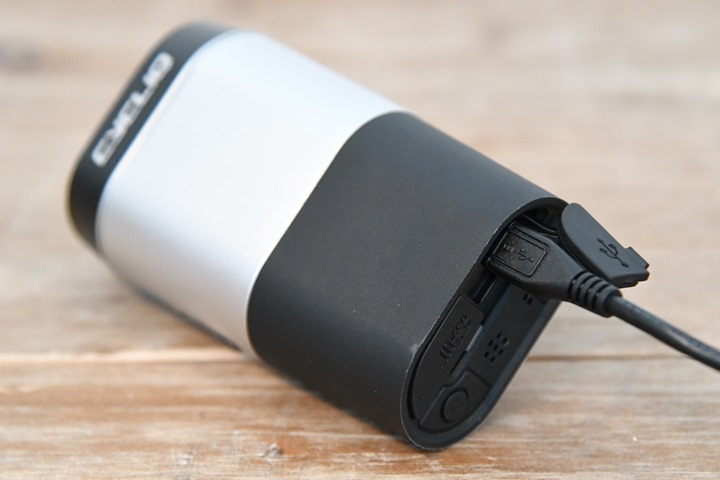
On the right side is the micro-USB charging port. That’s the same port type used for most non-Apple cell phones these days.
Finally, just above the micro-SD card slot is a tiny reset button. It’s there in case the situation becomes all FUBAR.
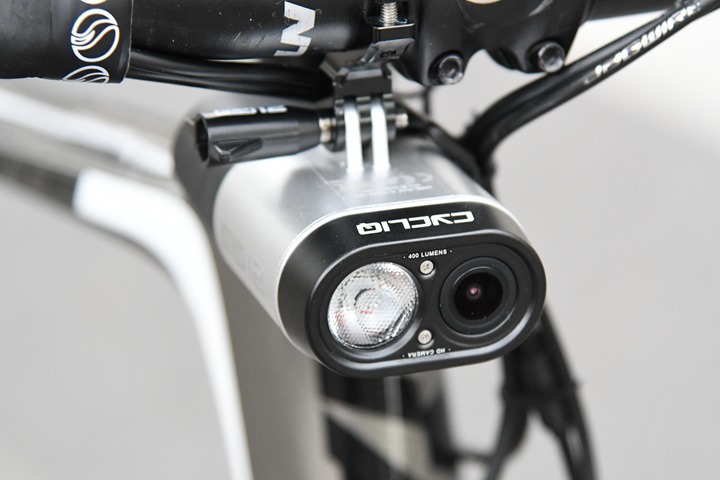
As for riding, to start you’ll want to get the unit all mounted up. The Fly12 comes with a standard handlebar mount. The machined metal mount allows you to affix it to your handlebars, and then you can use the screw (or thumbscrew) to attach the Fly12 to the mount.
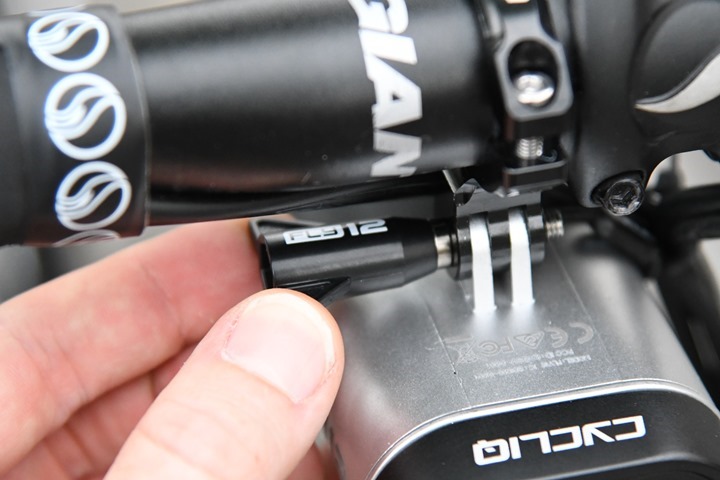
Though, if you’ve got some sort of aerodynamic front handlebars that are flat or something, you’re kinda hosed. Same goes for triathletes with aerobars. Though, a few companies have just announced new products for aerobars, and I did use one of them from PowerPod for portions of this review:
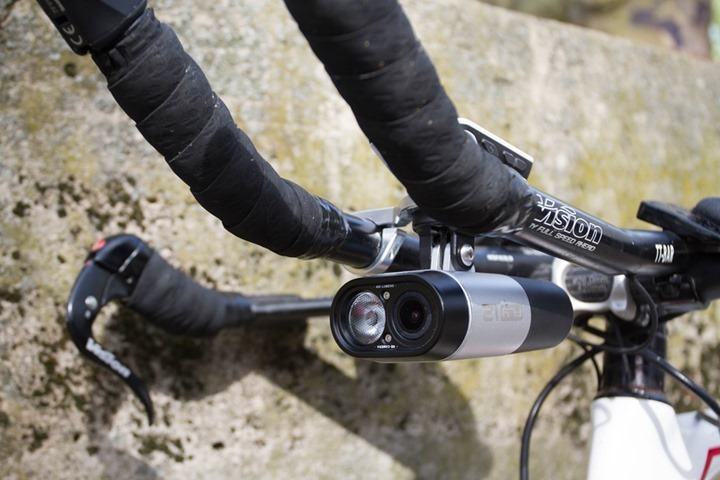
The thing you have to be super-careful of is the weight of the Fly12. It’s a beast. As such, it’s going to be heavier than most mounts allow. Especially plastic mounts. But even in my case, I broke a first generation machined PowerPod mount (it was above the weight limit of the mount). They’ve since re-designed their mount to handle the Cycliq unit, so that shouldn’t be a problem.
Also, some out-front mounts may introduce bounce into the video, thus effectively reducing the quality of the video.
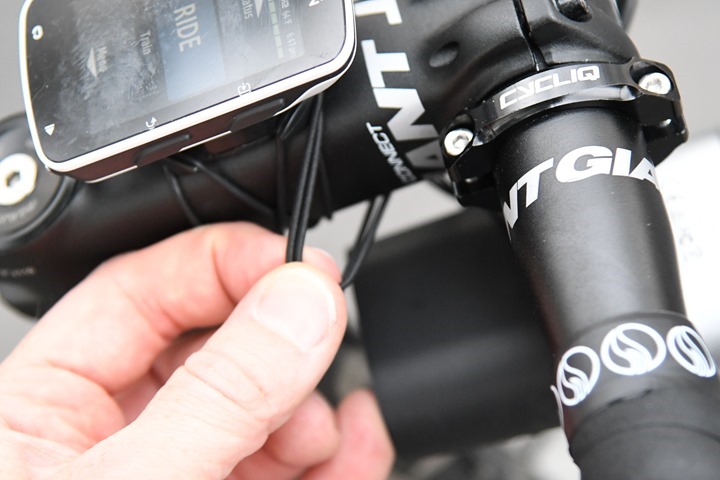
Back on the device, there’s also two tiny holes at the bottom to affix the small string strap, in case the mount breaks. That way the unit doesn’t go for a flight. If you neglect to do that, don’t worry, I’ll show you what happens in the next section.
Don’t forget to then attach the other end of that lanyard to your bike. Otherwise it’s like having a seatbelt in a car without wearing it.
In any case, with everything all on your bike, let’s start ‘er up by pressing the power button:
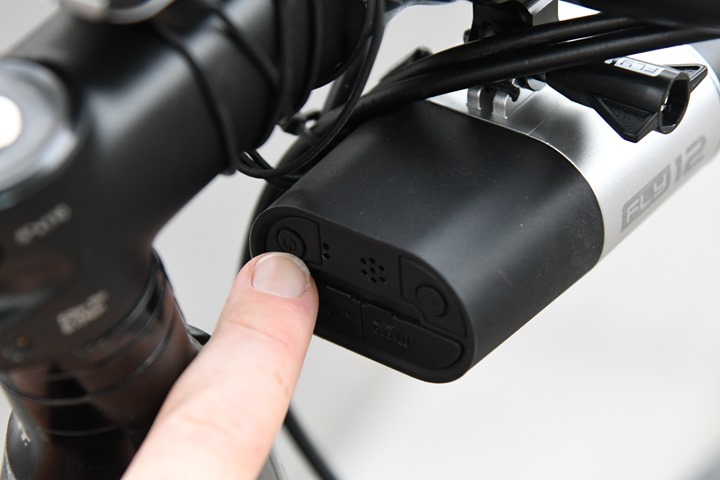
When you do so, it’ll chirp that it’s starting. You can configure the volume levels within the app. I’d describe the sound levels as “Heart-warmingly soft” to “Holy @#$@# that’s loud!”. The unit will also start blinking the single LED light to indicate that it’s recording and the battery status.
Disappointingly though, I really wish this light was both located elsewhere, and stayed on permanently (instead of flashing). It makes it tough to validate the unit is on while riding. In their initial designs, they had a light-ring around the back of the unit. That produces a GoPro-like benefit of being able to validate the recording light from almost any angle. In this case, about the only way I can see the unit is if I get off my bike and look at the light from the underside of the handlebars.
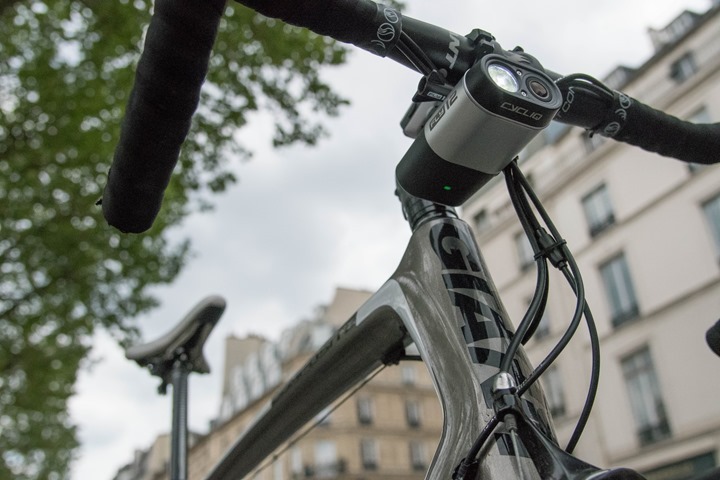
Now, there is actually a second way to validate that I’ll discuss in more detail in the app section – which is to have it generate a beep at a preset interval. This means that the unit will chirp every once in a while (i.e. 10 minutes) that it’s still alive and working. But, that doesn’t really solve the 9 minutes and 59 seconds in between. Note that it will also chirp at you if it’s powering off (low battery).
As I alluded to earlier, the unit is ALWAYS recording when on. There’s no option to turn off the camera. That’s for good reason – the entire point of this thing is to record an incident. If you forget to turn it on, it defeats the point. What is optional however is the lights. You can configure them to either stay on or blink, as well as the intensities for them. Also, you can just leave the lights off.
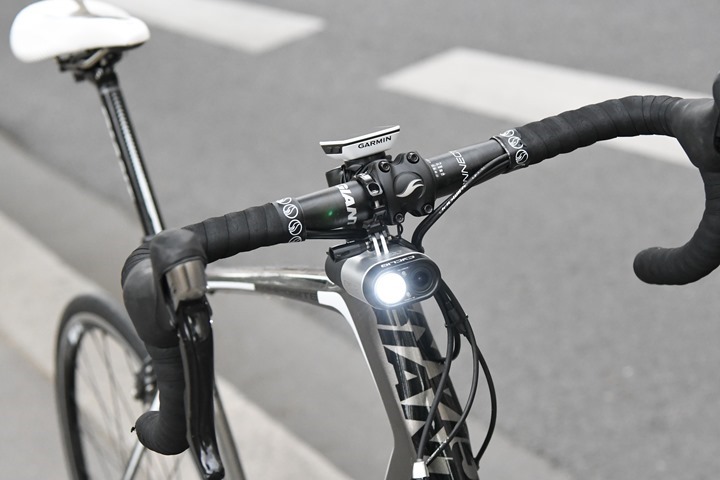
To change the light setting simply tap the power button. It’s just like pressing mode on some other device, it simply iterates through the different light options for you. I’ve configured mine to iterate through brightness levels, but you’ve got quite a few choices in the app.
Looking at it from a night-riding perspective, it’s going to depend on your surroundings obviously. But I’ve done a bunch of riding in the winter at a local park where there’s no lights, and I had no issues using this as my singular light in those cases. More than bright enough.
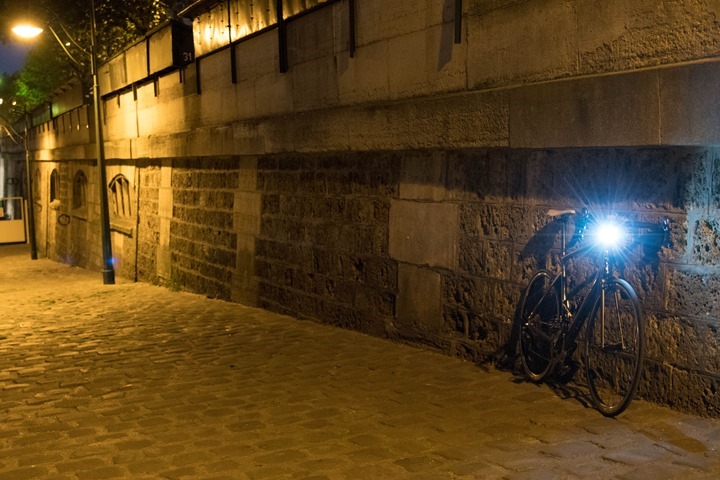
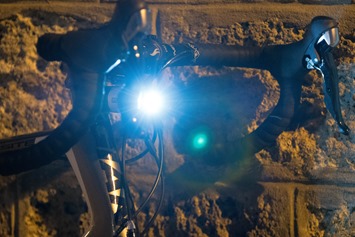
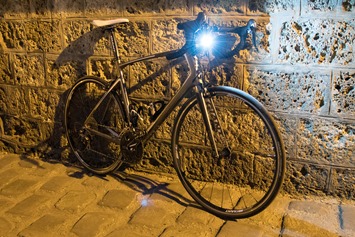
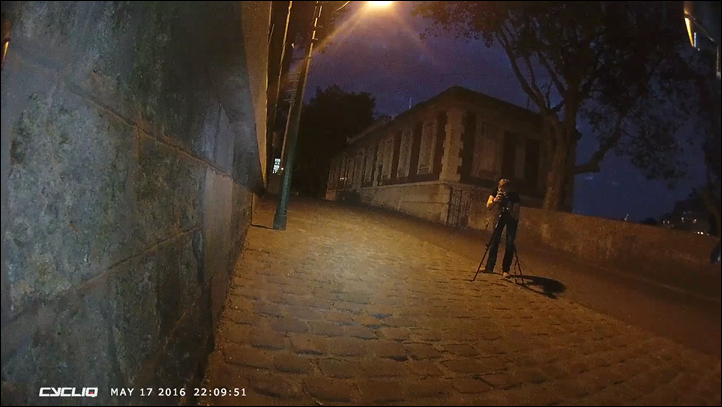
From a lumens standpoint, the unit clocks in at an official rating of 400 lumens in the brightest mode. You’ve got three brightness levels though (I talk about that in the app settings section). And, just for fun as a point of reference. Here’s what the camera saw while I was taking the above photos:
And a few shots out in the dark, first on a fairly dark bridge (note: this snippet is in my video at the end):
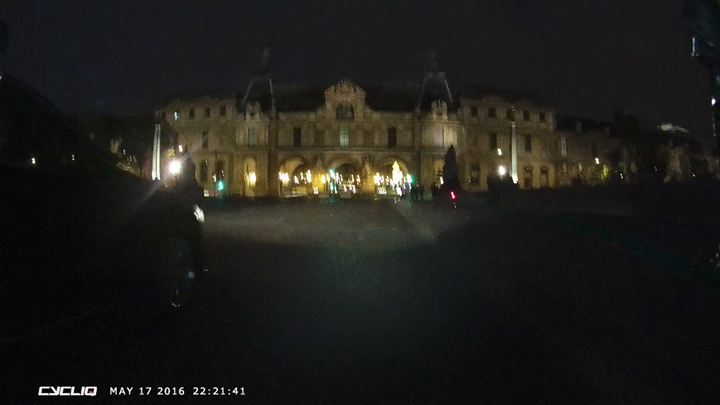
Notice as the car passes me, I can still make out the license plate if I freeze the video (there are lights on this bridge). Also note this bridge is not smooth asphalt, but small cobblestones (thus impacting clarity).
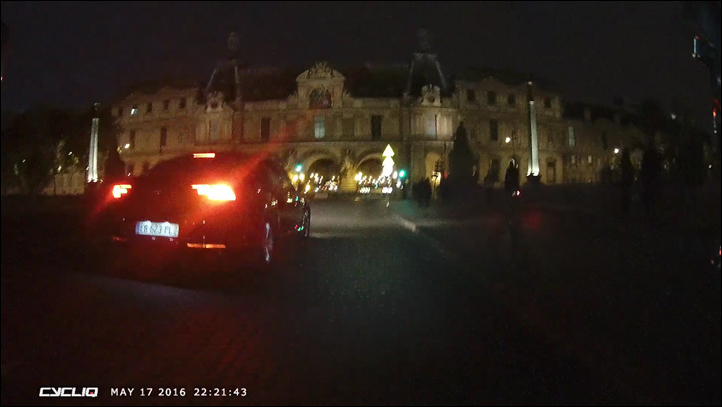
If I zoom in, you can clearly see the plate. Note, this car did nothing wrong. It’s just the only car that passed me on the dark bridge that was easy to use to illustrate. In fact, it actually gave me a lot of room.

And here’s another shot, on more of a main street. Just demonstrating how easy it is to pick out car license plates. None of these snippets are edited, it’s a simple screenshot from the raw video straight off the Micro-SD card.
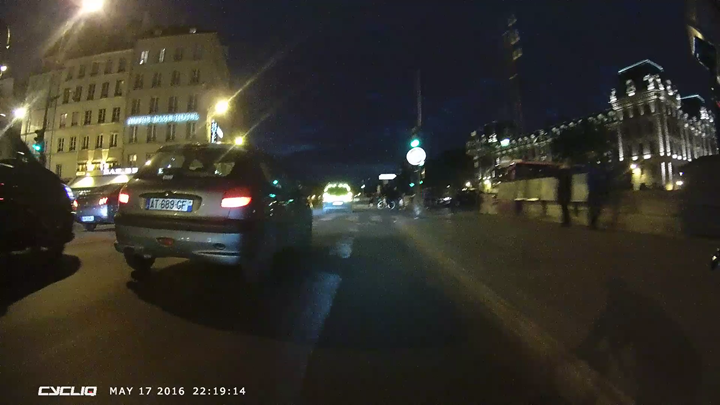
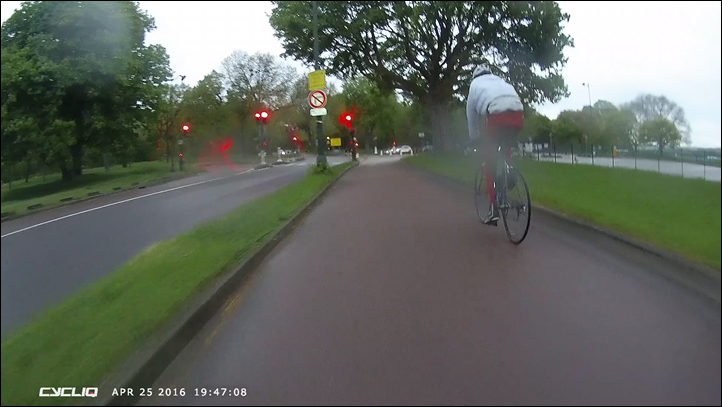
It’s worth nothing I had no issues with rain. I’ve had more than enough of that, including some fairly epic rainstorms in the last month. In fact, all the Cycliq products are internally waterproofed as well. That means you can literally fill them with water and then simply let them dry out and they’re fine. I did that with the Fly6 where I opened up the ports and filled it with water until all the air went out. Then I dumped it out and let it sit for a day (no rice or anything). It turned on just fine.
For the most part, the water rolls off the lens. You can see below how it looks mid-way through a rainy ride.
The claimed battery life is 10 hours of recording (without lights), down to 2 hours of recording with lights at full blast. For those countries that allow it, blinking lights will dramatically save battery life. I haven’t seen battery issues in terms of running out on me during a number of multi-hour rides.
Finally, in the event of a crash the unit will recognize it as such. A crash is detected when the unit tilts more than 45° while riding. When the crash alarm is triggered, it’ll go ahead and chirp like a dying bird in a blender. The secondary (and likely more important) purpose of the alarm is to write-protect the footage of the crash. So it keeps it protected from being overwritten.
Crash Test:
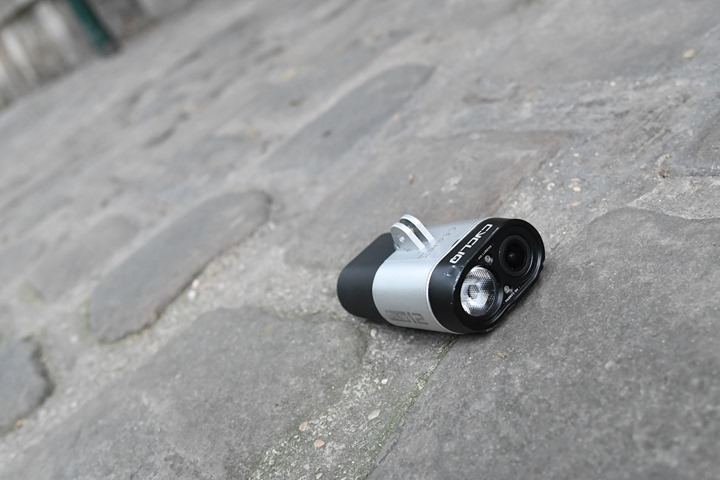
Given the unit is designed to withstand a crash, how well does it hold up to one from a durability standpoint? Well, I kinda found out by accident. On a ride a few weeks ago the 3rd party machined metal mount I was using snapped, sending the Fly12 off the bike at high speed across the stone cobbles and to the concrete curb.
The unit survived just fine:
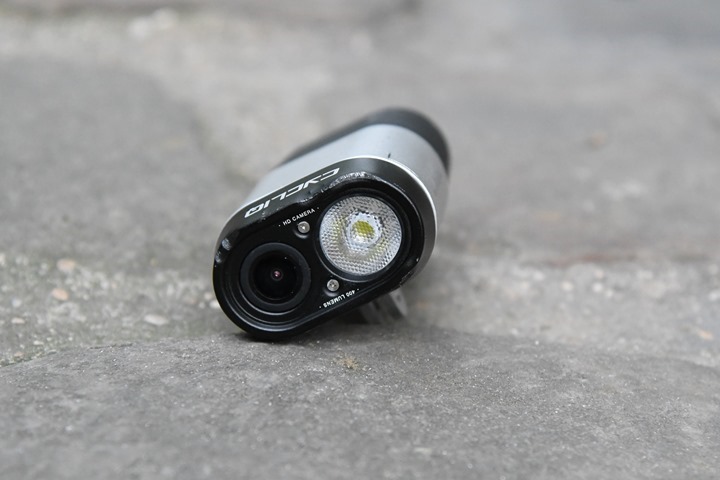
However, the video data was not recorded. This was one of the handful of times I’ve seen the unit shut off at some point during the ride (20-40 minutes prior) without me knowing it. I haven’t seen it do this on rides since, but it did happen on another ride in April. It sounds like this was fixed on the most recent firmware, and I haven’t seen it since. But it was definitely a bummer. You can see the marks on the unit from the experience above, around the edges. But no broken glass or any other parts. Still works just fine (and I have continued to use it).
This all despite a flight at 20-25MPH across the very hard and rough ground.
Wait? What’s that? In a tribute to Mythbusters you want a re-enactment? Well, since I’ve got more Fly12’s sitting around here than I know what to do with (before I sent them back), why not…umm…do a do-over?
So this time I went back up to the street and decided to get up about 20MPH and them simply release it and see what happened.
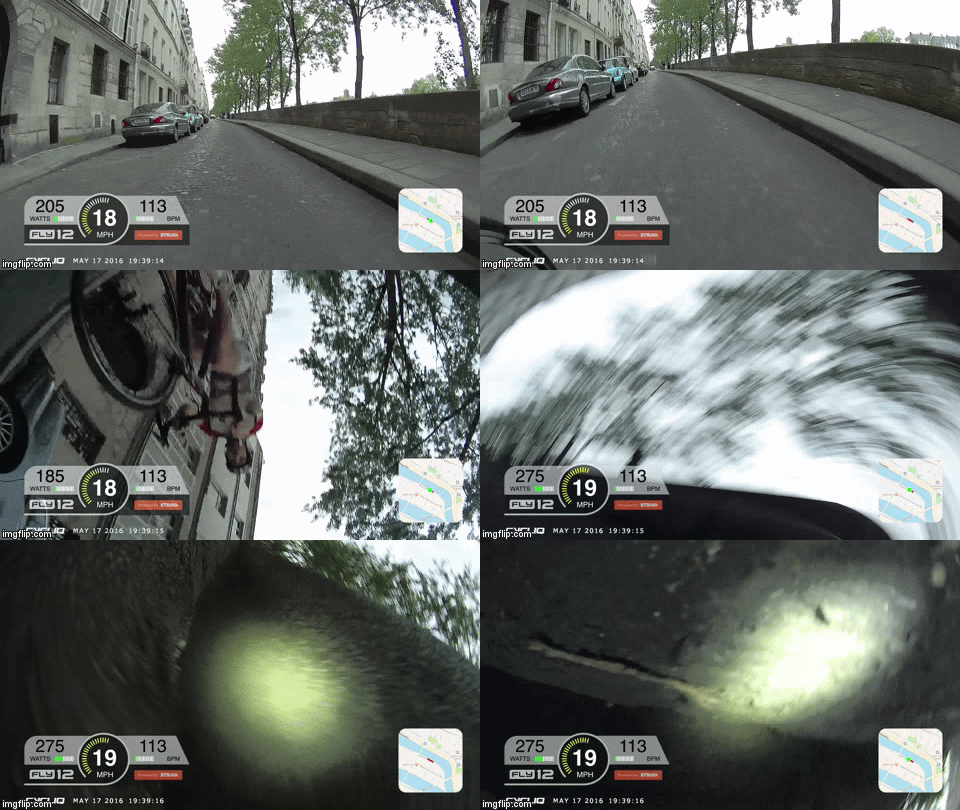
And the results, in video form:
See, I don’t disappoint. And yes, the unit is still alive (in fact, the night segments you see were then recorded a few hours later). Though, I suppose if this were a true Mythbusters tribute, I’d blow the thing up….
App Usage:
While most of your day to day interactions with the unit will be from the hardware side, it’s also quite likely that (for better or worse), you’ll use the app a bit. I say better or worse because in most cases if you’re using the app it’s because you’re trying to share something that occurred on the ride. Hopefully said ‘something’ wasn’t a bad crash.
The app allows you to connect to the Fly12 via a combination of Bluetooth and WiFi, enabling you to change settings and download videos. In general it’s fairly simplistic, and seems to do the job. But, it could also use a bit more love to make it a bit cleaner experience. Note though, that as of this writing the app is only available for iOS, not Android. Cycliq says the Android app is coming by the end of the month. Additionally, both apps are getting total overhauls (I saw some preview shots this week), which look a million times better. That should show up in the next few weeks.
The Fly12 acts somewhat similar to a newer generation GoPro in terms of pairing. It uses Bluetooth to assist in configuration, and then WiFi for streaming videos. That’s because Bluetooth doesn’t have the bandwidth for video streaming. So once you’ve paired it up, you’ll see your unit connected up top. Either the top bar in blue for Bluetooth, or in green for WiFi.
If it’s blue, you can tap the Review Footage option, and it’ll go ahead and turn on WiFi for you automagically, getting you to the green bar. Like I said: Magic.
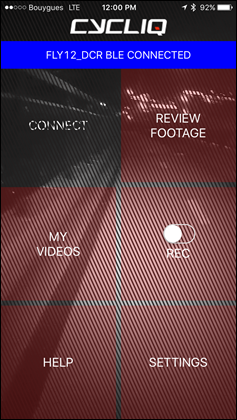
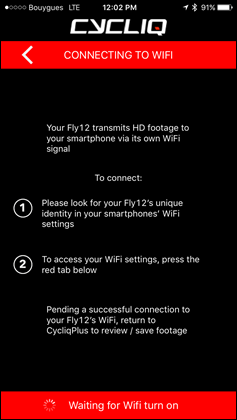
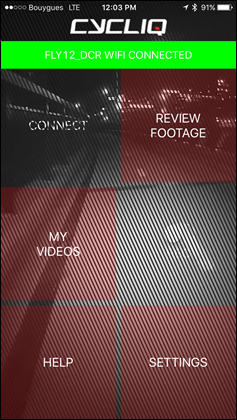
Once that’s done, you can now review your footage. But first, let’s dive into settings.
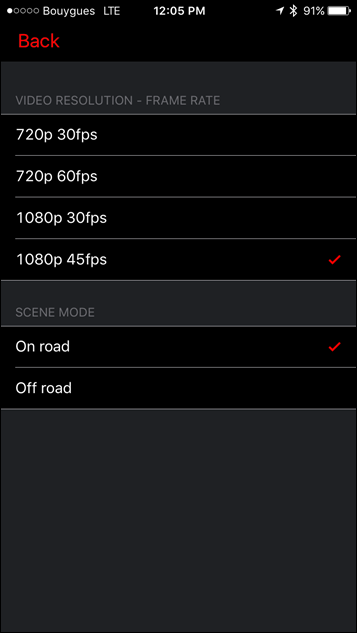
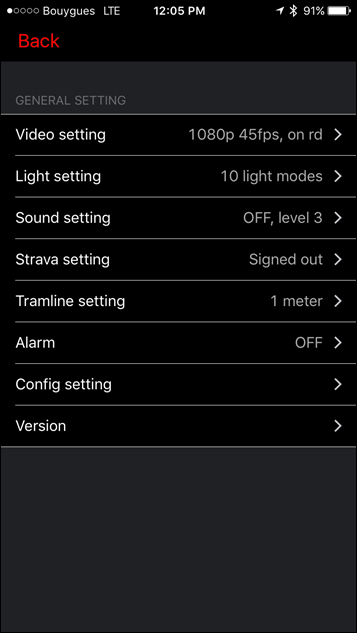
Within this section I can change the video resolution (1080p45, 1080p30, 720p60, 730p30), as well as light and sound modes.
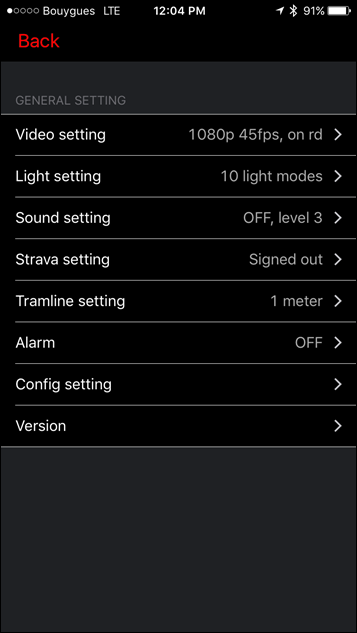
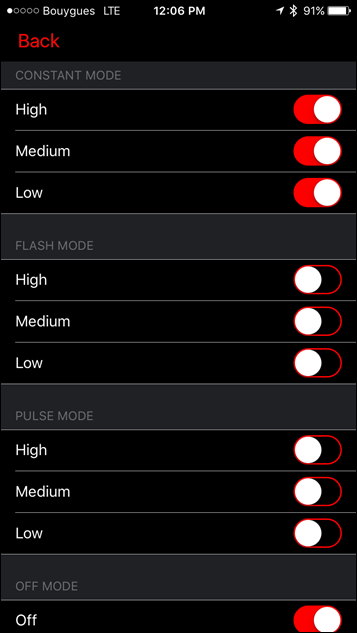
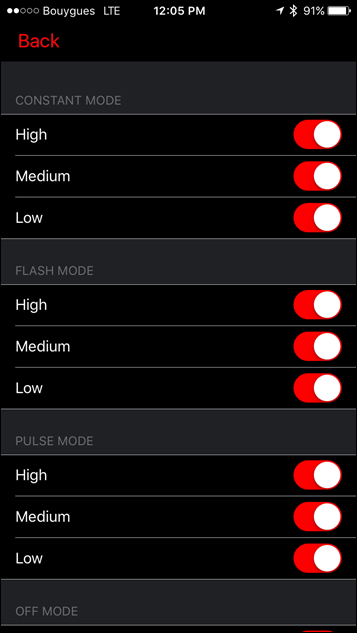
The light modes are the different modes it’ll iterate through when you push the light button. So if you don’t want the flashing modes, you can turn them off for example. That’ll save you button pushing.
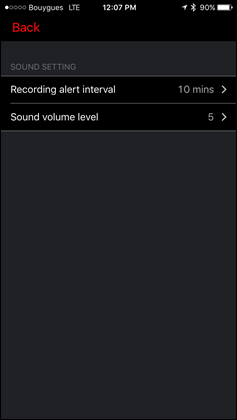
Next, there are audio alerts. There are two alerts here. First is the recording alert interval, which simply chirps at a preset interval to let you know it’s recording. And the second is the volume level.
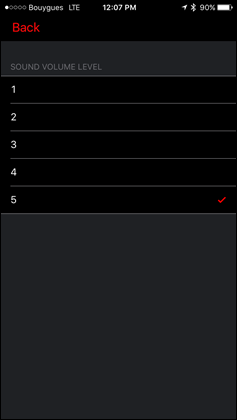
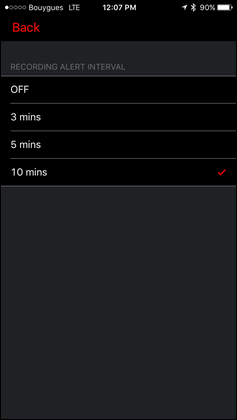
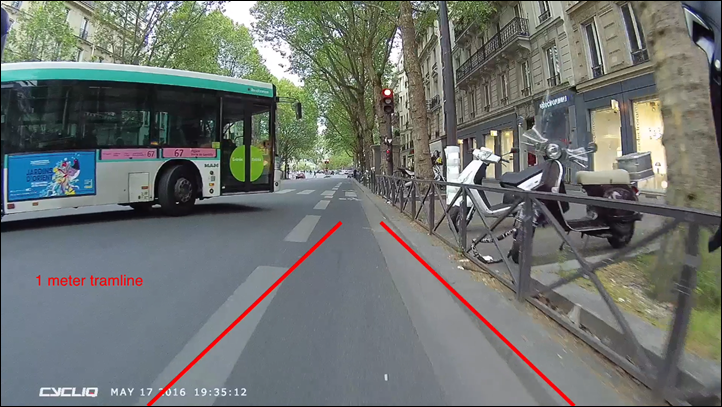
After that we’ve got the Strava integration. But, I’ll circle back to that in the next section. So let’s move onto the tramline settings. Within this section you can configure tramlines. These lines will be overlaid on your video to demonstrate how close a driver might be. In many parts of the world, there are 3ft or 1m rules that specify how close a car is allowed to get to a cyclist.
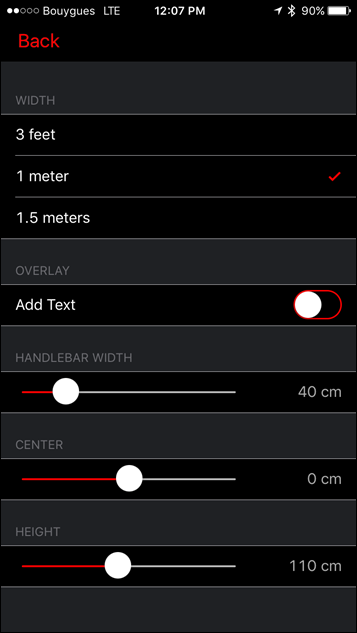
You can change both the width of the tramlines, as well as the handlebar and height sizes. Further, you can configure an offset, if your camera isn’t precisely mounted on center. All of which results in something like this:
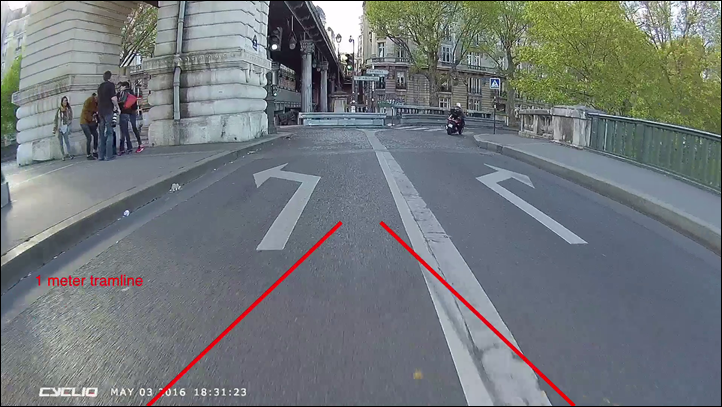
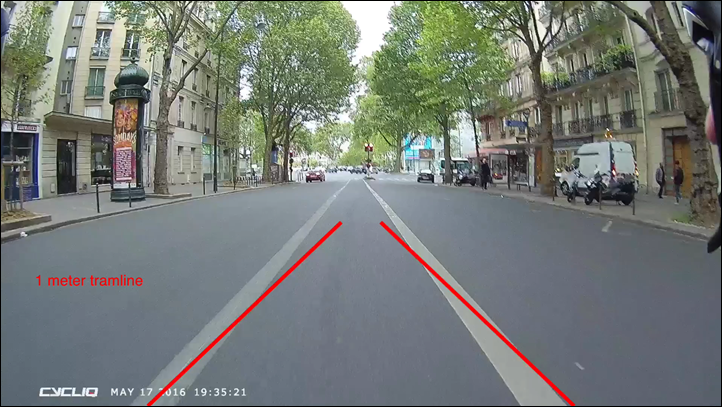
While it seems spot-on at the point closest to the bike, I think the points further away could probably use a bit of work. Take a look at the following, which is a bike lane that basically perfectly lines up at the point closest to my bike, but is a bit skewed further away from my bike:
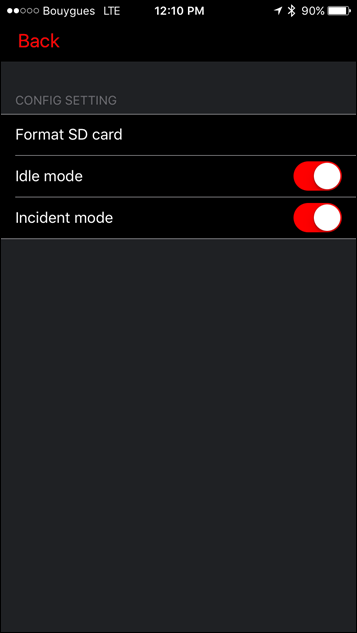
Next, there’s both an incident setting and a config setting. A sound will trigger if you crash (alerting others to a camera that may want to be retrieved for evidence), whereas the config settings enable both incident and idle modes.
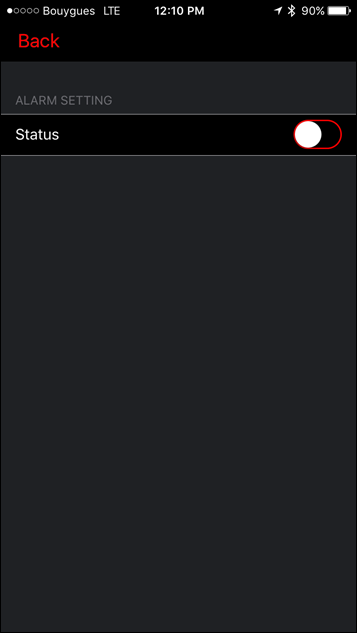
Whereas the Alarm mode is something you can enable from the home-screen of the app. This will act like a motion detector. If you have your bike within range (such as sitting at a cafe), and the bike is moved, the unit will start blinking/beeping, and your phone will alert you as well.
Finally, if you want to change the WiFi settings (network name/password), you’ll need to be just on Bluetooth mode (like below to left), at which point the WiFi option will show in the settings (lower left first):
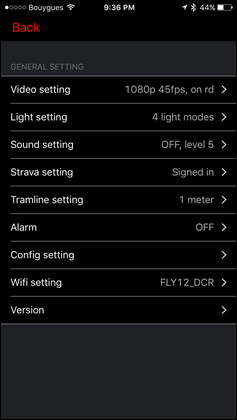
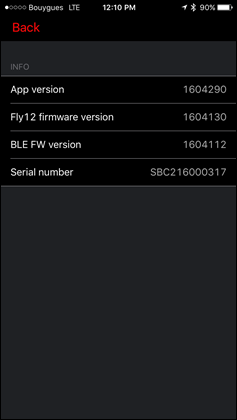
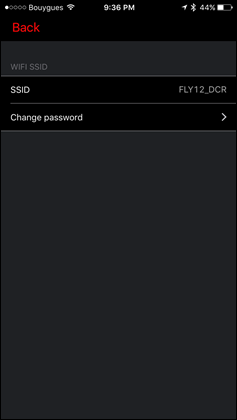
With the settings section out of the way, let’s circle back to the video/footage piece. We’ll click Review Footage and get back into the main footage reviewing area. It’s here we can go ahead and select a video from the unit. The Fly12 records videos in 5-minute snippets. You can see these along the bottom. If I click on one, it’ll show it up above.
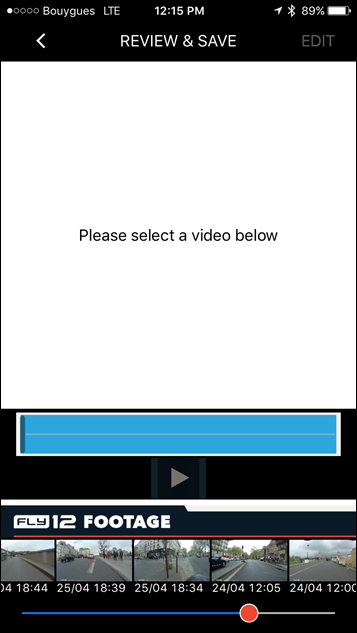
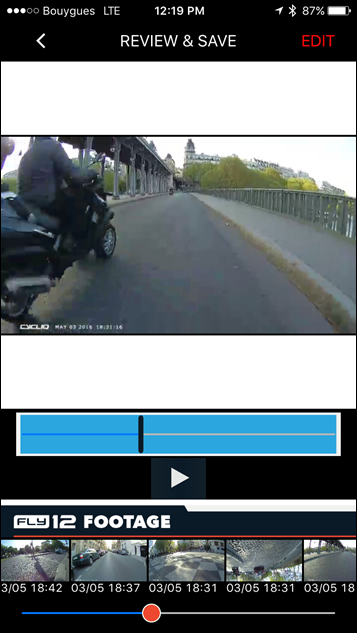
On one hand the 5-minute chunks makes it easy to find snippets as long as you know the time of day. On the flipside, it makes it a mess if you want to use the videos in some other program, or to form a longer ‘story’.
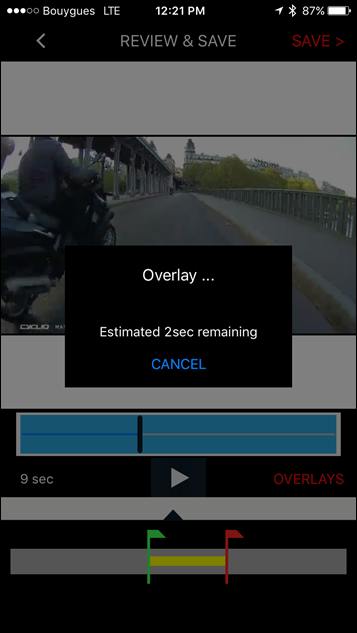
Once I’ve selected a chunk of video I’ll tap ‘Edit’ to open up another portion of the screen that allows me to narrow down around the portion of the video I want to share. You can see those flags at the bottom. You can move them around, as seen below.
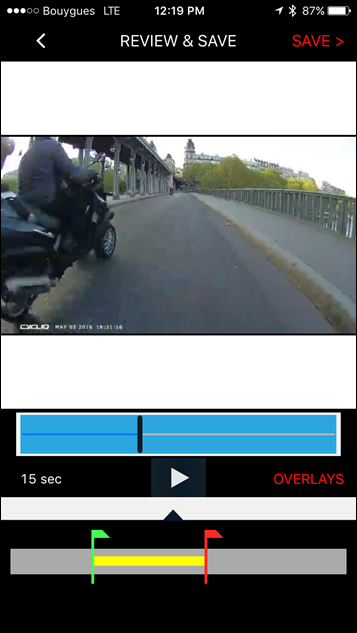
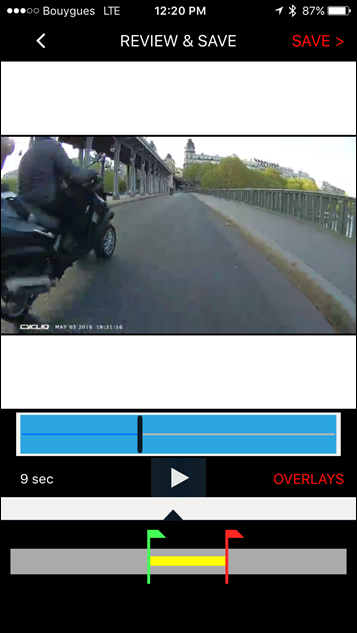
The flags are honestly a bit finicky to use. I would have thought simply using the blue banner section and editing within that would have been a much cleaner experience. And, it’d match how most video editing programs work. Hopefully that’s something they’ll tweak in the future.
It’s here I can enable tramlines as well. Once I’m done, I’ll click ‘Save’. The saving process isn’t super fast given how long these clips are, but I suppose most clips are only going to be a few seconds in length. So even waiting a minute or so isn’t horrible.
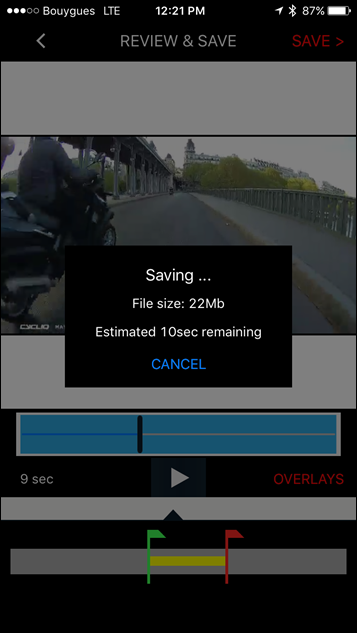
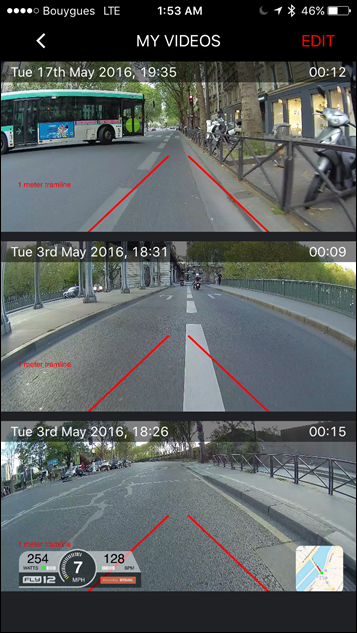
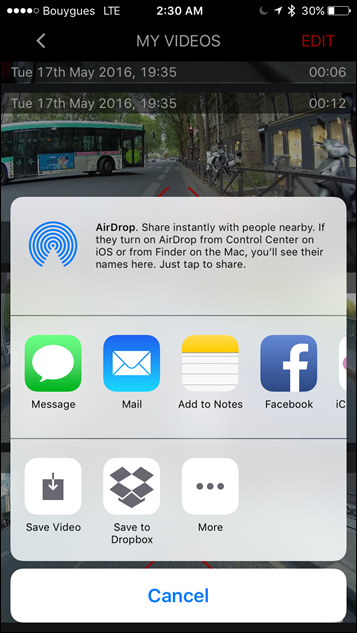
Once they’re done, they’ll show up in your ‘My videos’ section. You can then either play the video, or share the video:
If playing, you’ll get the full horizontal view and you can see the tramlines:
Ok, so that’s cool and all – but what about Strava integration? Let’s dive into that next.
But first, a quick note on the files recorded on the Fly12 itself. If you use the included micro-SD card to view the cards on your computer (or if you just plug in the unit), you’ll see a folder full of files. Or, a bunch of folders. Each folder is by year, and there appears to be a maximum number of videos per folder. None of that matters if you use the app. It only matters if you use a computer to look at the original video files.

The Fly12 records all clips at two versions: A higher 1080p resolution version, and a super-low resolution version. So if you look in that folder, you’ll see duplicate clips:

The reason for the duplicate clips is to make it faster for the app to playback streaming files. So it uses the low-resolution version for previews on the app. In case you’re wondering, Cycliq isn’t alone here. GoPro does the exact same thing.

Each clip is 5 minutes long. That means you’ve got a boatload of clips. But it does make it easier to find a specific clip, versus having one gigantic clip. On the flipside, it makes it a bit messier if you’re trying to use a 3rd party editing program on your desktop as you’ve got to pull in all the clips and sift through them.
But as long as you use the native Cycliq app, then none of this matters to you as it’s totally transparent from the app standpoint.
Strava Integration:
A key selling point of the Fly12 is the Strava integration. Now at first you might think: How on earth would this integrate with Strava?
Well, Cycliq has essentially outsmarted having to have their own GPS chipset in the unit for things like speed and grade. In this case, as long as you upload your ride to Strava (using any device you want, or even the Strava app), it can overlay that data right onto the video. To begin, you’ll head back into the settings and sign-into your Strava account (see how it says ‘Signed out’):
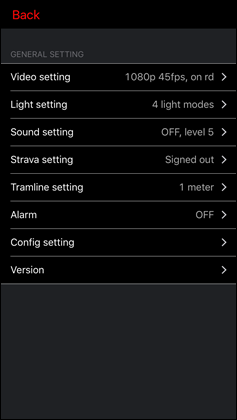
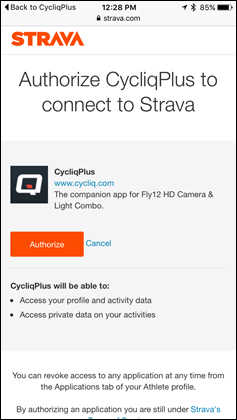
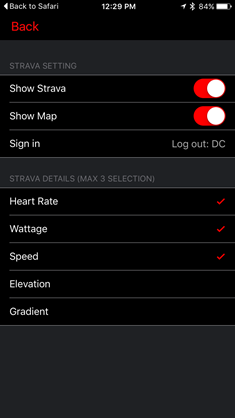
Once that’s done you’ll be ale to enable various options, from showing a map, to up to 3 out of the 5 data fields (seen above on right).
Now, we’ll go back into the Review Footage section and find a snippet of video. Once I do that, I’ll tap ‘Overlays’ and you’ll see two new options: Heads Up Display and Map Overlay.
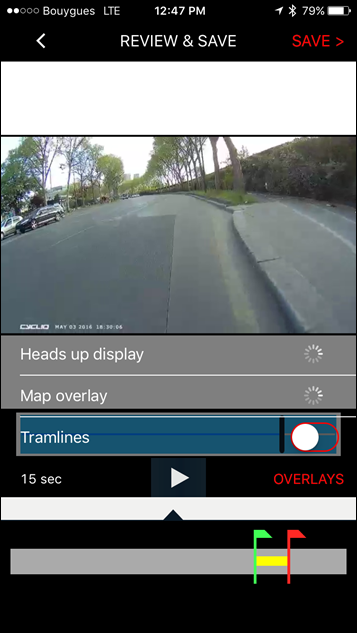
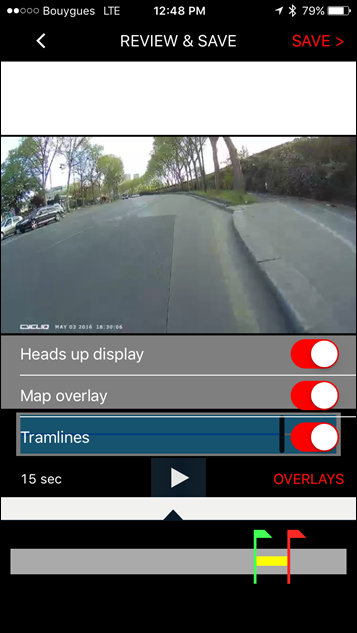
It seems to take a bit of time sometimes for the app to download the data or otherwise enumerate. Once it does though, you’re good to go.
From there you’ll just click save like normal and it’ll do its thing. Outputting a video with Strava data overlaid right on it:
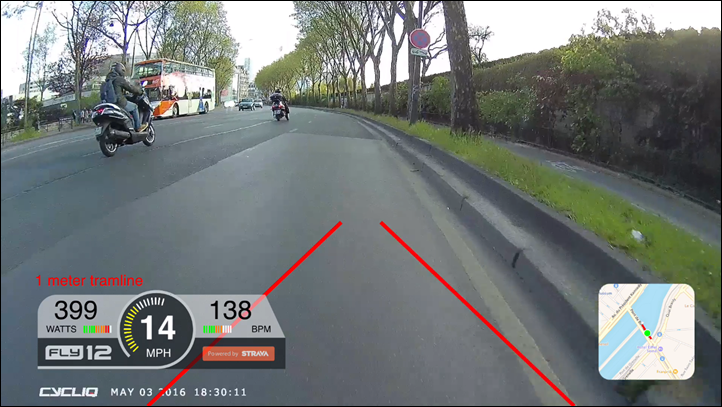
Obviously, in order to get power data, you’ll need a power meter and that power meter data in your Strava file. Same goes for heart rate too.

The little map at the bottom is handy too, making it easy to see where you were exactly.
Note that at this time Strava doesn’t support video uploads (just photos), so it’s not something you can upload to Strava itself. But, like before you can share it anywhere else you’d like as a simple video.
Video Snippets:
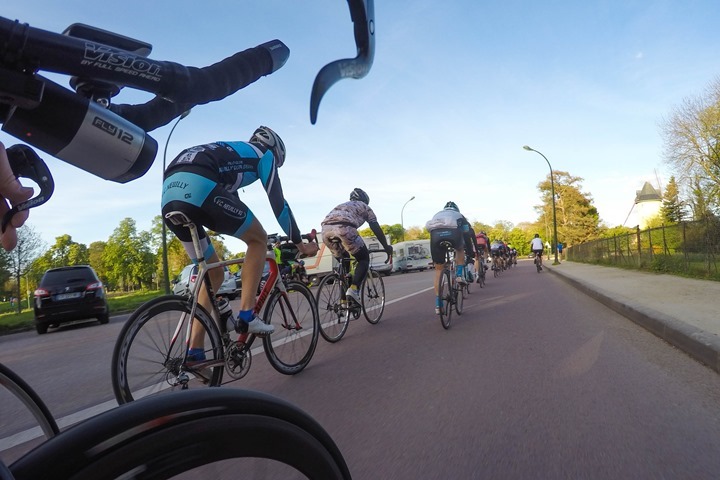
The video quality seems a fair bit compressed for 1080p resolution. Given I have the ability to swap out the micro-SD card for any size I’d like (one of the first things I did), I wish I could lessen the compression. Said differently: The quality doesn’t really look 1080p given the artifacts I see in it.
Still, it’s more than sufficient for capturing bad drivers. To demonstrate the quality, here’s a pile of snippets from various rides over the last couple months. I’ve got video on numerous Fly12 beta devices dating back to this past fall, but for this full review I’m just focused on the product devices.
Rather than upload a whole bunch of 15 second YouTube videos, I’ve simply compiled them into a single video (daylight first, then night).
Just in case you’re wondering, you actually can’t combine clips within the Cycliq app. One clip = one video. So I just used the free iPhone app from Apple, iMovie, to do it for me. Super easy.
Summary:
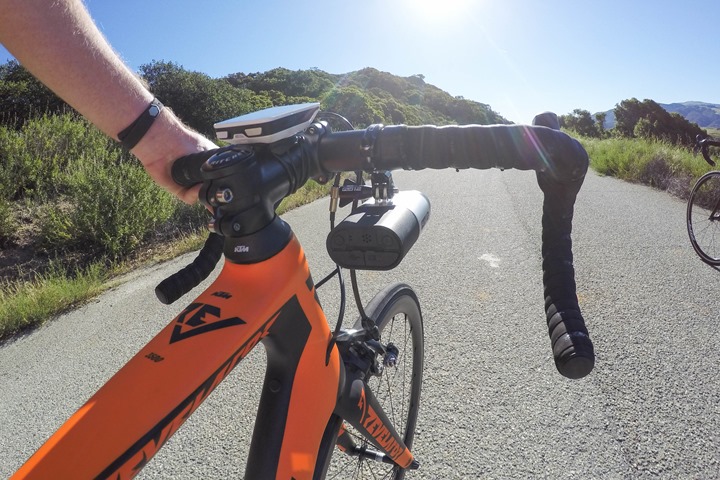
Overall the Fly12 works pretty well. The hardware is definitely rather robust, despite my repeated attempts to kill it. And the recorded image is good enough, even in night, to make out license plate numbers on passing cars. The addition of WiFi & Bluetooth make the unit quite a bit quicker and simpler to use than the Fly6.
On the flipside, the app is still a bit rough around the edges. There are occasional connectivity issues with the Strava metric overlay, which can significantly slow down getting clips out. Still, I’m reasonably optimistic those will be addressed soon, based on my discussions on the challenges they faced until recently with their (now previous) software development firm. Plus, the upcoming new app design looks fantastic by comparison to what you see today.
Now the $349USD unit is expensive. Though, about the same price as buying a good set of lights and an action camera capable of shooting well in the dark. But that would still ignore the bike-specific pieces that simply aren’t found on any action cams on the market today (tram lines, accident mode, Strava integration etc…).
If you approach the Fly12 from the perspective of being an all-around GoPro replacement, you’ll be disappointed. Instead, I’d focus it on being a solid front bike light, with a pretty solid camera and bike-specific platform integrated into it. Further, in many ways the camera portion of the Fly12 is like insurance. It’s not there for when things are going well, it’s there for when things didn’t go according to plan.
Found this review useful? Or just want to save 10%? Here’s how:

Hopefully you found this review useful. At the end of the day, I’m an athlete just like you looking for the most detail possible on a new purchase – so my review is written from the standpoint of how I used the device. The reviews generally take a lot of hours to put together, so it’s a fair bit of work (and labor of love). As you probably noticed by looking below, I also take time to answer all the questions posted in the comments – and there’s quite a bit of detail in there as well.
I’ve partnered with Clever Training to offer all DC Rainmaker readers exclusive benefits on all products purchased, most notably 10% savings by using DCR coupon code DCR10BTF. You can read more about the benefits of this partnership here. You can pickup the Fly12 (or Fly6) through Clever Training using the links below. By doing so, you not only support the site (and all the work I do here) – but you also get to enjoy the significant partnership benefits that are just for DC Rainmaker readers. And, since this item is more than $75, you get free US shipping as well.
Cycliq Fly12 Front-Facing Bike Light & Camera (this review)
Cycliq Fly6 Rear-Facing Bike Light & Camera (My In-Depth Review here)
Thanks for reading! And as always, feel free to post comments or questions in the comments section below, I’ll be happy to try and answer them as quickly as possible.


