FINIS Neptune Swimming MP3 Player In-Depth Review
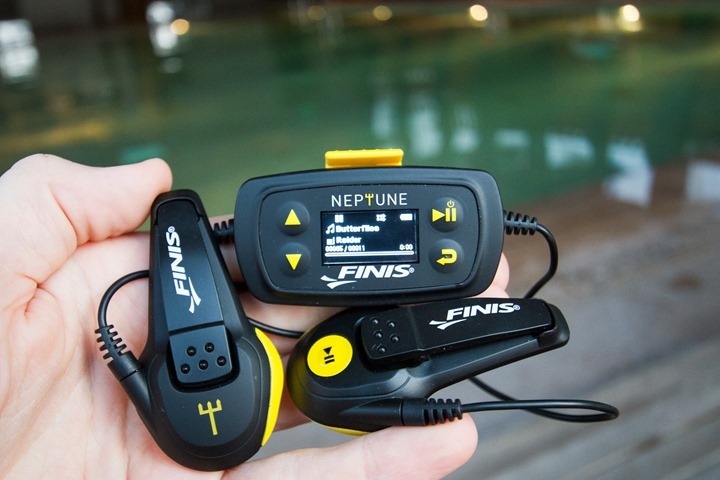
When FINIS announced the new Neptune swimming MP3 player two months ago I was skeptical. I was pretty happy with the previous generation – the SwiMP3. It was smaller, and and thus for most swimmers, that’s a critical selling point. But after using it a bit, I’ve formed some different opinions on it – which might surprise you.
Because I want to be transparent about my reviews – FINIS sent me a final production Neptune unit to test out. Later this week I’ll send it back to FINIS and then go out and get my own (to be able to support y’all in the comments section down the road). Simple as that. Sorta like hiking in wilderness trails – leave only footprints. If you find my review useful, you can use any of the Amazon or Clever Training links from this page to help support future reviews.
Lastly, at the end of the day keep in mind I’m just like any other regular athlete out there. I write these reviews because I’m inherently a curious person with a technology background, and thus I try and be as complete as I can. But, if I’ve missed something or if you spot something that doesn’t quite jive – just let me know and I’ll be happy to get it all sorted out. Also, because the technology world constantly changes, I try and go back and update these reviews as new features and functionality are added – or if bugs are fixed.
So – with that intro, let’s get into things.
Unboxing:
First step is unboxing the FINIS Neptune. FINIS had adopted a new box style, which looks way nicer than the older yellow/black boxes they’ve used.
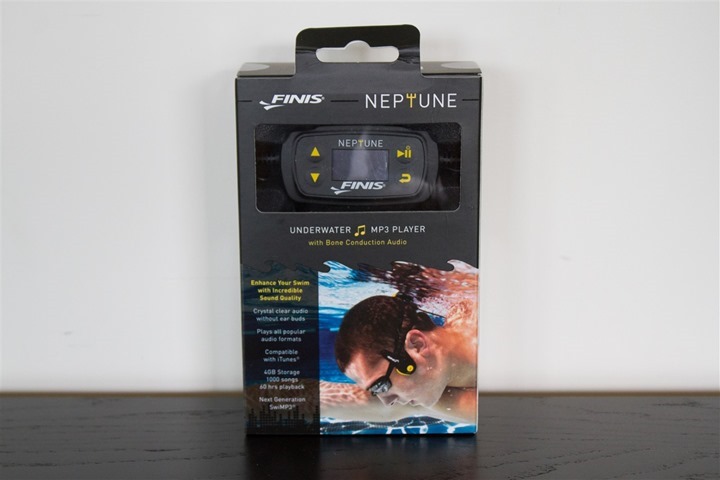
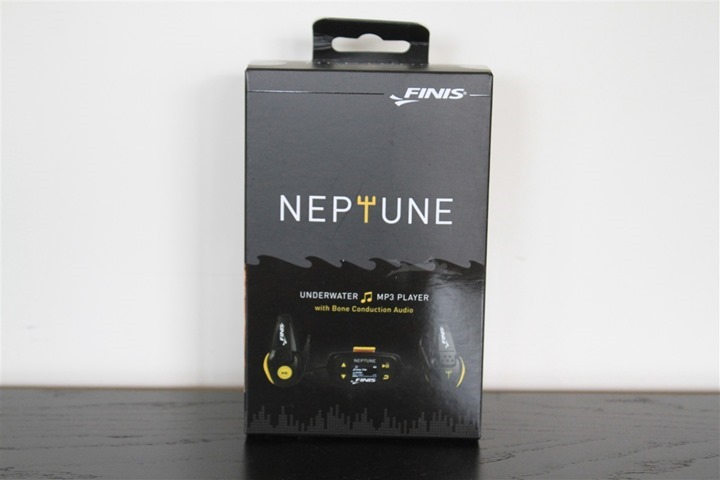
Once you open the top you’ll pull out the interior box. This is where the Neptune is hanging out, sitting in almost the same positioning that you’ll ultimately wear it. At the same time the registration card will likely fall out.
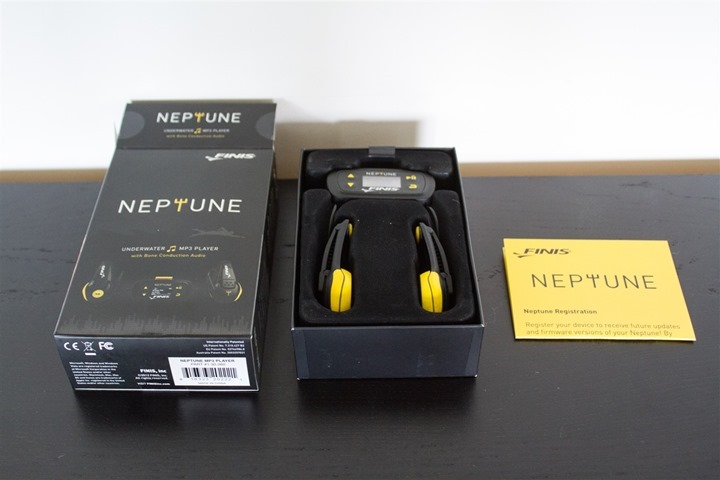
Once you dump the contents of the box out, here’s what you’ll find. I’ll walk through each item individually.
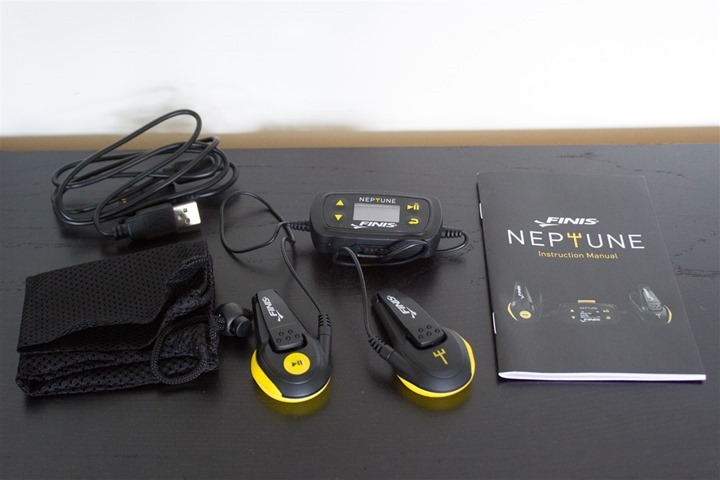
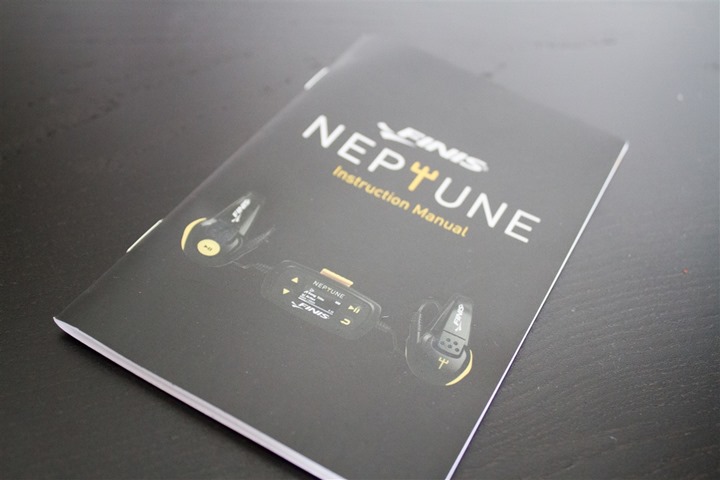
As always, we get our vegetables out of the way first – in this case, the instruction manual.
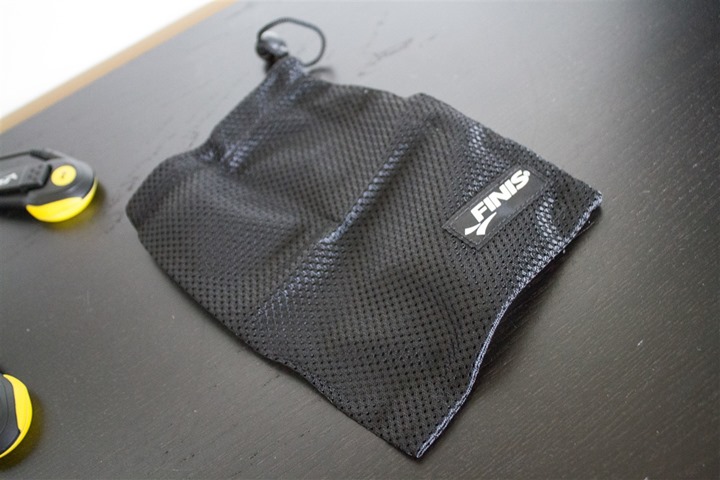
Next we’ve got the little mesh baggie to store the Neptune in while not swimming. I’m not a big fan of little baggies, but I’d actually recommend using this versus just throwing it in your large swim bag un-bagged. The reason being that because of the thin headphones wires you could easily get them caught up on a random snorkel and potentially in a moment of expediency – rip them. Which…would be bad.
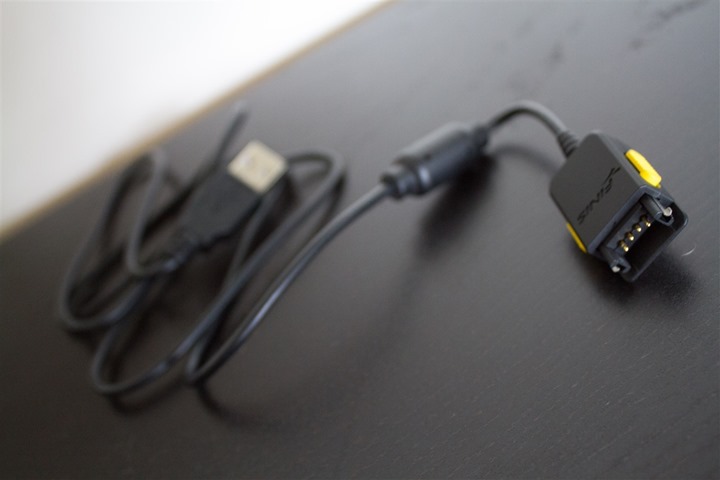
Next on our journey is the USB charging cable. On one end is a normal USB plug for your computer (or an outlet). On the other end is a custom connector for the Neptune. Previous SwiMP3 & AquaPulse users will note this is a different design than that unit, where the connector was built into the device. This connector should resolve issues some folks had with corrosion of the actual USB plug that went into your computer.
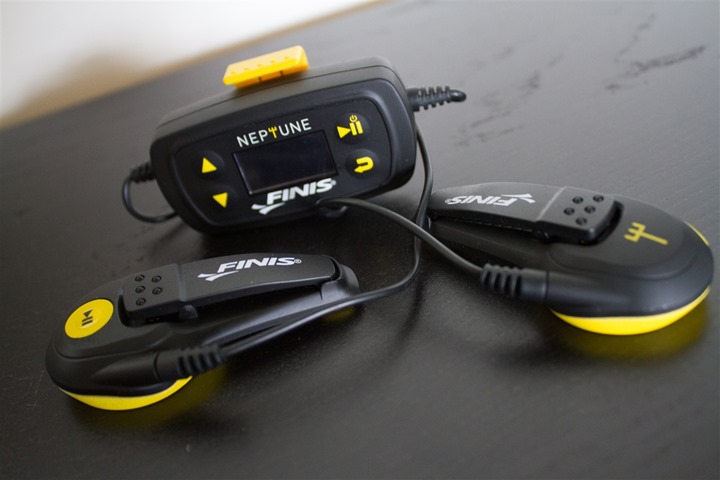
Finally, we’ve got the Neptune itself.
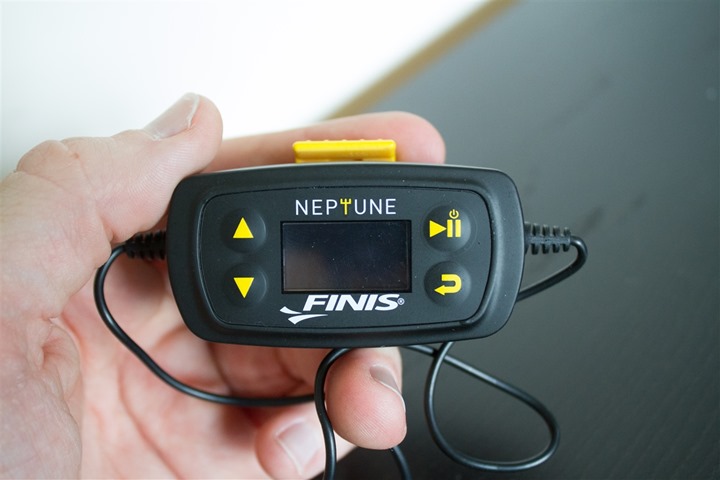
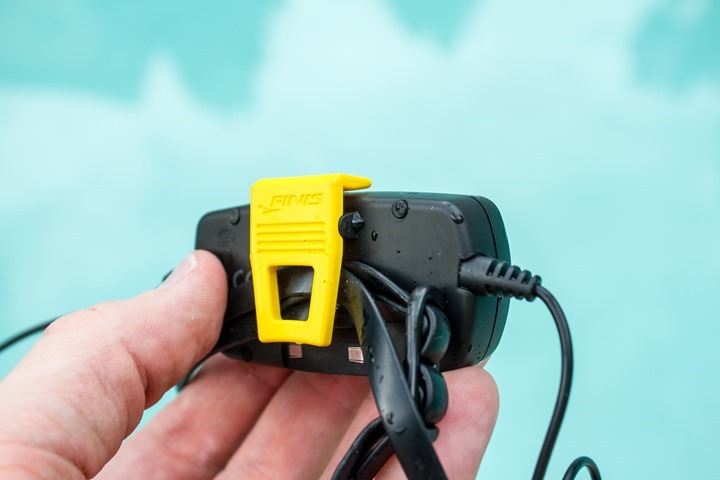
Here’s the back. The yellow portion is where your swim goggle straps slide through.
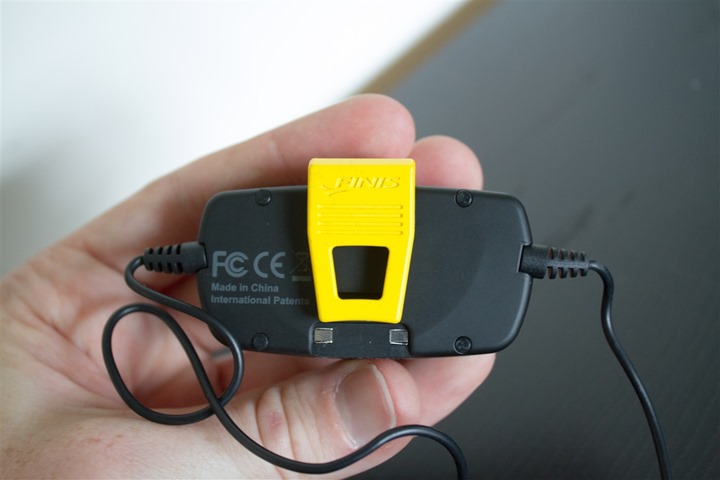
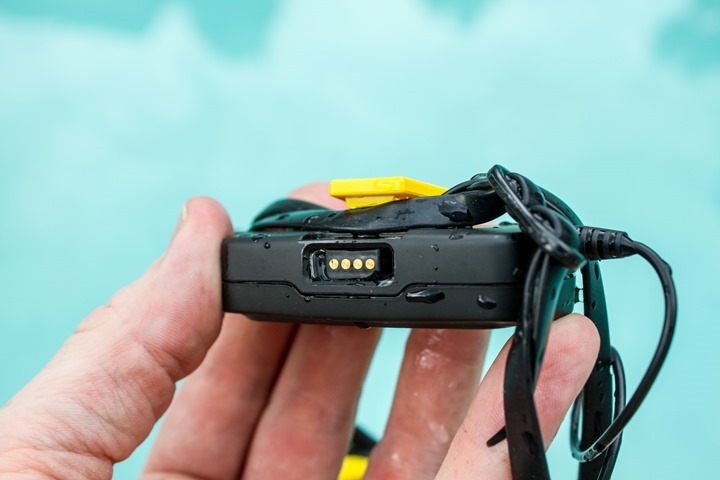
And on the bottom you’ve got the charging/upload connector port. Again note the custom connector versus standard. Also note that no protector cover is required.
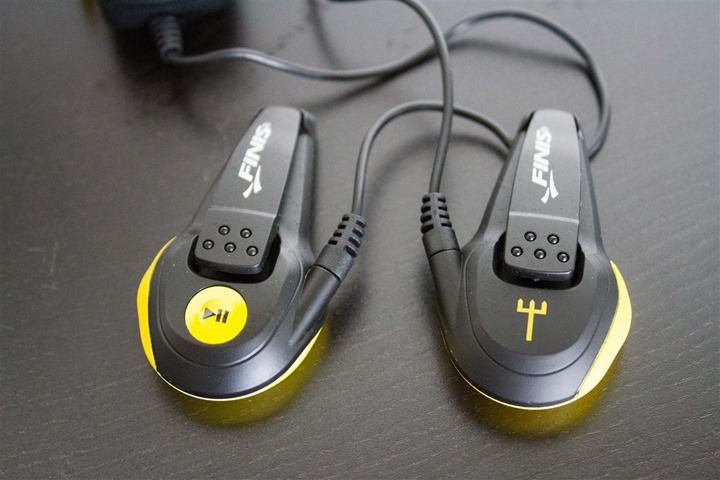
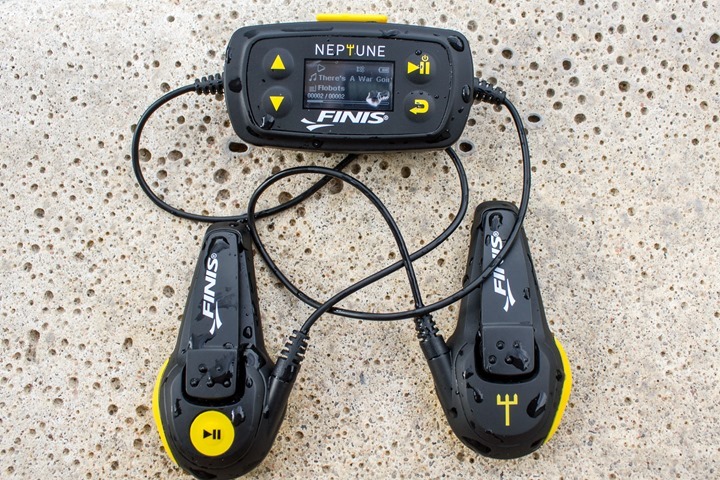
Finally, we’ve got the two earphones themselves. These use jawbone conduction, which means that the sound is transmitted using vibrations. This has been used with a fair bit of success in other products, and is really one of the best ways I’ve seen to get audio to your head underwater.
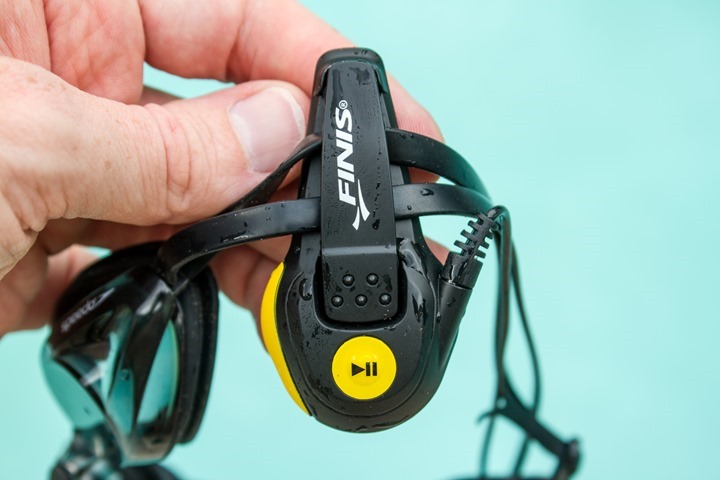
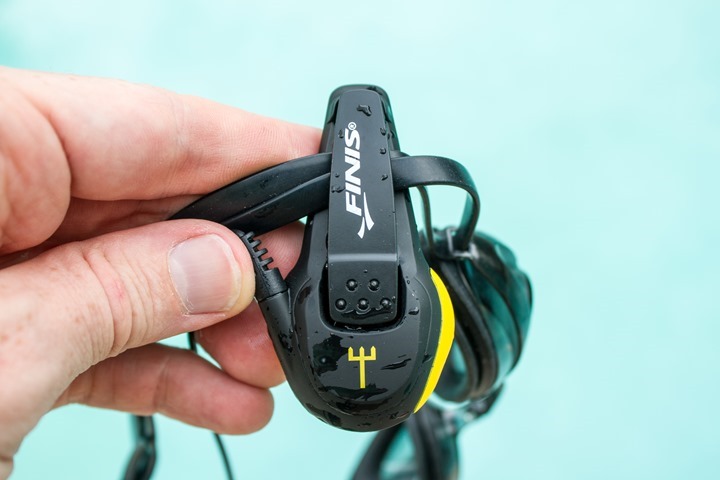
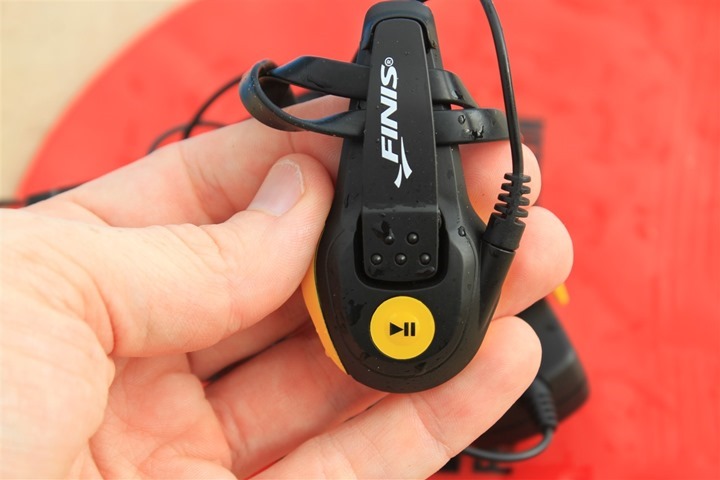
One earphone contains a play/pause button, while the other just contains a Neptune spear (well technically the Trident, from the Roman god of the sea and freshwater). You’ll also notice that there’s a small area above each of those where your goggle strap will slide through – keeping them on your head.
And here’s the part that touches your head. Just sorta like big pads.
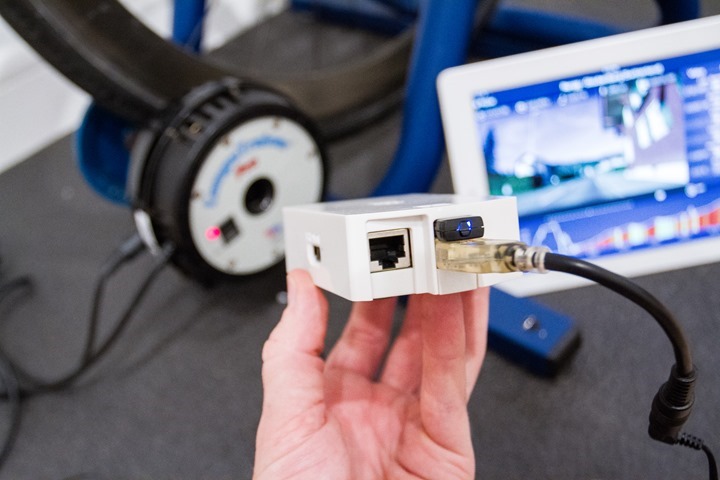
With everything unboxed, let’s go ahead and get it all setup.
Setup and Configuration:
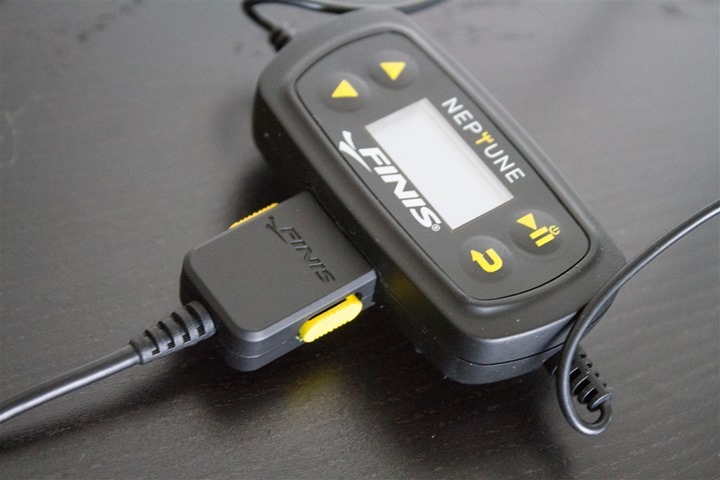
Now setting up the Neptune is actually pretty straightforward. In fact, the only thing to really setup from a technical standpoint is putting your music on it. To do so you’ll just plug it in. No wireless transfer here.
The device enumerates onto a computer as a standard USB mass storage device – the same as a typical USB thumbdrive. This means it’s compatible with PC, Mac, Android tablets and just about every other computing device on earth except that Commodore 64 still in my parents’ garage.
Once you’ve done so, you’ll see it listed within your drives on your computer:

After which, you can go ahead and transfer files. I personally just transfer them onto the device in the same way that I have them stored on my computer. Ultimately all of this is actually ignored though.

In some ways, the device isn’t terribly intelligent in that it can’t read the various metadata tags on the music files itself and enumerate that into any categorized display beyond the artist and album metadata. It pulls this information from the metadata fields for: “Album artist”, “Contributing artists”, and “Album” fields. It won’t use things like “Genre”, “Year”, etc…

Then, within each album folder you’ll have the MP3 (or similar) files themselves:

(In case you’re curious about my music tastes, Reidar is a local Seattle band that one of my high-school friends is the drummer on. The others are more well known.)
The unit doesn’t support any sort of playlists (such as various playlist file standards). Instead, it only supports setting specific songs as ‘Favorites’ from the unit itself – which, is just a wee bit of a pain. But more on that later.
From a file format standpoint the unit can only play unencrypted/non-protected files. Meaning that some songs you may download from various services are DRM-protects (aka rights protected) to an authenticated user account to prevent piracy. Those files won’t play.
Here’s the file types that do play: MP3, AAC, WMA (all non-protected)
Finally, some of you have asked about audio books and the like. While the unit does support them just fine as long as they aren’t protected, I find it pretty hard to concentrate on the words with the water splaying about sometimes. You can do it, and turn up the volume a bunch, but it may not be crystal clear when you’re full-speed ahead in the middle of a slew of 50’s. So do keep that in mind.
Now that we’ve got music on the unit, let’s dive into the pool.
Features and Functionality:
The first thing we’ll need to do is turn the unit on. That may sound simple (and it is), but it’s important to know you need to hold down the ‘On’ button (Play/Pause on the unit) for five full seconds. Not three, not four, neither two nor one. Five. Once that’s accomplished you’ll be brought here:
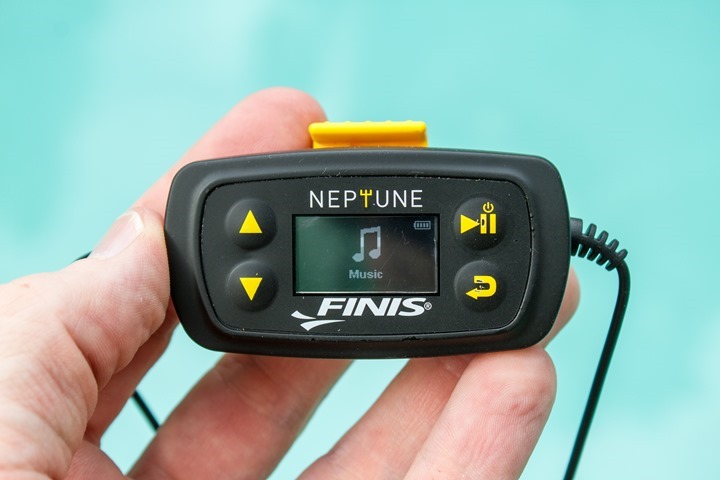
This is one of two top-level menu options. There’s ‘Music’, and ‘Settings’. Everything on the unit exists below one of those two options. Also of note is that the screen will automatically turn off (to save battery) after 20 seconds without touch. Simply tap up/down to have it turn back on again.
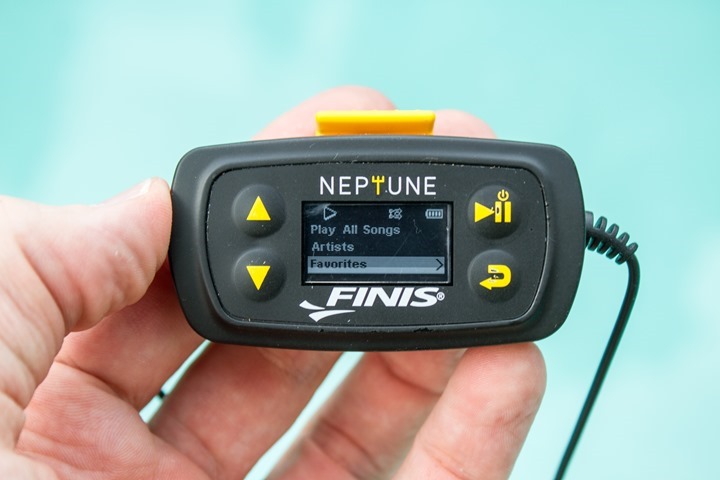
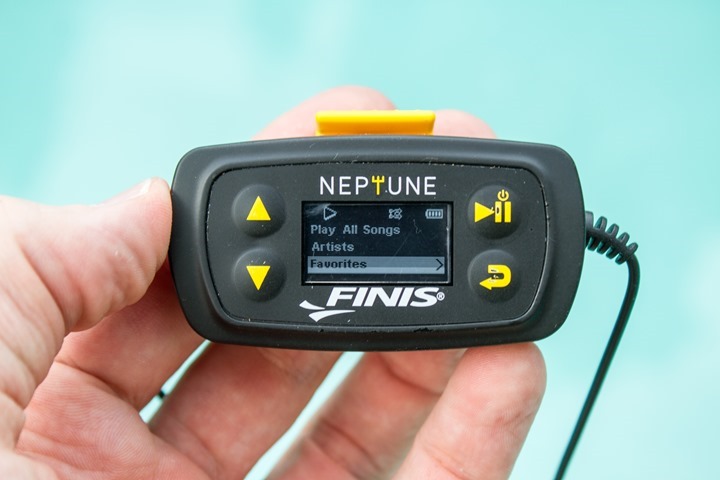
To navigate into the ‘Music’ section, simply press the ‘Play/Pause’ button (upper right) on the unit. If you need to go back up the menu, you can tap the little ‘Return/Back’ button (lower right). Once in Music, you’ll be here:
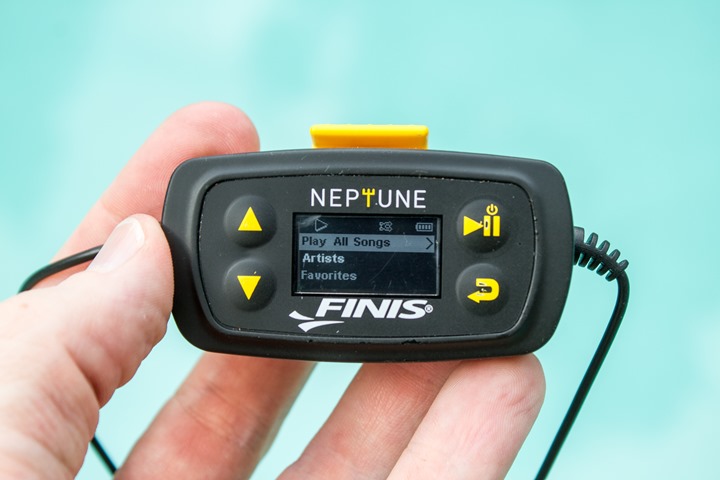
Within this menu you have the three choices:
1) Play All Songs (aka ‘The Nuclear option’)
2) Artists
3) Favorites
Now, the first choice is fairly obvious. It just starts playing everything you have. You can choose in the settings the option to have shuffle on or off. Obviously I prefer shuffle on if I’m using the everything option.
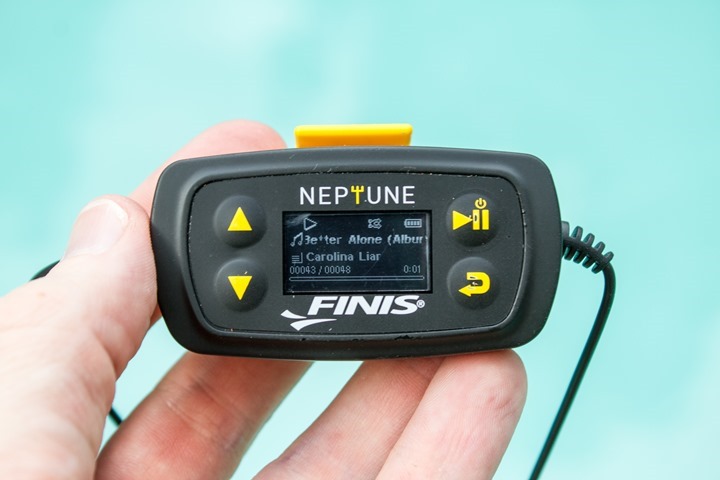
Next we’ve got the ‘Artists’ option. This option enumerates the names of the artists from your music files. As noted above it uses the data from the “Album artist” or “Contributing artists” metadata fields.
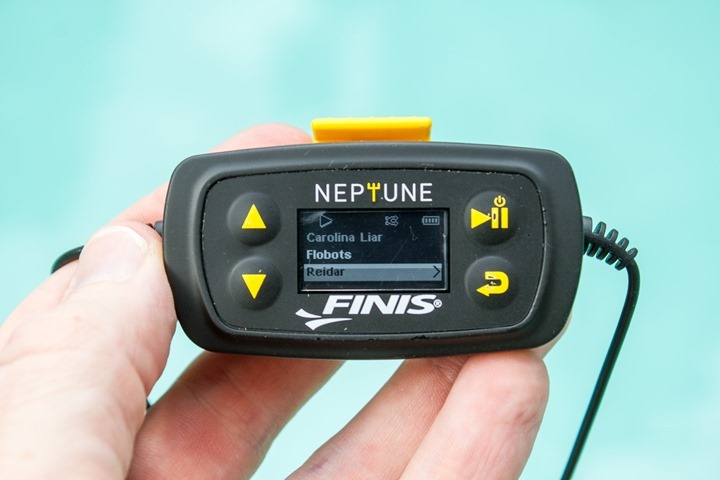
Once within a given artist, it’ll then enumerate the albums from that, using the metadata field “Album”. Here you’re given the choice to dive into a single album, or play all albums from a given artist. If you select to “Play All Albums” from that artist, then it’ll immediately begin to play all songs.
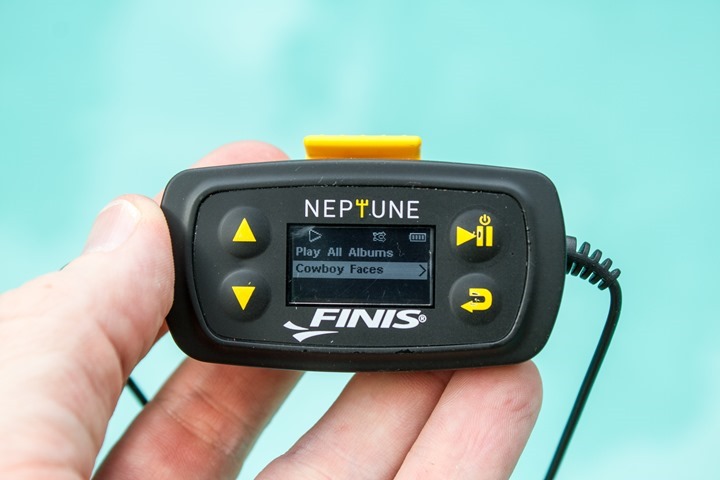
Assuming you’ve selected an album you can play all songs in that album or just a single song in that album.
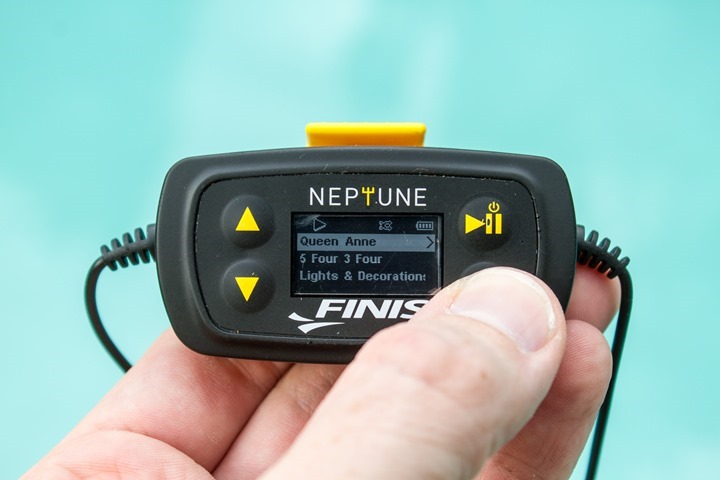
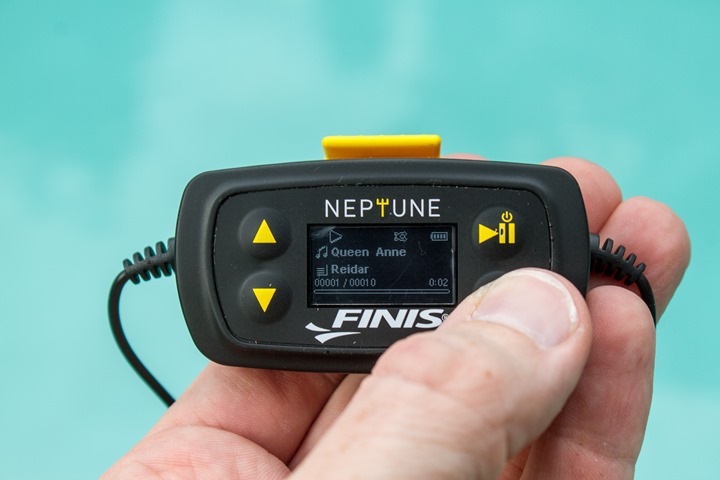
At this point you can press the ‘Play/Pause’ button to began rocking out. The unit will display the song name and then a progress bar showing the time of each song.
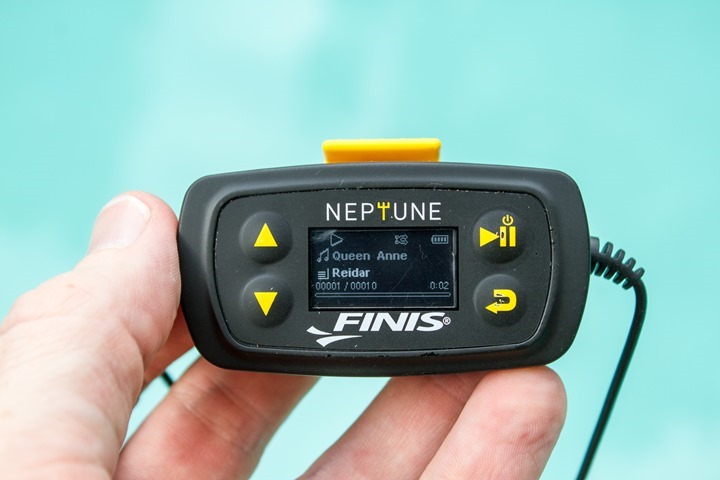
Additionally, along the top you’ll see the options you’ve selected for repeat/shuffle/etc…
If you want to pause the song, you can do so from the main unit itself, or from the side of your ‘headphones’. This is handy in the event you need to have a conversation at the end of your lane and want to briefly silence Britney Spears.
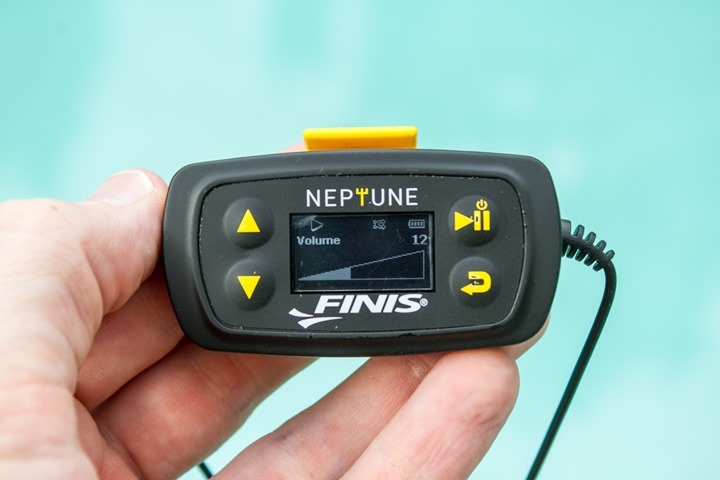
You can increase/decrease volume using the two up/down arrows. It goes from mute to really damn loud. No, seriously. On the loudest setting while above water (i.e. at end of lane) you’ll easily hear it a few lanes away. While underwater, it’s really only heard by you.
The last way to listen to music is within the ‘Favorites’ section.
The problem with favorites is that it’s incredibly tedious. You’ve basically gotta build your own manual playlist on the device itself, by wandering through all your artists, then albums, then tracks, to find the songs you want. Once there, you can add/clear them to favorites by simply holding down the ‘Return/Back’ button for a second or so:
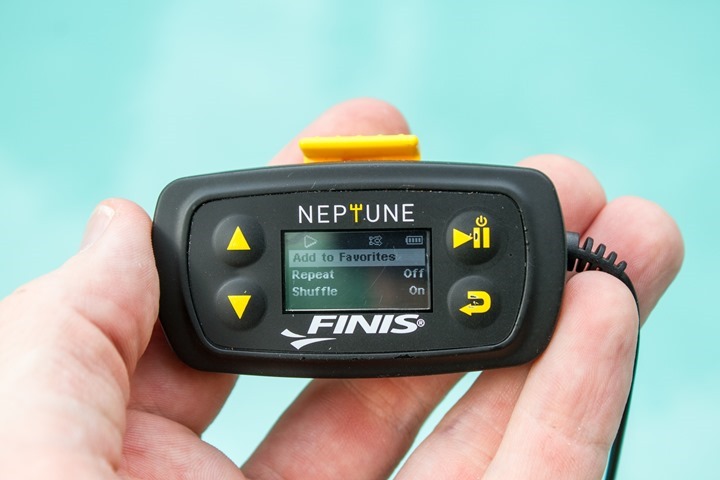
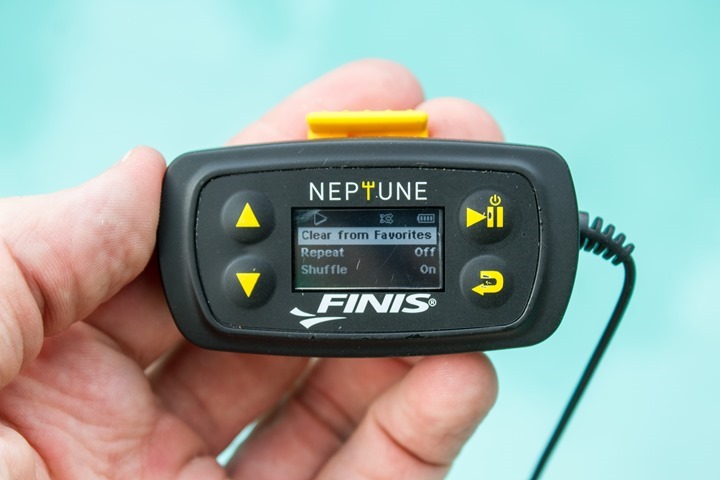
And then once in favorites, you can go ahead and play them – like a playlist. Except, you know, without being an actual playlist file. Thus, no transferring it off to your PC, nor editing it there. I really wish that even if the unit couldn’t understand playlist files, then I wish they would have allowed the option to simply put all favorite songs in a simple folder – such as a folder called ‘Favorites’.
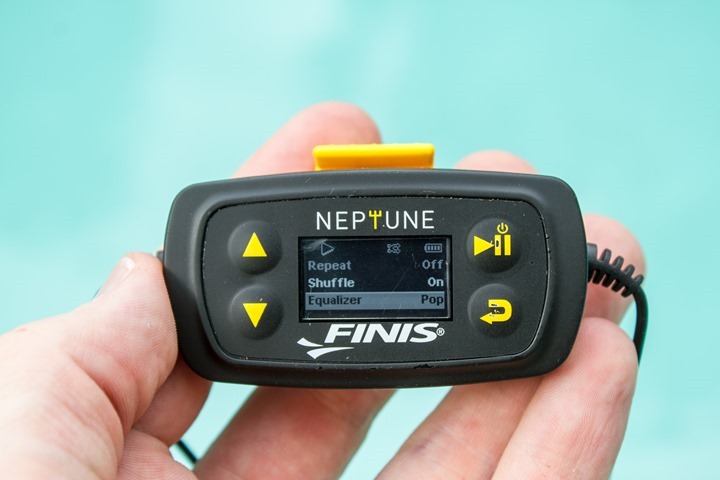
At any rate, you’ll have noticed above that when you hold down the ‘Return/Back’ button you can also toggle ‘Repeat’ and ‘Shuffle’ settings, as well as change the equalizer mode and outright delete the file. The equalizer modes are ‘Flat’, ‘Bass’, ‘Pop’, ‘Rock’, and ‘Jazz’:
With all the playing functions covered, I’ll quickly dip back into settings.
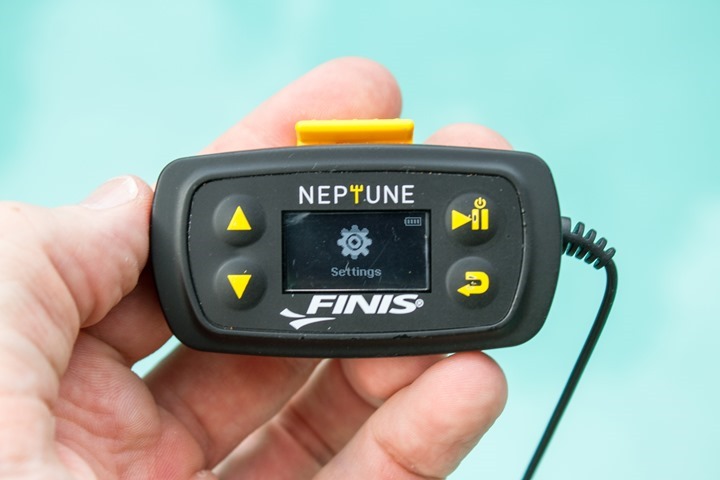
There’s not a ton of options here we haven’t already covered, but here’s what’s in the settings:
1) Shuffle (On/Off)
2) Repeat (Off/All/One)
3) Equalizer (Flat/Bass/Pop/Rock/Jazz)
4) Screensaver (10s/20s/30s/1m)
5) PowerSave (Off/1m/2m/5m/10m)
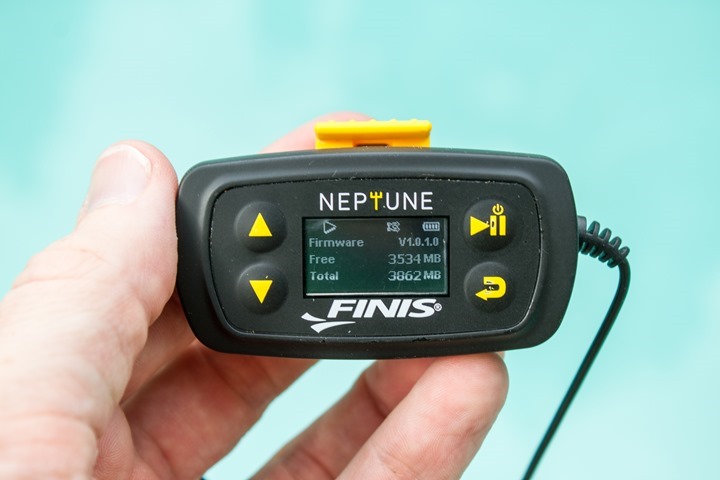
6) System Info (Displays firmware version, total space, and free space)
7) Restore Defaults
8) Language (English/French/Spanish/German/Italian/Portuguese)
The one worth noting that we haven’t talked about is the PowerSave feature, which will automatically shut off the unit after the specified time period if not in use. This is useful if post-workout you forget to turn it off. I’ve been able to come back to my Neptune a week+ later and still have plenty of battery left, despite leaving it on after the pool.
Also, for lack of anywhere else to put it, the Neptune is offered as a 4GB unit, and the total usable space is 3,862MB.
Now that we’ve covered all the functions in the device, let’s give a quick overview of actually swimming with it.
Swimming with the Neptune:
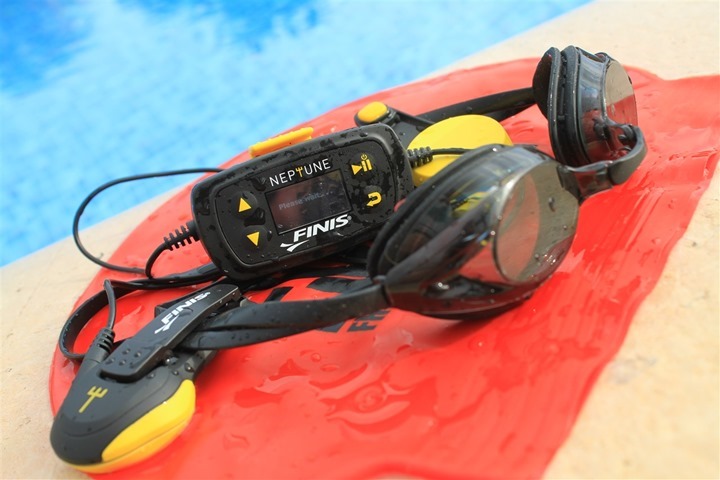
The first step in the pool is getting the thing attached to your goggles. Now technically you can actually attach it to your goggles after you’ve put the goggles on your head. But I find it easier to just get it all settled pre-goggle donning.
The back of the unit where the yellow clip is will slide over the back of your goggles. You may need to adjust things slightly if that happens to be the exact spot where your goggle strap clip is. Or, just have it slightly off-kilter.
Then, you’ll want to attach the earphone portions to your goggles. Now, it’s important you put these in the correct orientation – if for no other reason than you’ll look wonky otherwise.
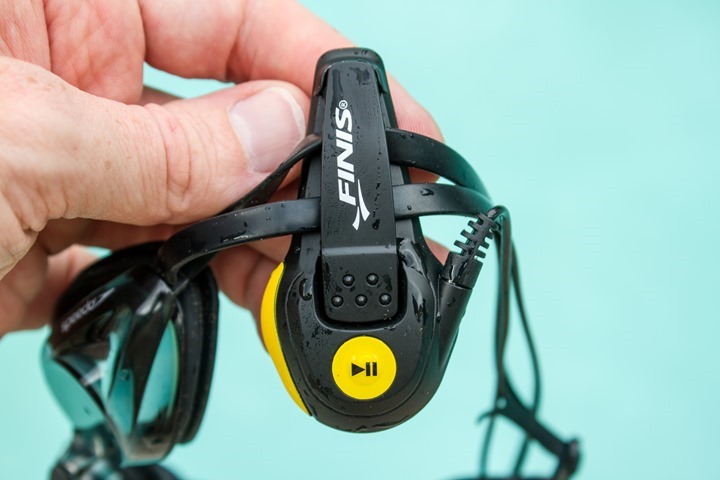
I have a little trick to remembering, albeit silly. See the little pitchfork logo on the right side? That should be facing upwards. Now while the spear is supposed to remind you of the Roman god, instead, it reminds me of a devil’s spear. Which in turn reminds me to point the pointy ends upwards, so you look like you have little devil’s horns. Yes, you can thank me now – you’ll never forget which way they go again.
Next, turn the Neptune on. While in time you’ll get better at navigating the menu behind your head, for now it’s best to get everything all turned on (remember – hold down that ‘Play/Pause’ button for five full seconds).
Once that’s done, navigate to whatever song/artist/album/fake-playlist you plan to listen to and press play to get it started. Then, press the ‘Play/Pause’ button again if you want to have it hold from playing until you’re ready to start swimming.
With that, get the whole mess onto your head.
Ok, assuming you didn’t strangle yourself in the process you should be good to go. You can now start your music using the left earphone by pressing the yellow Play/Pause button. There’s only one button, and only on one side – so it’s sorta hard to screw up.
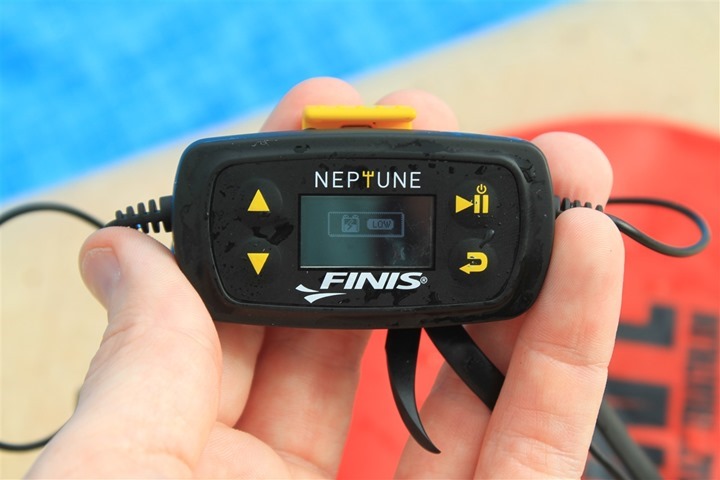
If you need to adjust volume because it’s too loud/quiet, simply reach behind you and press the up/down buttons (on the left side), which will change the volume on the fly mid-song.
Note that the unit claims 8 hours of battery life. When it gets too low, it’ll warn you:
From here, it’s just a matter of swimming with it. The unit plays music by actually sending vibrations to your hear via bone conduction. Rather than me try and play doctor and explain it, I’m going to defer to this tiny little snippet of text and graphic:

I’ve had no issues in hearing the music using the bone conduction method, and generally prefer it to earphones. I dislike earphones for a few reasons. First is that you’ve gotta find the perfect set of earbuds for your ears. Most of the swimming MP3 players out there do include a set of different sizes, but I’ve found that what works on land doesn’t always work in the pool – so it takes a few sessions to pick out the right ones. Second is that some (but not all) of the other units on the market require that the headphone plug use a specialized waterproof plug – which means that if for some reason the plug isn’t tight (usually they screw in), then you could kill your unit. Whereas in the case of the Neptune, there’s no way I can forget to do any waterproofing related activity. It’s always in a state of waterproofness.
As noted earlier on, there is no cap/cover for the connector port on the unit itself. It’s fully waterproofed – and pretty much looks like most watch connectors these days. Two prongs for data transfer, and two prongs for power/charging.
Per the manual, the unit is safe to use in fresh water as well as saltwater. And during my testing I’ve used it in both without any hints of corrosion developing, even when I was lax in rinsing it off post-use (somewhat on purpose). Though, the manual does recommend giving it a quick freshwater (i.e. tap water) rinse after use – which, btw, is a good idea anytime you have electronics in the pool.
Now, I do want to point out that while it’s perfectly safe to use the unit in openwater (salt or fresh), I’d highly recommend not doing so. The reason being it’ll ultimately keep you from hearing the boat that’s going to run you over. That extra 3-4 seconds of hearing the boat engine whirring towards you can literally mean the difference between coming out of the water alive or not. There are plenty of cases of openwater swimmers getting hit every year. Don’t become one of them. Also, consider using an openwater swim buoy, like the one I reviewed back a few months ago. A few bucks is well worth it.
Oh, and finally as an FYI, the Neptune will actually float, like a duck:
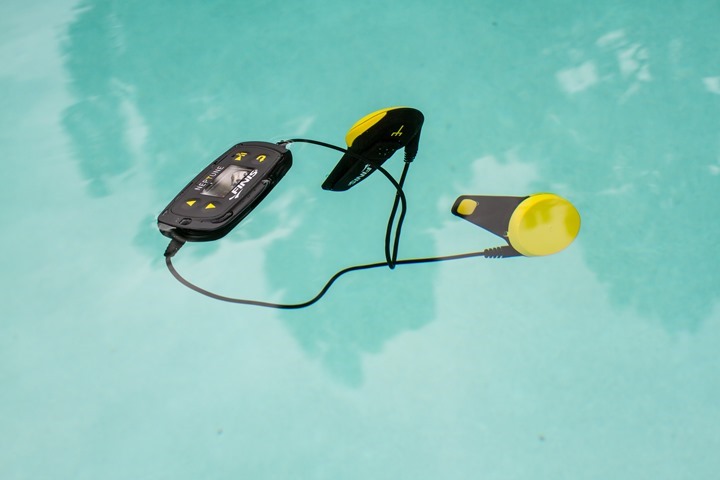
Thus in the highly unlikely event it falls off your head in openwater, at least it won’t sink to the bottom.
Swimming Music Player Market Comparison:
I did a huge swimming MP3 player post previously, comparing all the options on the market at the time. Since then, there actually haven’t been too many new entrants. There’s been a new Sony unit that seems impossible to procure (my order is still in a pending state, months later), but otherwise it’s pretty much the same situation as before.
In my previous recommendation I found all units were generally pretty good, but I really liked the SwimMP3 (also a FINIS product like the Neptune) because I didn’t have to deal with headphones. Given everything, my only change to that post would be to replace the SwimMP3 recommendation to that of the Neptune. Of course, that’s primarily based on my preference for bone conduction over earbuds. Not as much because the unit has more/better overall features. In some ways, you’ve gotta focus on the basics here: Playing music underwater that you can actually hear.
The Neptune seems to address the previous SwimMP3 specific issues that some users have reported around the USB port being corroded, by going to a non-standard USB connector. As always though, time will tell there. But I haven’t seen any issues yet. And I can’t say I’ve been great about rinsing it post-swim either (including salt-water pools).
Summary:
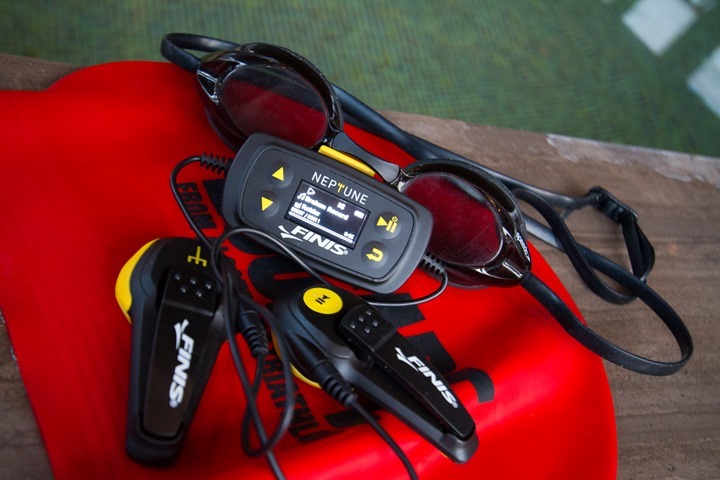
Despite the older FINIS SwiMP3 being discontinued and the Neptune being the replacement moving forward, I have no concerns recommending it for folks looking to swim with music. Thankfully the price hasn’t shifted – it’s still $139US. It works pretty much exactly like you’d expect (minus playlists). While I wish it could accept protected files, I understand the fairly complex technical challenges associated with that.
The sound quality is good – within the confines of the fact that you’ve got lots of rushing water around your head, so this isn’t a Bose sound system, but definitely of high enough quality to keep you occupied, if not singing along with the music.
Pros:
– No problems with volume level being too quiet
– Display makes for easy song choice operation, simple
– Tons more space than previous versions, 4GB now
– New charging connector should resolve any corrosion issues
Cons:
– No playlist functionality
– Can’t play protected files
– I can’t remember, did I mention ‘no playlist functionality’?
With that, thanks for reading! As always, feel free to drop any questions below and I’ll be happy to answer!
Found this review useful? Here’s how you can help support future reviews with just a single click! Read on…
Hopefully you found this review useful. At the end of the day, I’m an athlete just like you looking for the most detail possible on a new purchase – so my review is written from the standpoint of how I used the device. The reviews generally take a lot of hours to put together, so it’s a fair bit of work (and labor of love). As you probably noticed by looking below, I also take time to answer all the questions posted in the comments – and there’s quite a bit of detail in there as well.
I’ve partnered with Clever Training to offer all DC Rainmaker readers an exclusive 10% discount across the board on all products (except clearance items). You can pickup the FINIS Neptune below. Then receive 10% off of everything in your cart by adding code DCR10BTF at checkout. By doing so, you not only support the site (and all the work I do here) – but you also get a sweet discount. And, since this item is more than $75, you get free US shipping as well.
Additionally, you can also use Amazon to purchase the item (though, no discount on either from Amazon). Or, anything else you pickup on Amazon helps support the site as well (socks, laundry detergent, cowbells). If you’re outside the US, I’ve got links to all of the major individual country Amazon stores on the sidebar towards the top. Though, Clever Training also ships most places too and you get the 10% discount. Thanks for reading!
And lastly, if you felt this review was useful – I always appreciate feedback in the comments below. Thanks!


