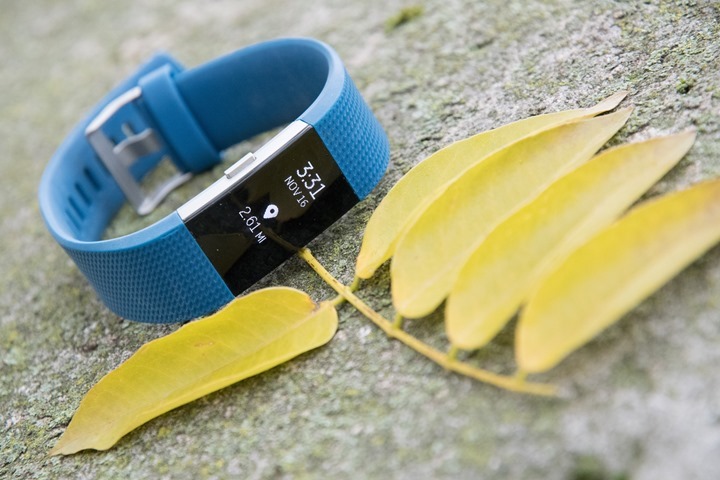
MyTriRack Transition Rack Review
There’s a lot of ways you can reduce your total time in triathlon. The most common being you can swim faster, bike faster, or run faster. To get faster at each of those individual sports you either need to train better (smarter, harder, etc…), or race smarter/better. There’s really very few ways to reduce your total time without hard work…except, in transition.
Transition is the area everyone loves to ignore – for reasons that I’ve never quite grasped. Some describe it as ‘free speed’, but ultimately, it’s a more easily obtained reduction in your total race time. For example, to slice just a minute off of your sprint or olympic distance swim times, would take a fair bit of pool work. A lot of pool work – ignoring courses that are mis-measured. It would also take swimming a proper line. Again, racing smarter.
But transition – transition doesn’t take any additional physical fitness. There’s no reason a middle of the pack athlete need be any slower in transition than a front of the pack athlete. It’s just a matter of spending a bit of time at a local school or park at night in an empty parking lot. But finding that minute in a transition area (either T1 or T2 individually, or across both) – is pretty easy.
I’ve done a lot of that over the past few years. You’ve read about it here and here. Even getting The Girl up to speed on it. And ultimately, that practice has made many of my transitions somewhat respectable (except the time I face-planted).
In order to practice transitions, you don’t need a whole lot. On a bare bones budget you can do it with a picnic table. But, you’ll find that you’re ability to simulate a race does increase if you spend a touch bit more. Thus, you may remember a few years ago I went to Home Depot and built my own transition rack.
It was…to say the least, a piece of work. A non-pinnacle of modern engineering. It’s clear my skills lie within computing, not woodworking. And ultimately, I rarely used it. I’m sad to day, it did not make the cut for the move here to France.
So back in July, the founder of a small company (MyTriRack) out of the Midwest reached out to me to see what I might think of his transition rack. It looked sturdy, and only cost $50. I said I’d be happy to give it a shot, and to send it over. A few weeks later, the French postal system arrived with a gloriously big box. Transition rack delivered (Note: by now, I’m reasonably certain our mailman hates us, having to lug racks, trainers and everything else up flights of steps…longing for the days of simple letters).
We took it with us to Eurobike, and then on the way back home we headed out to a lake to go ahead and run through a full transition setup.

First though, was the building of the rack. Since our time was limited, we split up jobs. I went to take pretty pictures of new products on a dock. And The Girl had fun putting together the rack. Which, I realized, I forgot to give her instructions. Nonetheless, she figured it out.

Here, for your viewing pleasure, is the sped-up process of her putting it together, in front of a corn field…with a random French Grandma and Grandpa sitting off to the side in fold out chairs 6 feet from her, watching her. It was funny (for me).
If you didn’t catch it above, also note the random man who stops right in front of the GoPro, and astoundingly we actually see through his legs as she continues setting it up. Seriously folks, I can’t make this up.
When all was said and done, the end resultant:

A few things to point out – I found the rack pretty sturdy. You’ll see in the video later on that it doesn’t move much. It’s solid.
Second, the rack includes locking rings. Not the $50 version, but the $80 version. The rings are actually permanently affixed on the primary horizontal bar. In the photo below they happened to also be wound through the support bars, but that’s not the permanent part.

The goal of this is that you can then lock this to a stationary object. On their site, they use the example of locking it to a car. Same goes for your bike to the rack, and then rack to something else (car, tree, sibling). I suppose you could also lock your wetsuit via the arm sleeve. There’s four rings in total. And again, the goal of them is to lock onto the main bar, which they are permanently attached to if you bought the higher end model.

This would be ideal if you were doing looped transition practices outside of view of your goods. For example, many individuals and teams will do repeat loops – such as bike a loop (for example 3 miles), and then run a loop (for example, 1-2 miles). And then repeat the whole enchilada a few times over.

The unit can fit two bikes easily, and four bikes if you use both sides it – though, things would be a bit compressed. But, that’s not terribly unlike most triathlon transition areas.
The rack itself has really five core pieces. The four side supports which slide out, and the one main beam:

The whole thing assembles and disassembles in no time. In total it weighs 11 pounds, or about 4.5 kilos. I’ve been carrying it around in the box it shipped in, merely because it’s a handy way to transport it.

And here’s the whole thing packed up, post-transition:

Now, it’s time to see it in action. I went ahead and did a complete mock transition practice – from swim to bike to run. And all the gooey transition stuff inside. All for your viewing pleasure. We actually even got a little remote control helicopter to take aerial shots (with The Girl flying it!). But alas, some sort of video fail occurred there in the recording. This being one of the last frames it took, right before the action started (and we got more elevation), it stopped:

But, all her ground footage worked great – so without further ado, here’s my triathlon transition (no-retakes):
MyTriRack Transition Rack Runthrough
Back to the transition rack at hand, for $50 it’s a pretty good deal. Yes, you could built something cheaper, though likely not as sturdy, nor would it likely ‘just work’. In my mind, this is best if you go in on it with a friend or two. Which means $25 a person. Plus, that’ll give you motivation to actually practice your transitions (motivation either via friend, or because you bought these). And I’d be willing to be that at either $25 or $50, you’re going to save far more race time than any most ‘aero’ product can give back to you.
I can’t really think of any ‘complaints’ about the product. It’s simple, straight forward, and easy to use. Plus, there’s no firmware to worry about for it, nor any way for the product to give an error message.
With that, feel free to drop any questions below – I’d be happy to get them answered.